What you can load in A1111
In CloudDock’s Stable Diffusion (A1111) you can use:
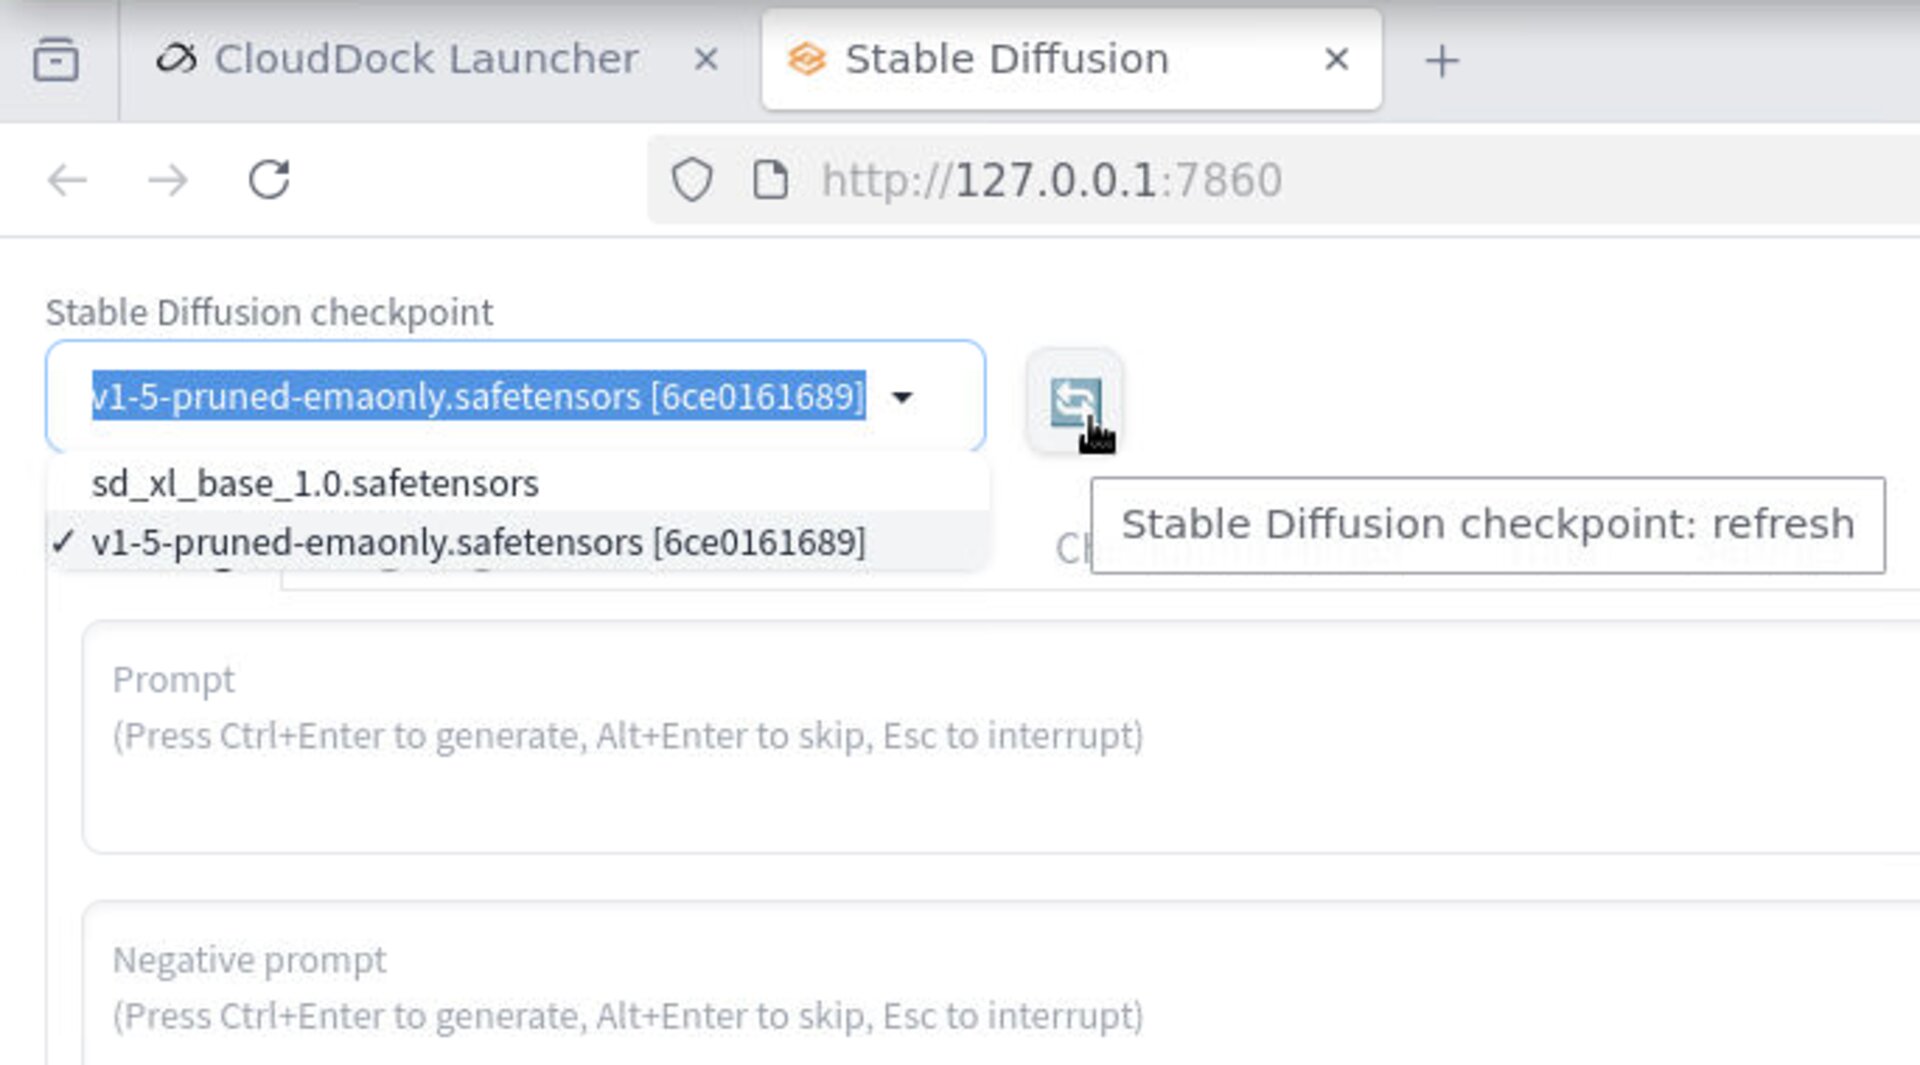
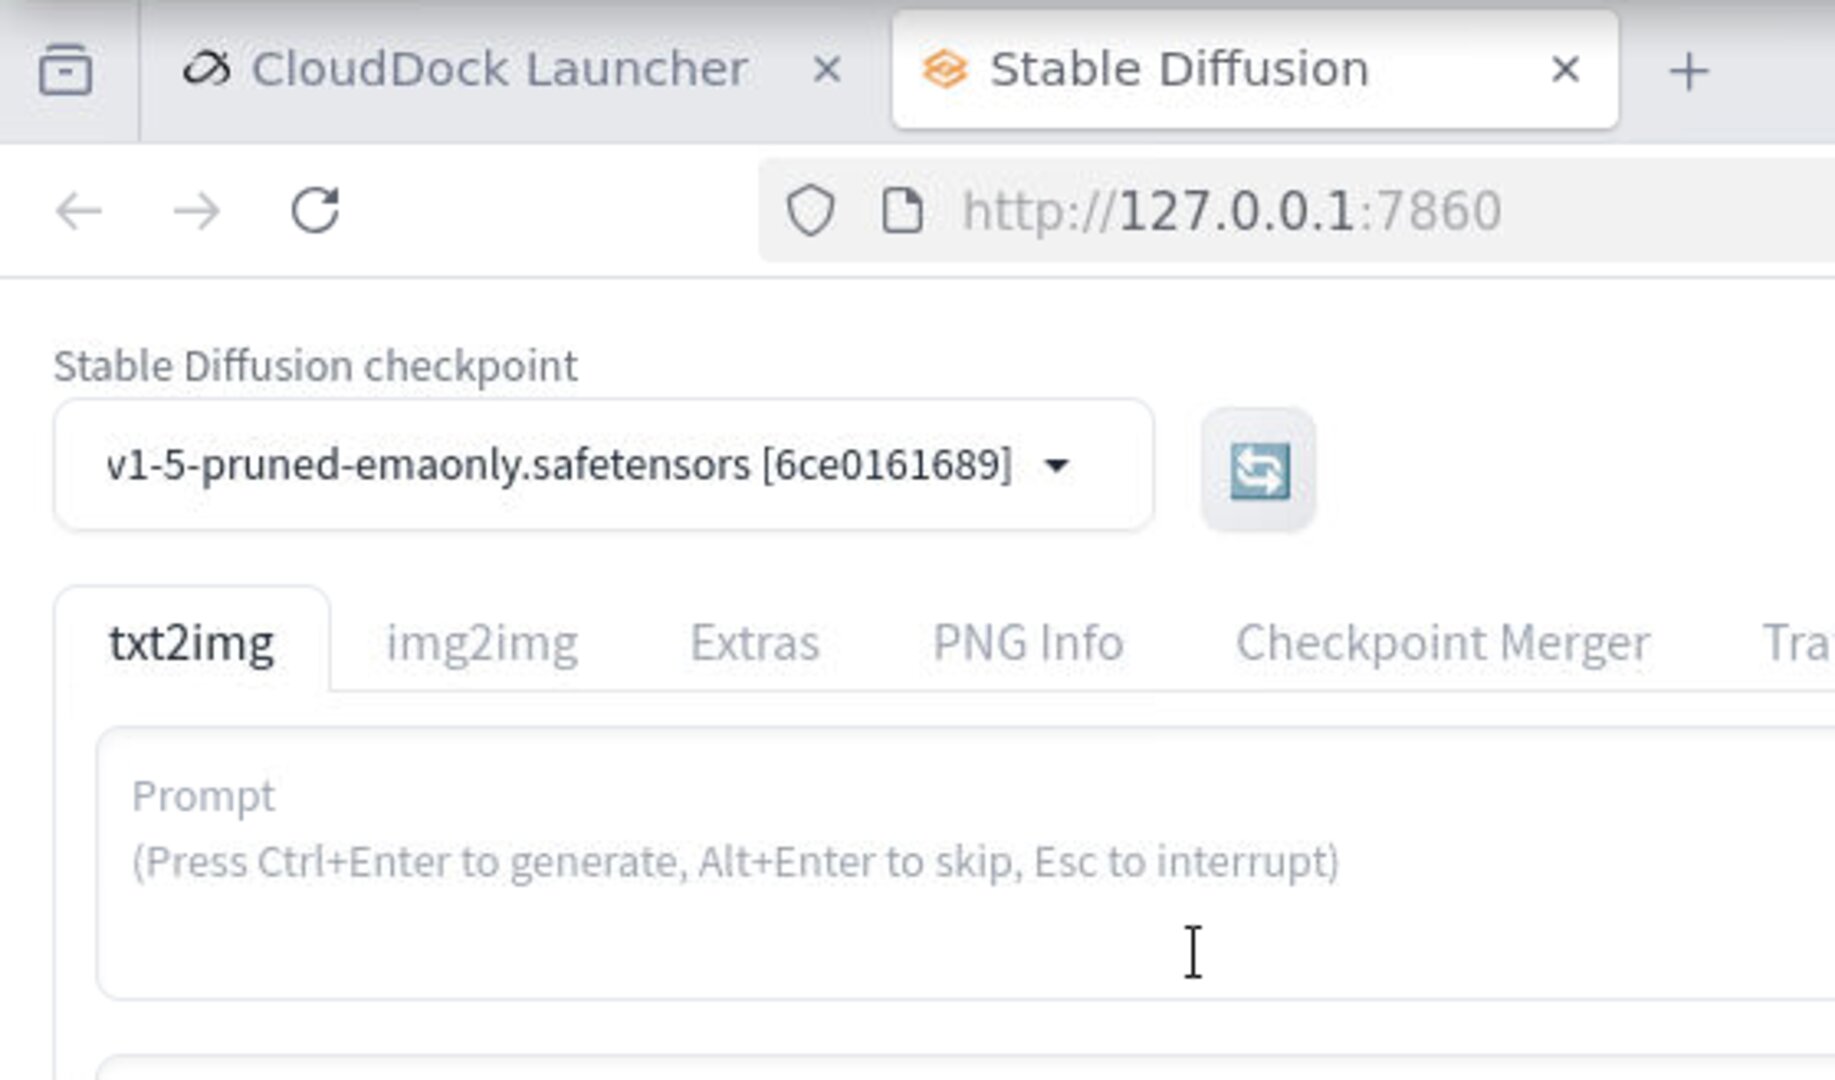
- Checkpoints (a full base model, e.g., SD 1.5 / SDXL variants) — selected from the Stable Diffusion checkpoint dropdown.
- Place your checkpoint (.safesensors files) at:
/home/clouddock/stable-diffusion-webui/models/Stable-diffusion/ - LoRAs (lightweight style/character adapters) — applied on top of your selected checkpoint.
- Place your lora (.safesensors files) at:
/home/clouddock/stable-diffusion-webui/models/Lora/
Important: Always pick a checkpoint first. LoRAs don’t replace your base model — they modify it. If you select the wrong base (e.g., SDXL LoRA with an SD 1.5 checkpoint), results will be weird or fail to load.
Getting models into your session
You have two easy paths on CloudDock:
- Model Library (App Store): click to install popular checkpoints/LoRAs. If a model requires a token (e.g., Hugging Face gated), you’ll need access per the publisher’s rules.
- Training Center (your own): when you finish a DreamBooth run, you’ll get a checkpoint or a LoRA artifact you can immediately use in A1111.
After installing or training, go back to A1111 and click the small refresh icon next to the checkpoint/LoRA lists to make them appear.
Checkpoint basics (read this once)
- Choose the family: SD 1.5 vs XL. LoRAs and VAE files are usually family-specific.
- Faces & general styles: Popular 1.5 checkpoints are light and responsive for character work.
- XL models: Can look great but are heavier; match with XL-native LoRAs for best results.
- Switching: Changing checkpoint can radically change output even with the same prompt. That’s normal.
Applying a LoRA (two ways)
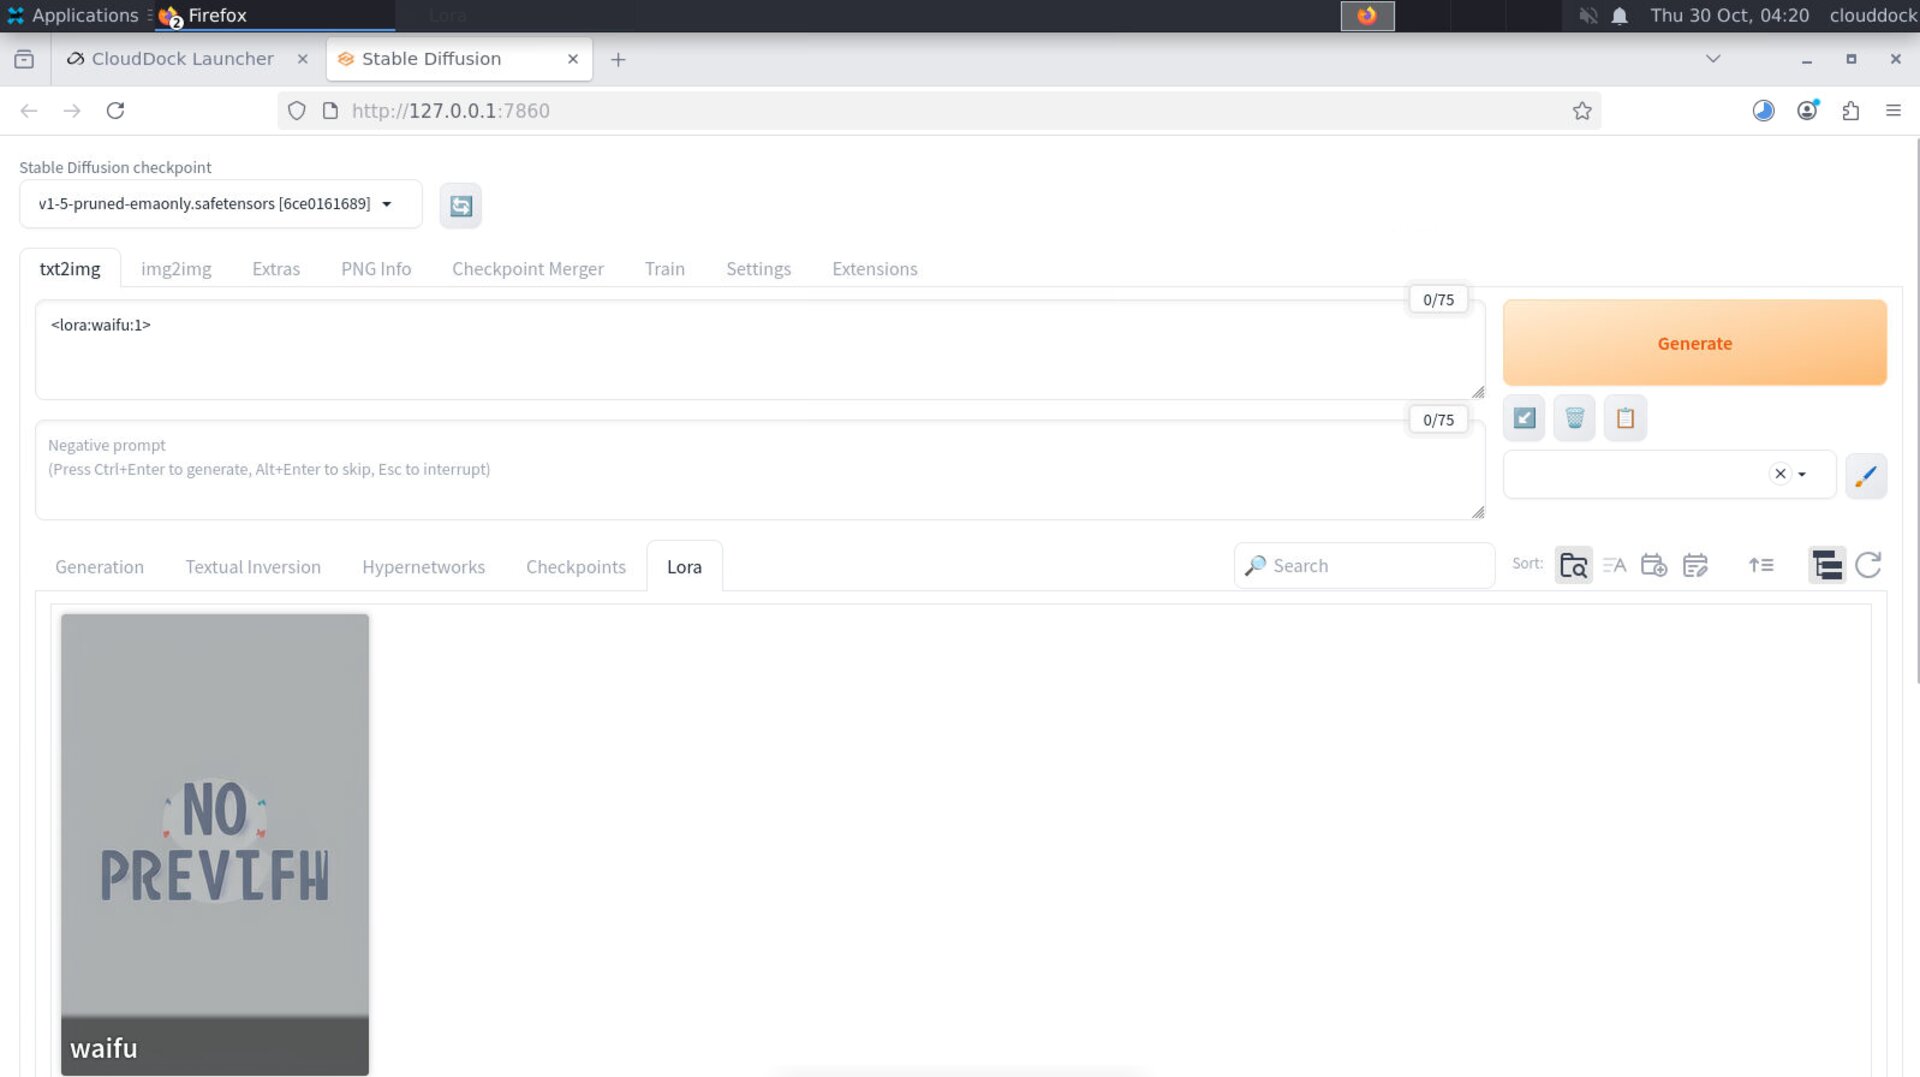
Method A — Click from the LoRA panel
Open the LoRA panel (or the “Lora” tab) and click the LoRA you want.
It will insert a token into your Prompt automatically, usually like <lora:NAME:0.7>.
Method B — Type the token manually
In your Prompt, type:
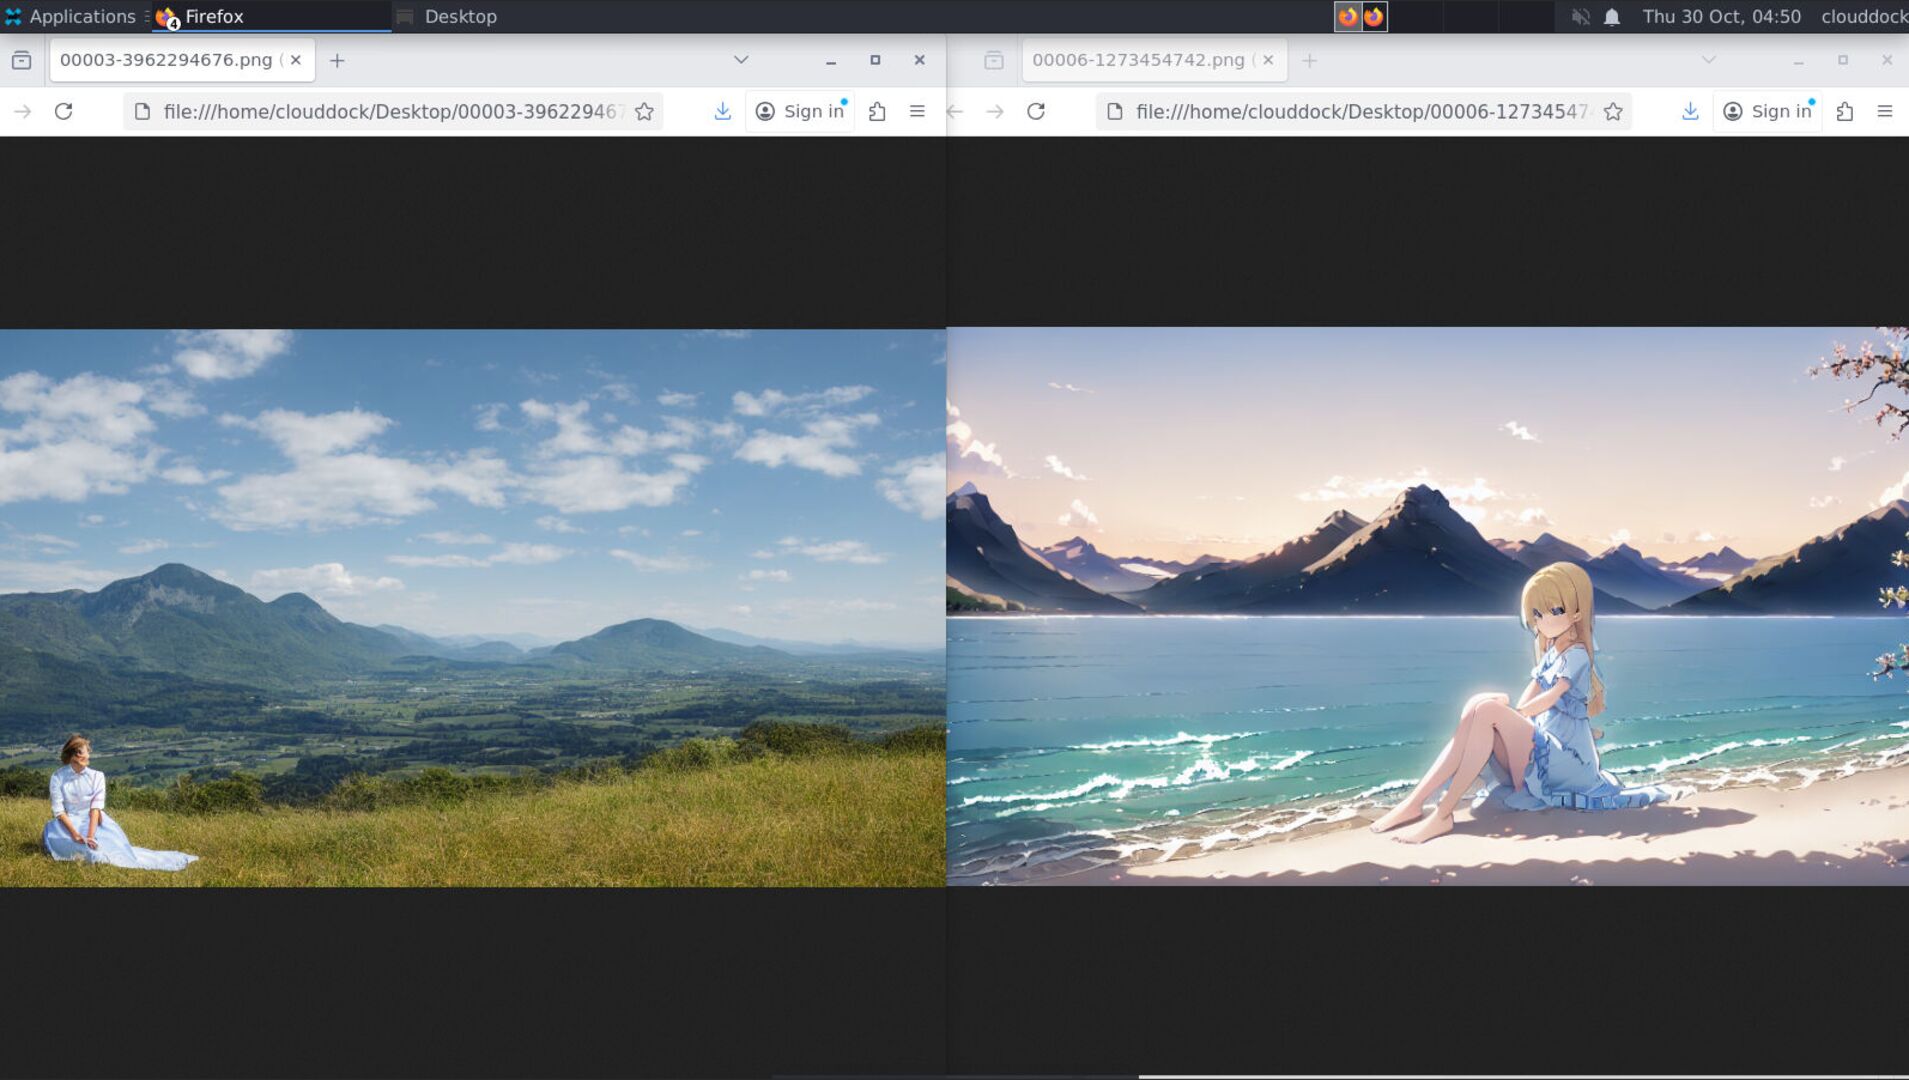
<lora:YOUR_LORA_NAME:0.7>, highly detailed anime girl, school uniform, beach sunset,
vibrant colors, high contrast, cinematic lighting, full body shot
The number at the end is the weight (strength). Start around 0.6–0.8 for most styles / characters. Too high can overpower the base model and cause artifacts.

Quick recipes
Use a trained character LoRA
Prompt:
<lora:my_character_lora:0.7>, anime girl, school uniform, standing on a beach at sunset,
vibrant colors, high contrast, cinematic lighting, full body shot
Negative prompt:
blurry, low resolution, extra limbs, extra fingers, deformed hands, distorted face, worst qualityUse your DreamBooth checkpoint
Switch the Stable Diffusion checkpoint to your DreamBooth output (e.g., db-mascot-000xxx.safetensors) and use a simple prompt:
mascot character, smiling, studio lighting, high detail, full body shotThen refine pose / vibe like we did in the previous guides.
Common pitfalls & fixes
“It looks nothing like the LoRA example images.”
- Wrong base: make sure the checkpoint matches the LoRA’s family (1.5 vs XL).
- Weight too high: drop from 1.2 to ~0.7 and try again.
- Prompt mismatch: keep prompts closer to the LoRA’s training vibe (then branch out).
“Model doesn’t show up in the list.”
- Press the refresh buttons next to the selectors.
- If it’s gated (HF token), ensure you have access in the Model Store step.
“VRAM error after switching checkpoints.”
- Reduce resolution (stay in the 700–1200px dimension range first).
- Disable batch / restore weights to defaults; restart the SD app if needed (Open → Continue).
Where do these files live? (FYI)
Internally, A1111 expects checkpoints under a folder like models/Stable-diffusion/,
and LoRAs under models/Lora/.
What’s next?
-
Model Library Overview: browse and install popular styles from our SD center。
Go to “Model Library Overview →” -
Training Center Intro: train your own character or brand style, then load it here.
Go to “Training Center Intro →”