What it does
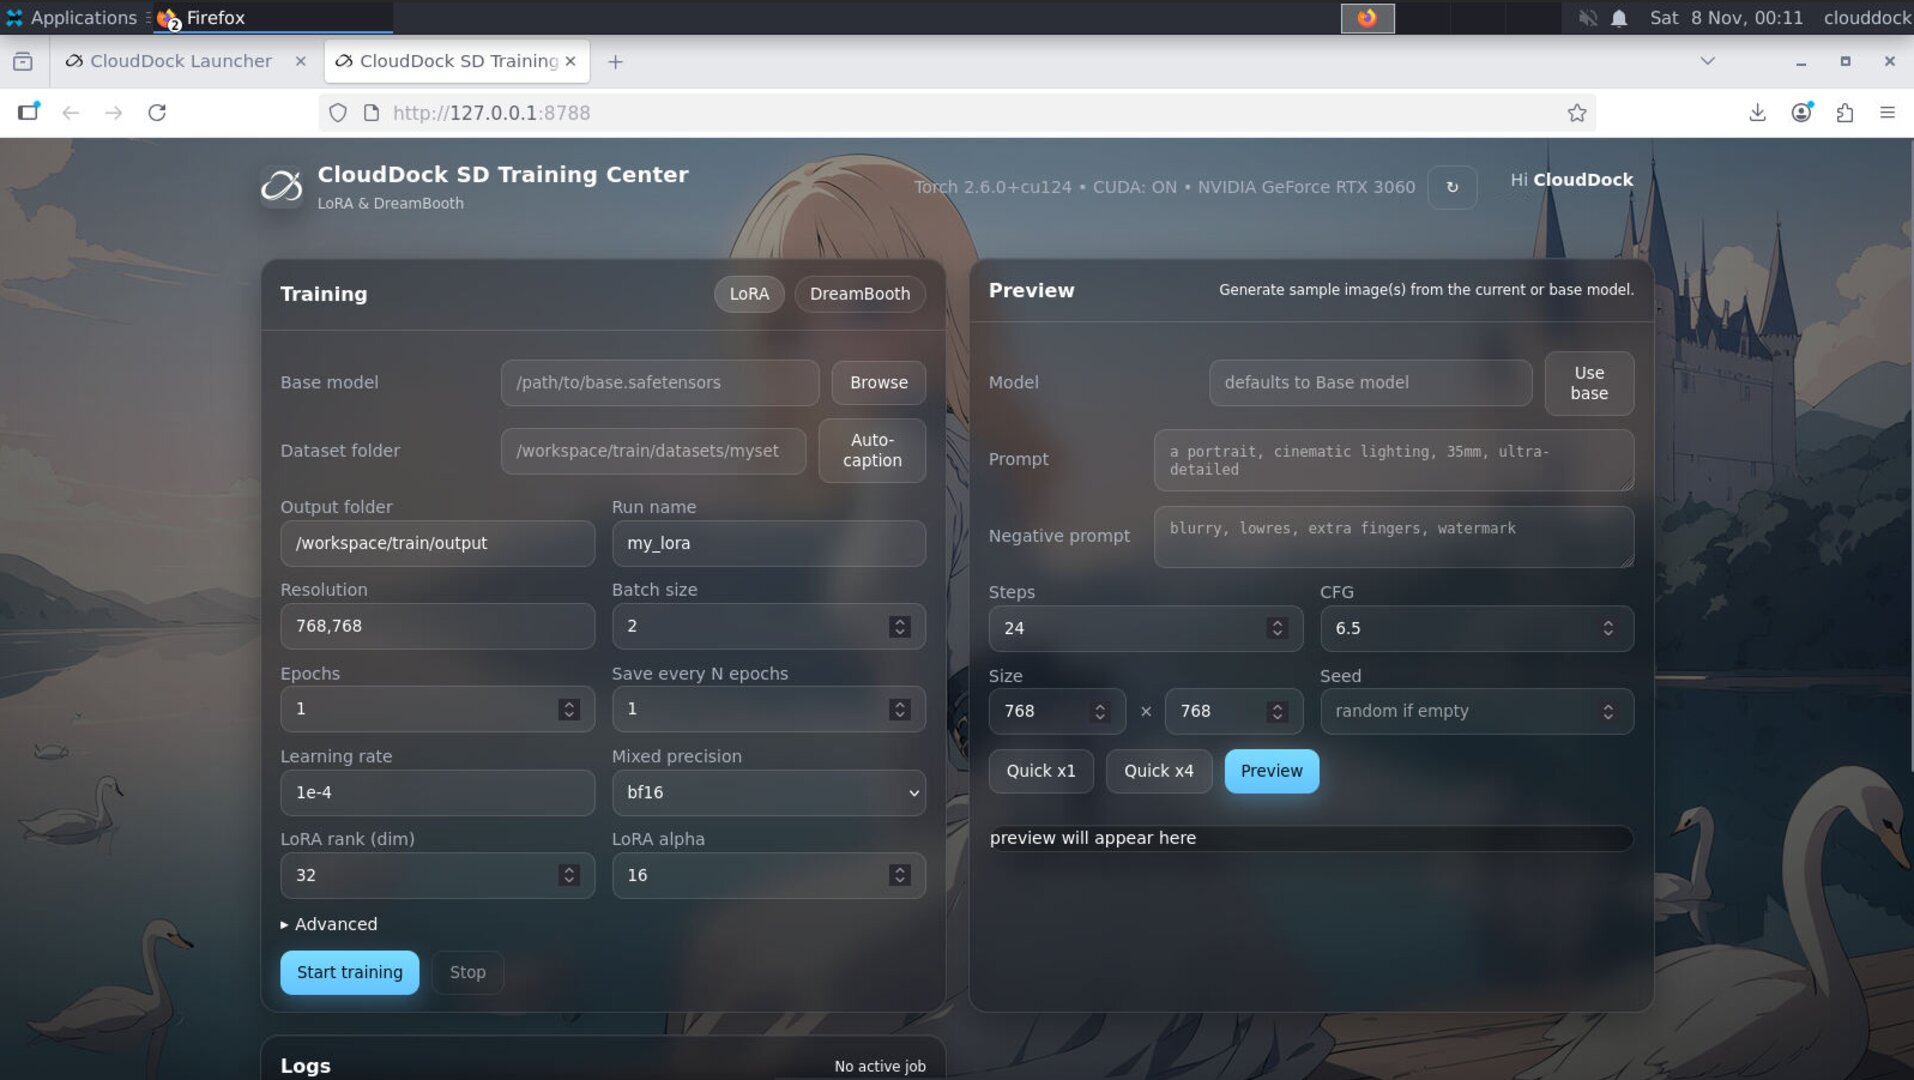
CloudDock’s Training Center is a Kohya-based UI for training LoRA or DreamBooth models. It guides you from dataset prep to a ready-to-use artifact in A1111 — no shell scripts required.
- Presets for portraits and full-body styles (SD 1.5 & SDXL families)
- Optional auto-caption for images (requires A1111 running)
- Auto path-fix for common dataset structures (you can override the working directory anytime)
- Progress, ETA, logs, VRAM limits, and resumable jobs
- One-tap availability in A1111 (model lists refreshable)
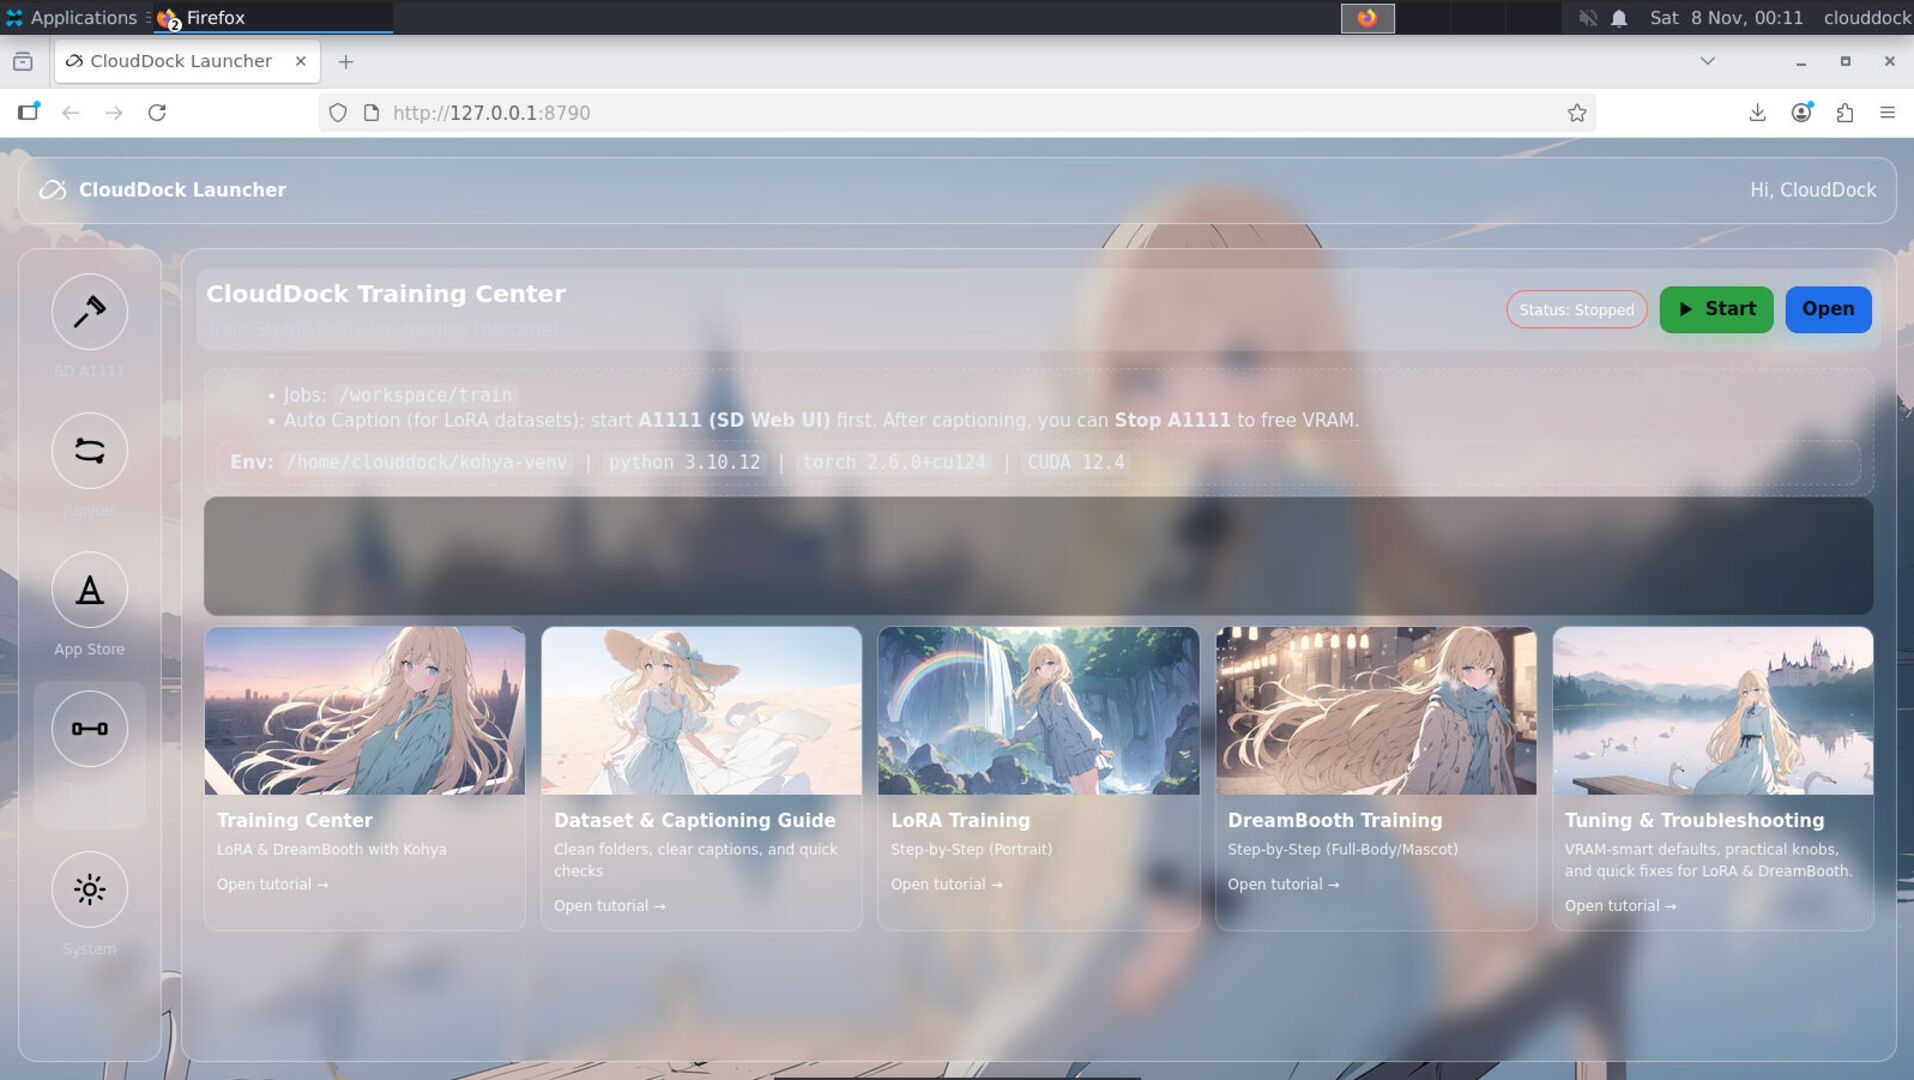
Launch from the Launcher
- Open the Launcher and click Training Center.
- Pick LoRA or DreamBooth.
- Choose a preset (Portrait / Full-body, 1.5 / XL).
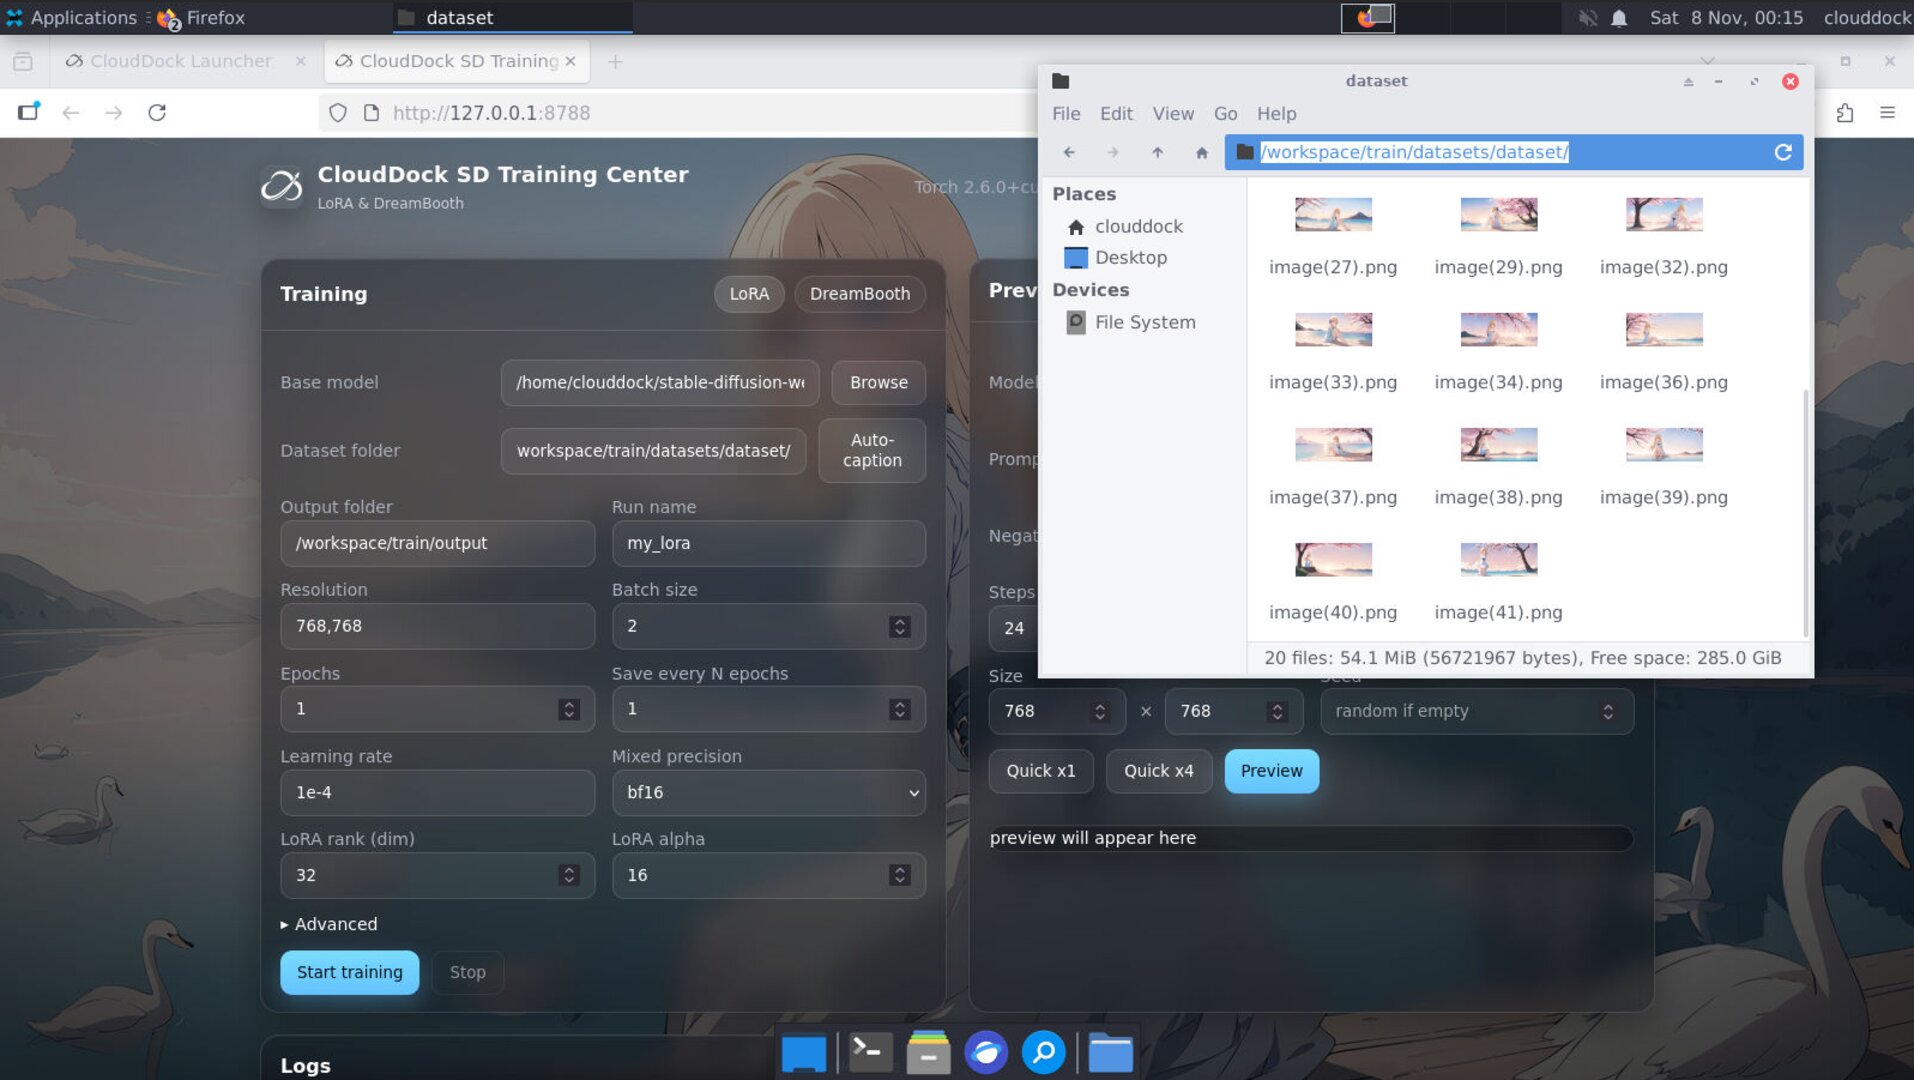
Dataset — folders & captions
Point Training Center to your dataset root. It expects images in subfolders (e.g., one subject/style per folder). If paths moved, the app will attempt an auto path-fix. Automatic path fix is usually completed automatically at the start of the first training session, requiring no manual intervention.
Note: If the UI indicates that the corresponding path cannot be found, don't panic. It may be automatically adjusting the path. Simply point the UI's dataset path to the new file path.
Default dataset folder:
/workspace/train/datasets/- Auto-caption (optional): requires A1111 to be running. Start A1111 first, then click Auto Caption. You can stop A1111 afterward to free VRAM.
- Captions: you can edit or replace captions anytime before starting.
- Important: After Caption is completed, please stop a1111 at the launcher to save VRAM

Base model family & checkpoint
Select the family (SD 1.5 or SDXL) and the checkpoint you’ll train against. Your LoRA or DreamBooth output works best with the same family you pick here.
Default model path:
/home/clouddock/stable-diffusion-webui/models/Stable-diffusion/
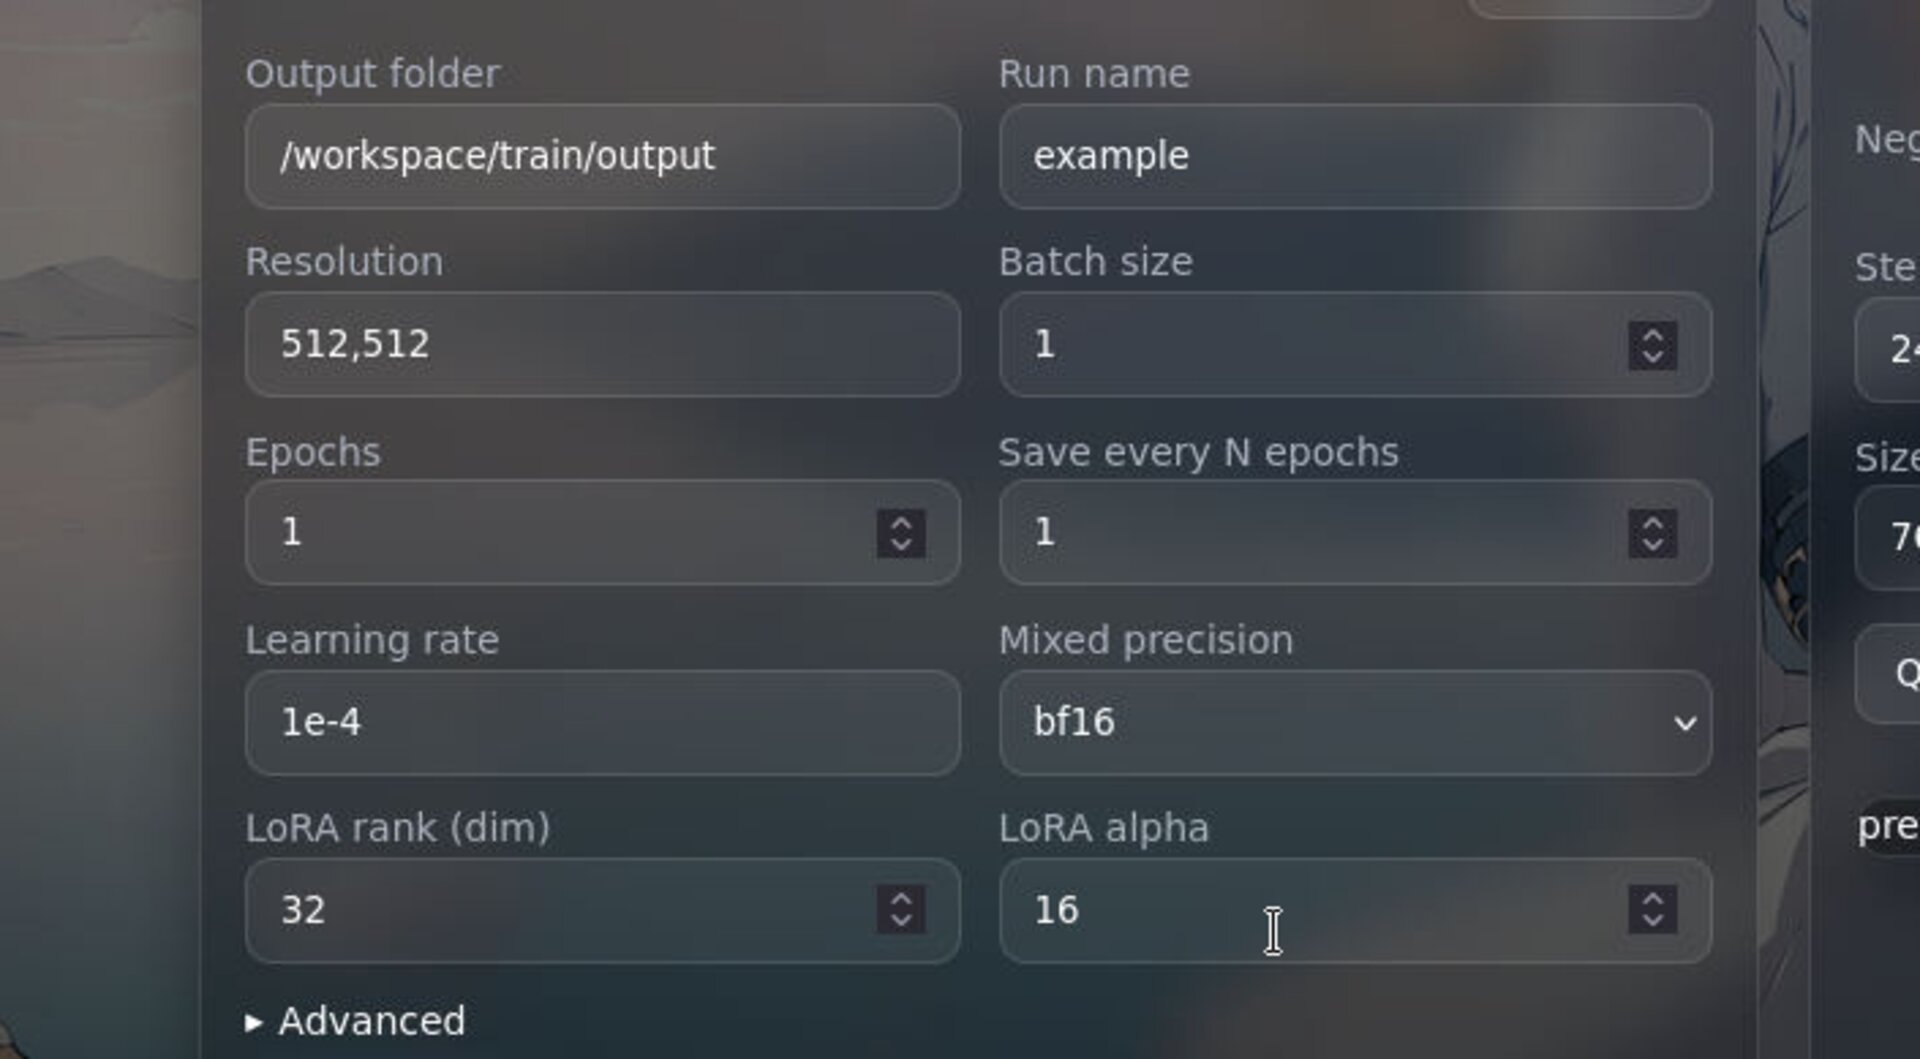
Key settings (good defaults)
- Resolution — portrait: start near 640–768 on the long side; full-body: a taller size. You can refine later.
- Steps / Epochs — start modest; you can resume training from the last good step.
- Batch / Gradient Accum. — keep small on VRAM-limited GPUs; watch the VRAM hints.
- Optimizer & Precision — presets ship with stable FP16 configurations.
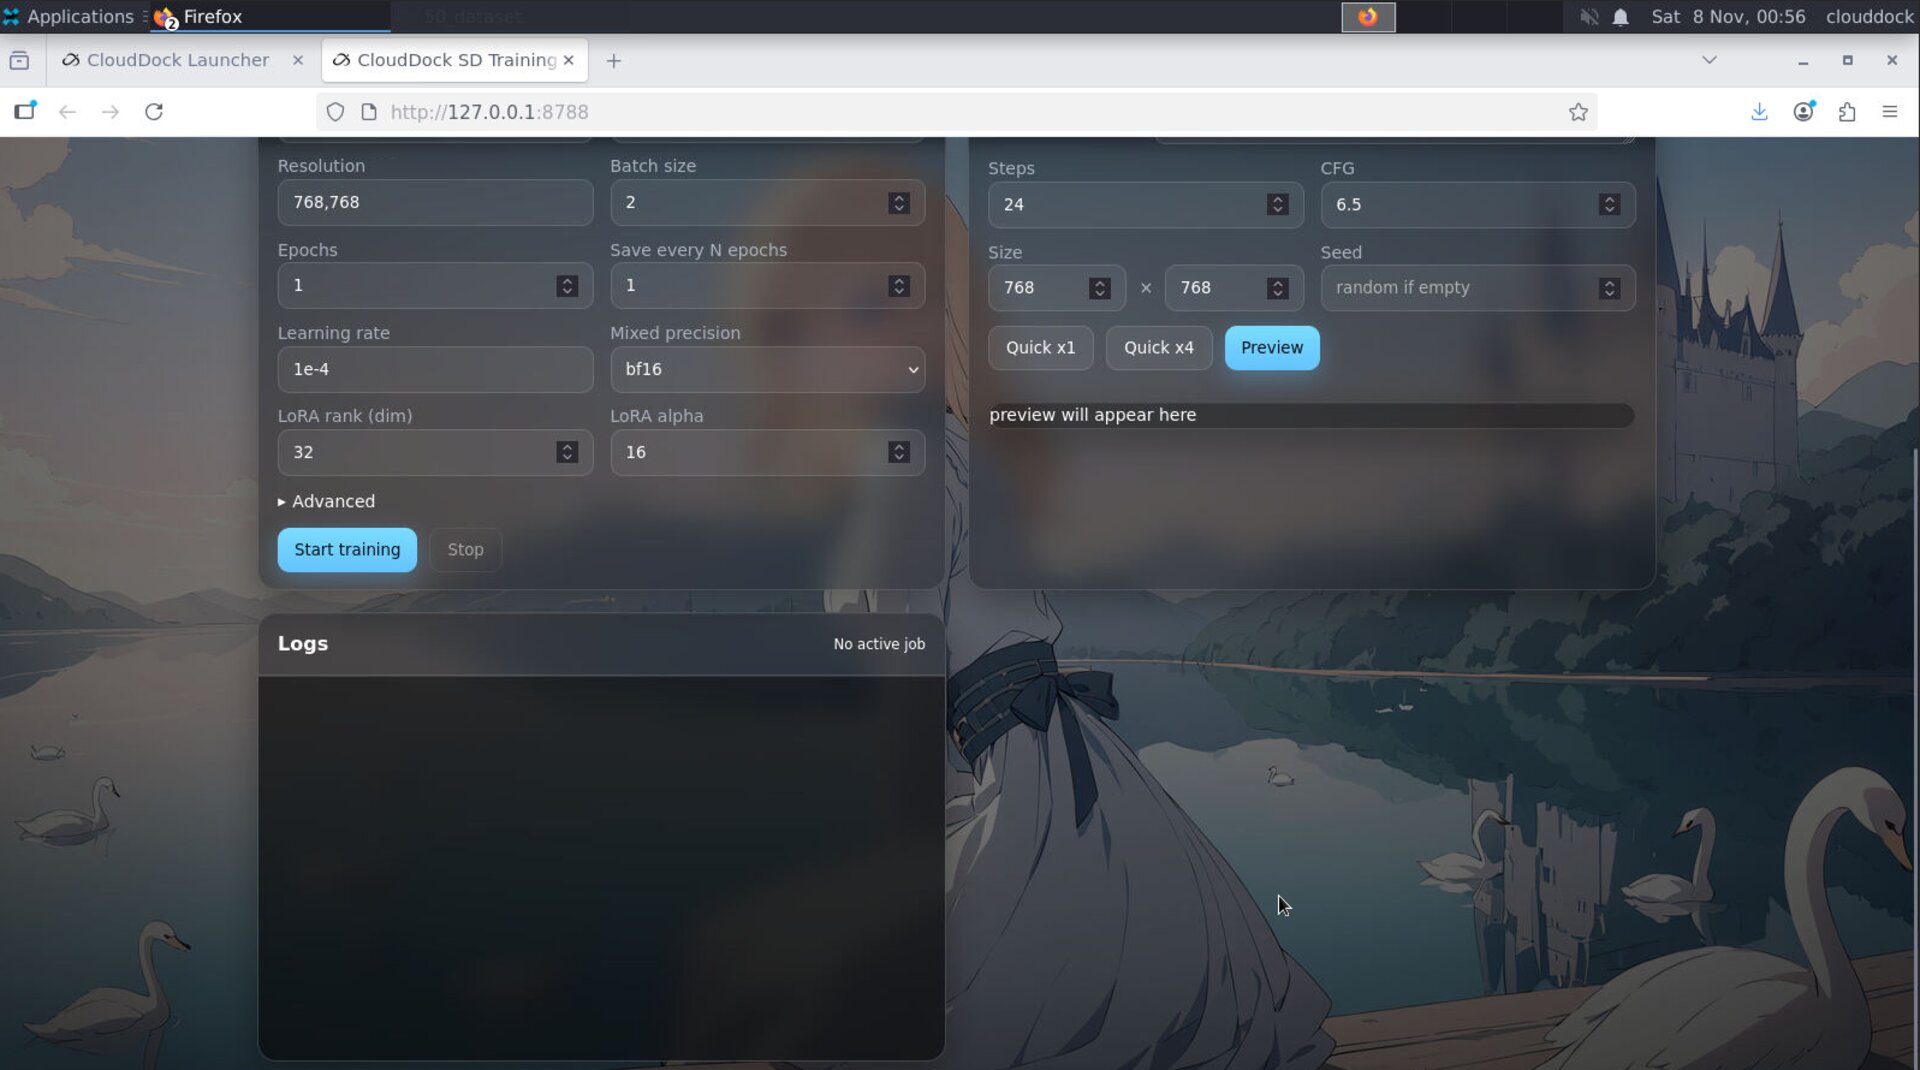
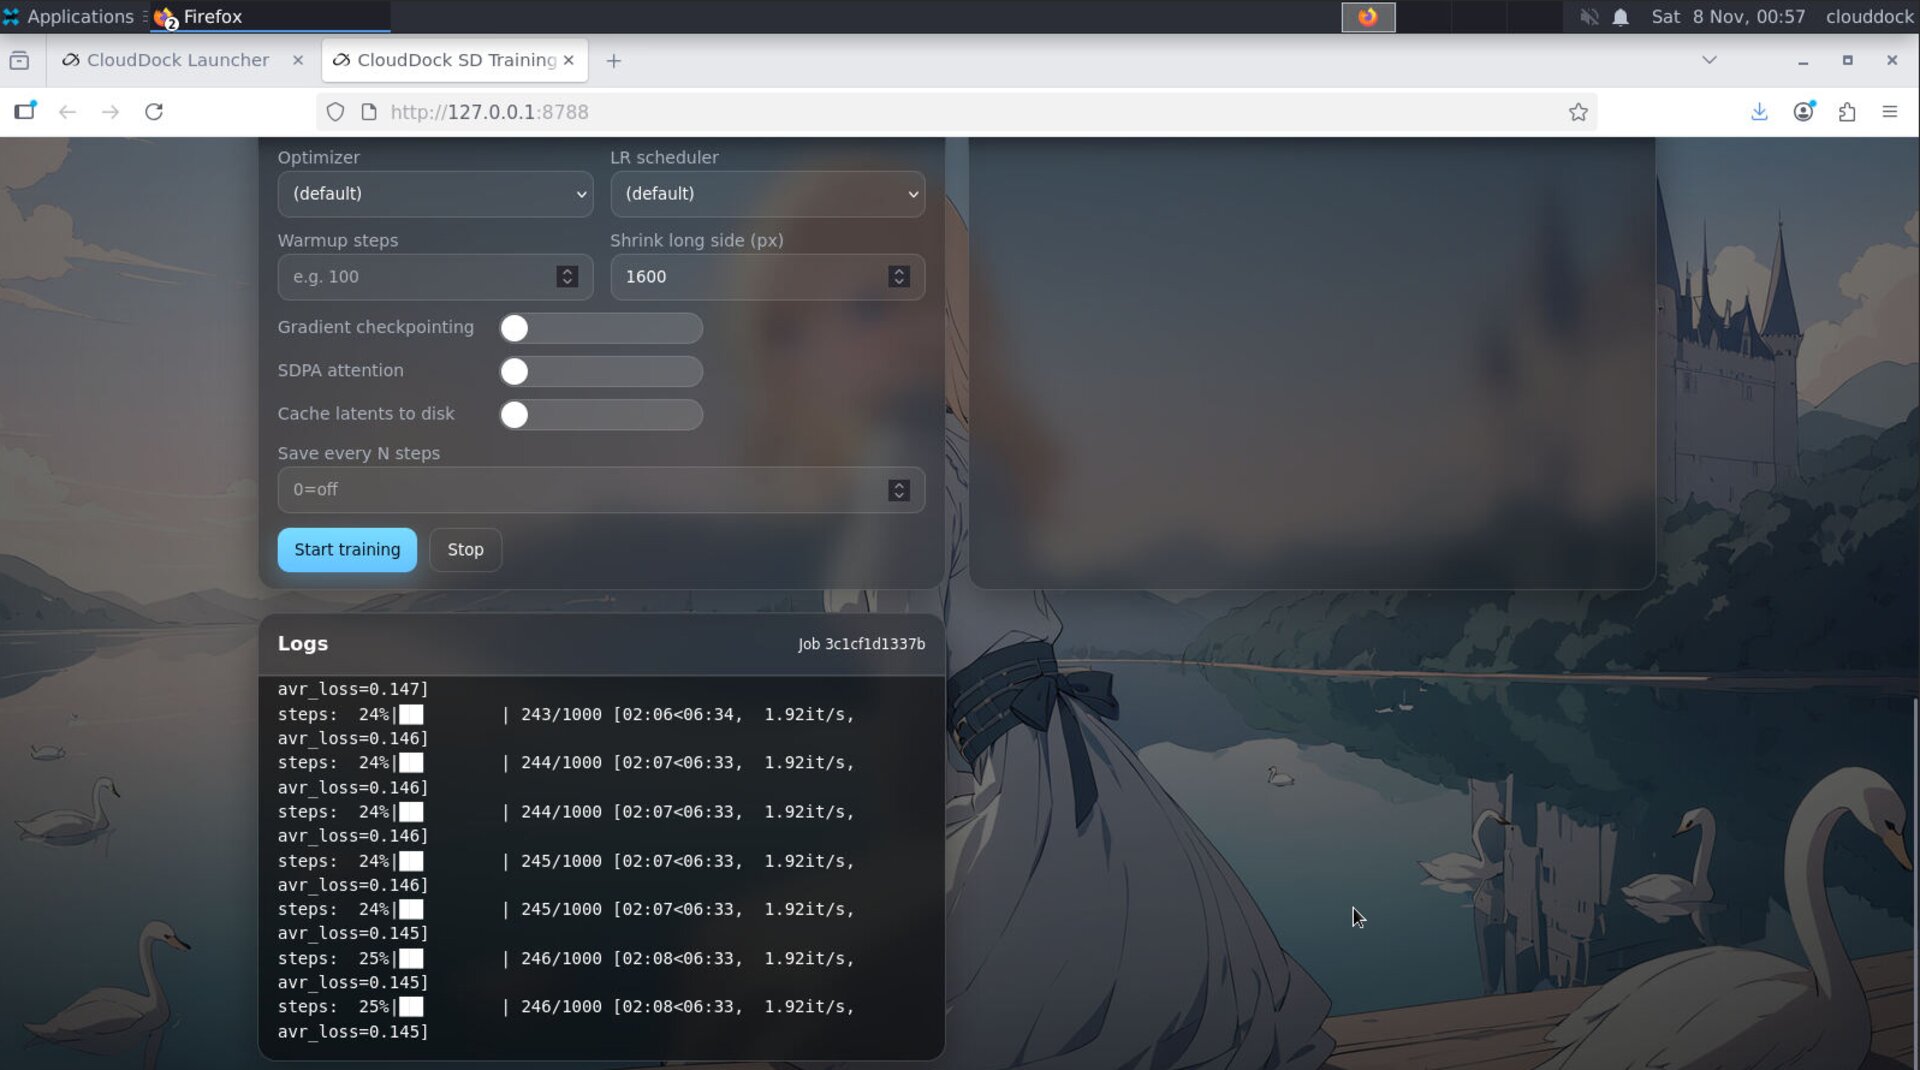
Start & monitor
- Click Start. The job appears in the queue with logs and an ETA.
- Use Pause / Resume if you need to free the GPU briefly.
- On interruption, you can Resume from the last checkpoint/step.
Outputs — use it in A1111
When a job finishes, the artifact (LoRA or DreamBooth checkpoint) is saved and registered for A1111. Switch to A1111 and hit the refresh buttons next to the model lists:
- LoRA → appears in the LoRA panel / list
- DreamBooth checkpoint → appears in Stable Diffusion checkpoint selector
A1111 Default LoRA model path:
/home/clouddock/stable-diffusion-webui/models/Lora/Note: When you select a LoRa model in A1111, please ensure that the checkpoint in the upper left corner of the page is the same as the model/checkpoint you used to train this LoRa model; otherwise, you will not see your LoRa file in the list below.
A1111 Default DreamBooth checkopint path:
/home/clouddock/stable-diffusion-webui/models/Stable-diffusion/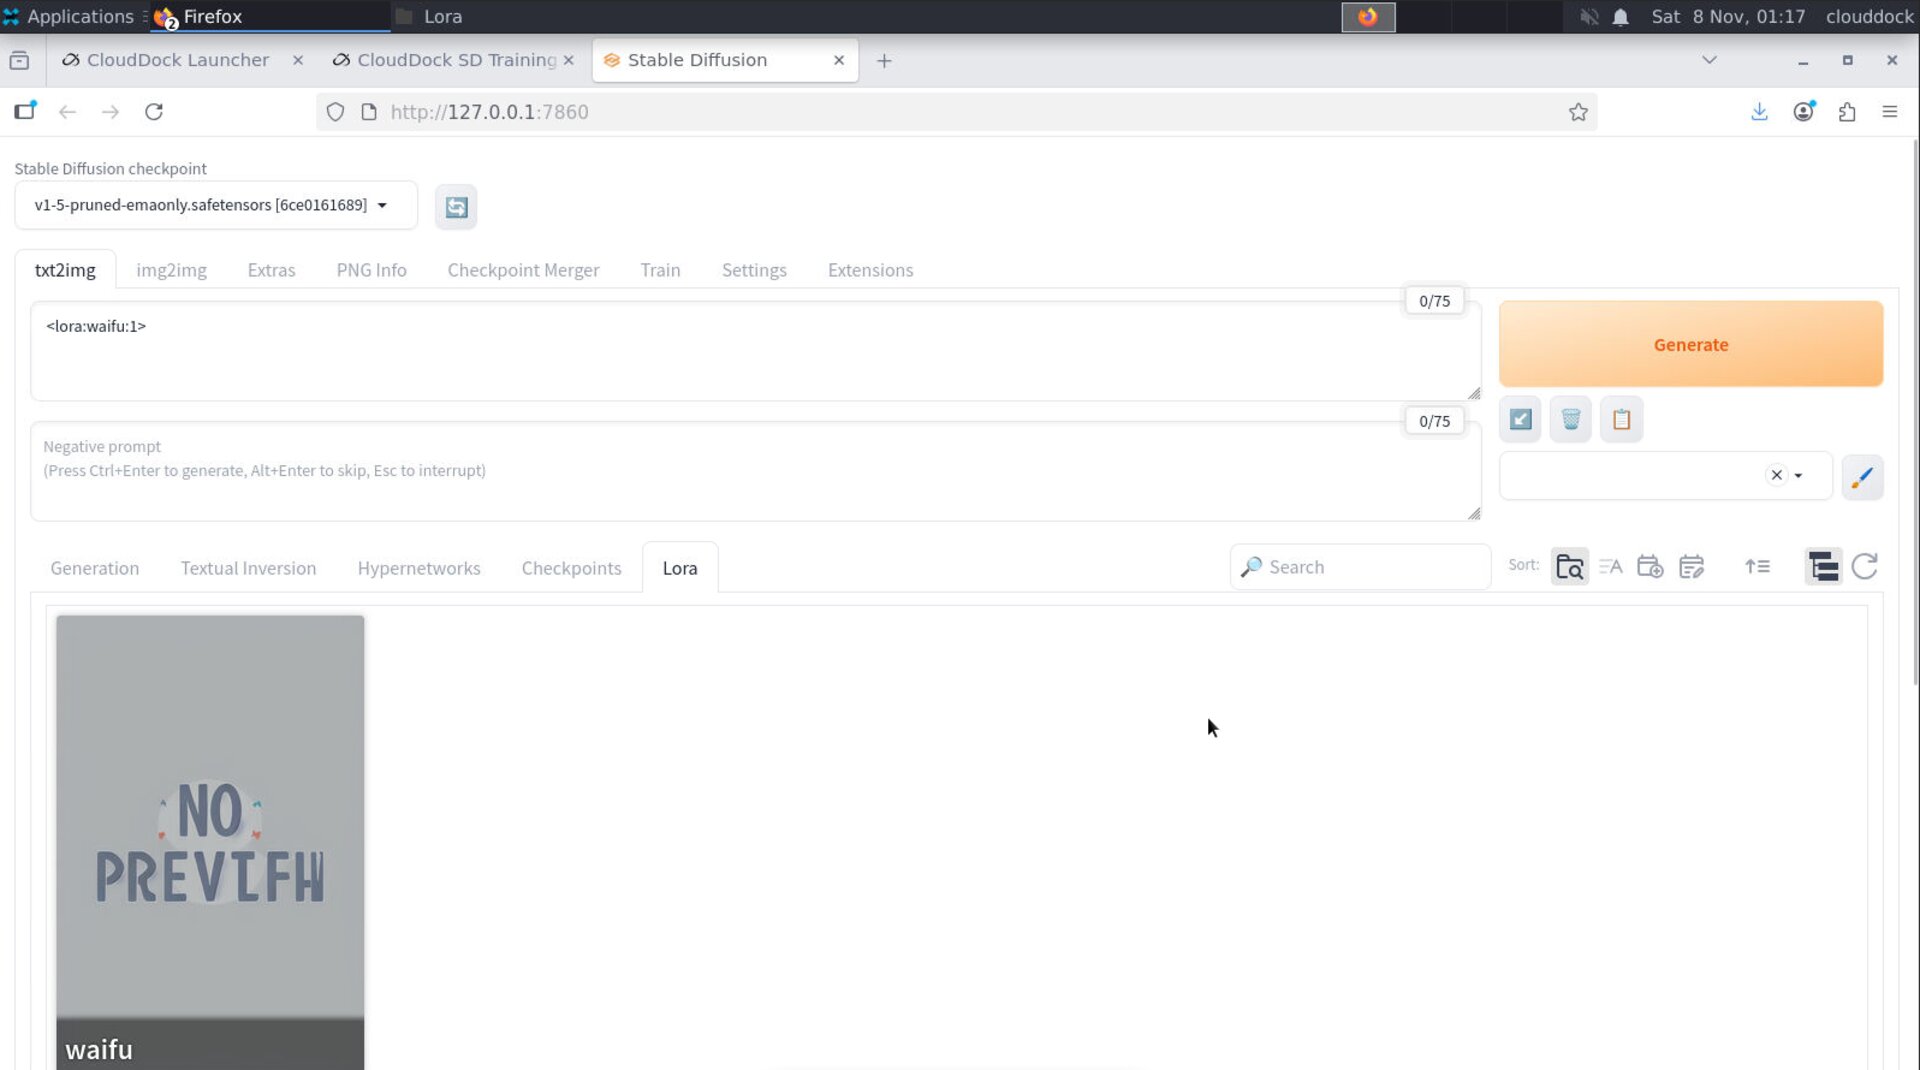
<lora:NAME:0.7>.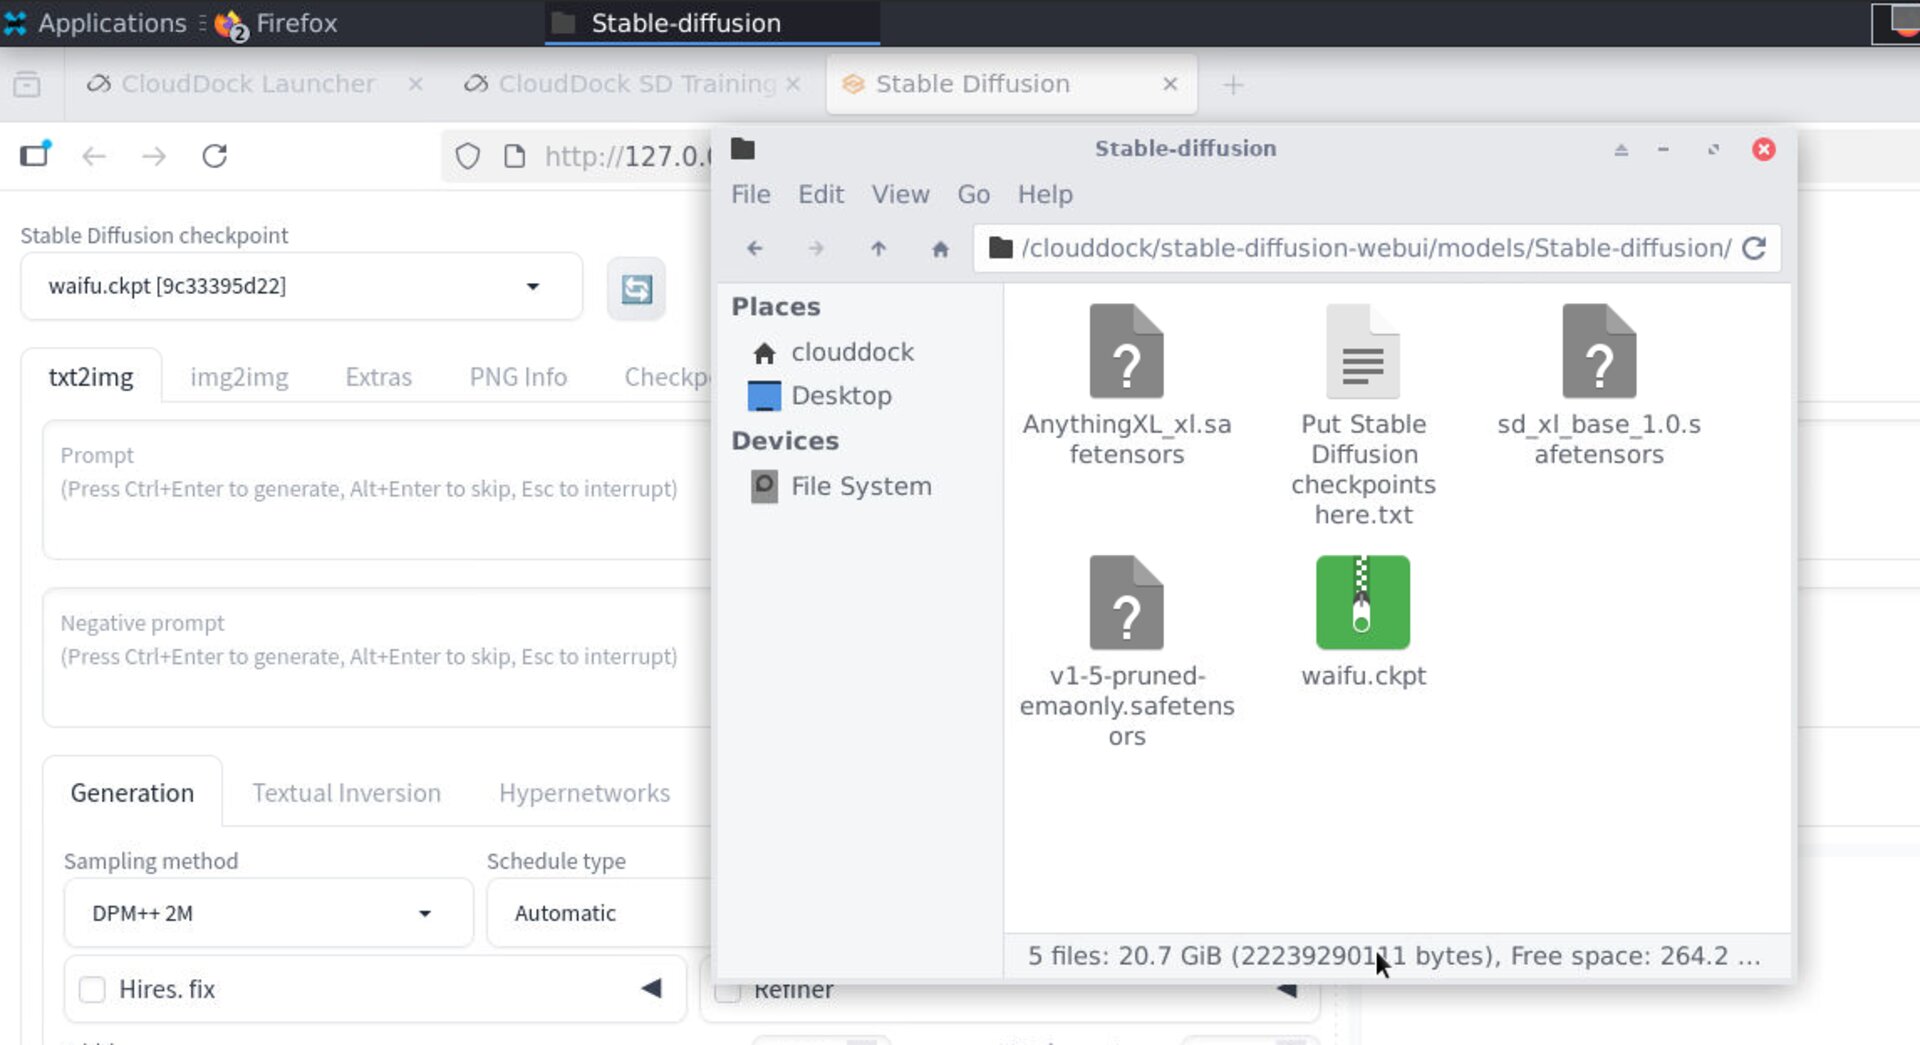
Quick recipes
LoRA: single character portrait
- Preset: LoRA · Portrait (SD 1.5)
- Resolution: long side ~512–768
- Auto-caption: optional (start A1111 first)
DreamBooth: mascot / brand style
- Preset: DreamBooth · Full-body (SD 1.5) or XL if you know you’ll generate in XL
- Steps: start moderate; resume if needed
Troubleshooting
Auto-caption doesn’t start
- Ensure A1111 is running (start it from the Launcher). You can stop it after captioning to free VRAM.
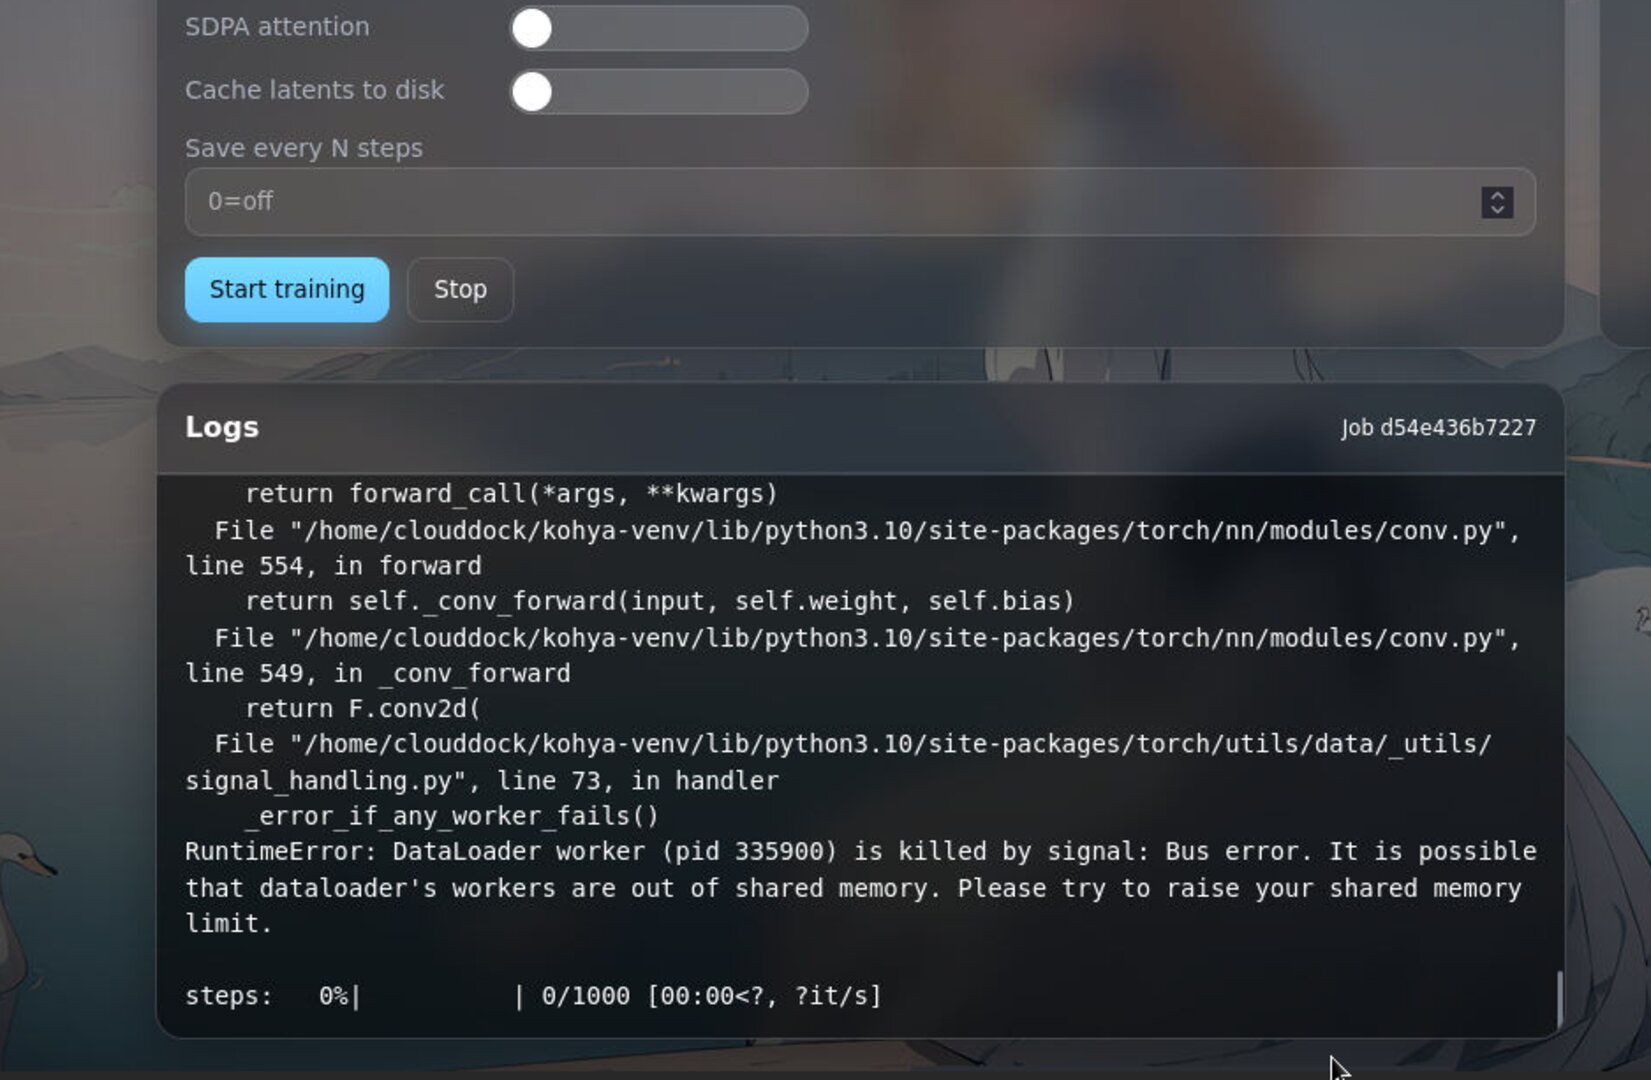
VRAM OOM or training stalls
- Lower resolution or batch; keep presets’ precision/settings.
- Close other GPU apps (e.g., A1111) during the training run.
Output doesn’t show in A1111
- Press the refresh buttons next to the model selectors in A1111.
- Confirm family match (1.5 vs XL) when selecting checkpoints/LoRAs.
Click Start page frozen?
- System needs about 5 minutes to prepare data after it starts, which is normal. Please wait patiently.