Overview
CloudDock’s Model Store SD Center lists popular checkpoints and ControlNet models. Each card takes you to the official publisher page. Download there, then place the file into your A1111 folder. Finally, refresh model lists in A1111.
Base path: /home/clouddock/stable-diffusion-webui/

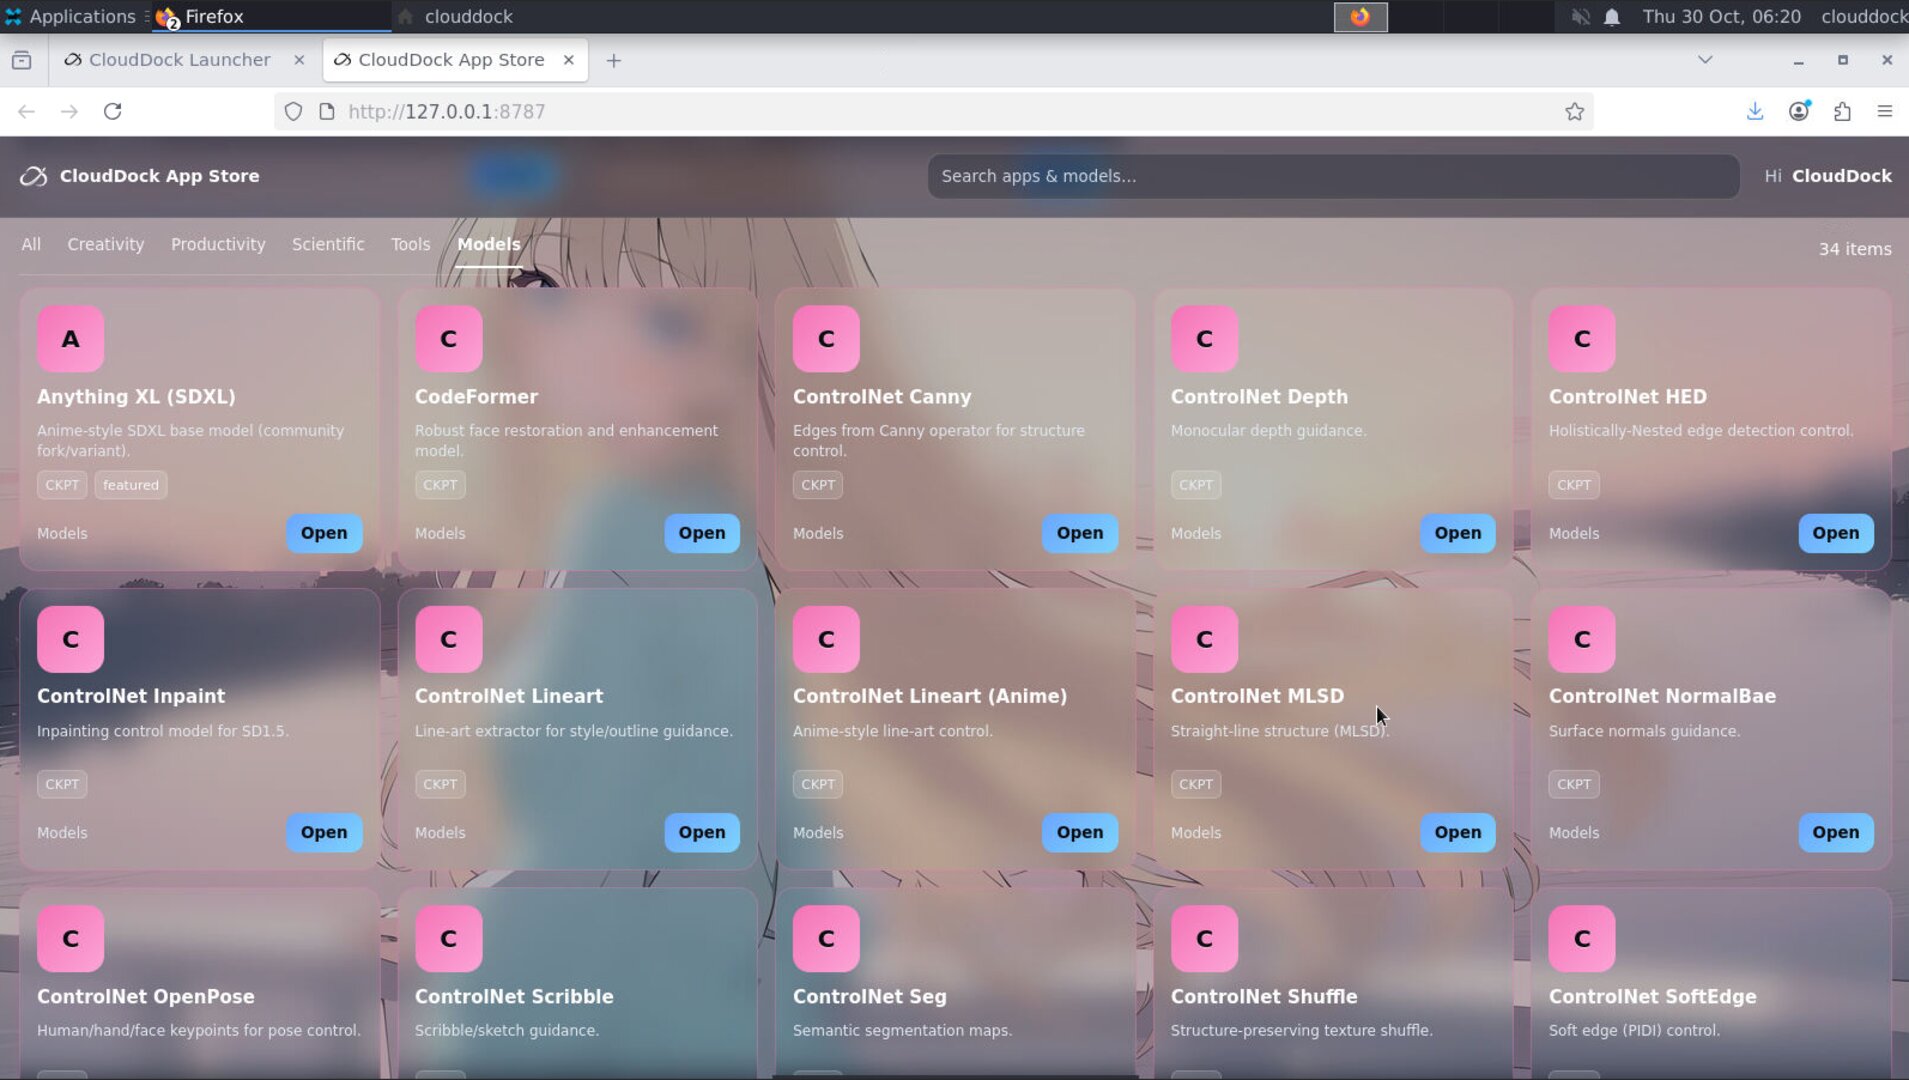
What you can install
- Checkpoints — base models (SD 1.5 / SDXL families). File type:
.safetensors(recommended). - ControlNet models — ControlNet weights (e.g., canny, openpose, depth, etc.).
Note: Some publishers require a login/token to download. Respect licenses and terms.
Install in 3 minutes
- Open App Store → SD Library, pick a model card, and click to open the publisher page.
- Download the model file (
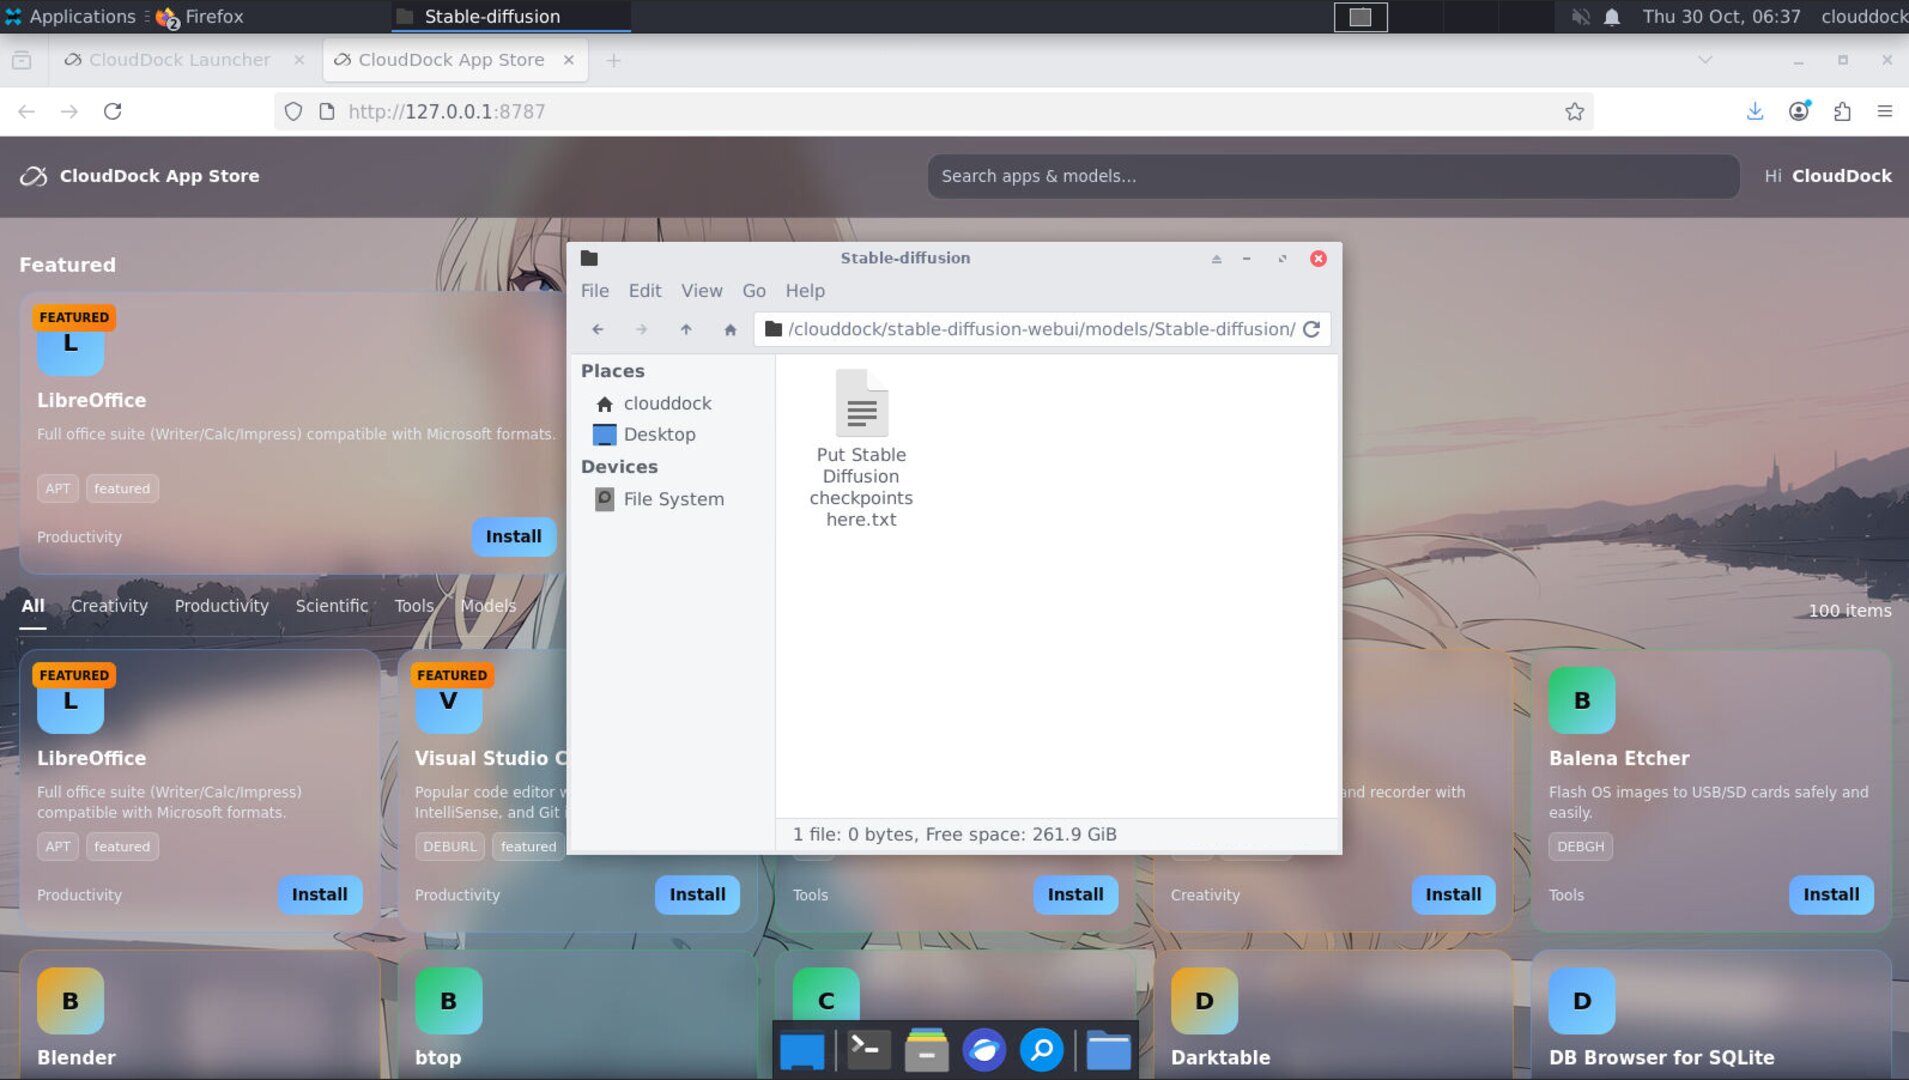
.safetensorsrecommended). - Place the file into your A1111 folder paths below.
- In A1111, hit the refresh buttons (or “Reload UI”) so the model shows up.
A1111 folder paths
Base: /home/clouddock/stable-diffusion-webui/
- Checkpoints:
models/Stable-diffusion/ - ControlNet: prefer
models/ControlNet/
If your install uses the extension’s legacy path, useextensions/sd-webui-controlnet/models/
Copy examples (Terminal)
# Navigate to your A1111 root
cd /home/clouddock/stable-diffusion-webui/


# Checkpoints → models/Stable-diffusion/
mkdir -p models/Stable-diffusion
mv ~/Downloads/my_checkpoint.safetensors models/Stable-diffusion/


# ControlNet → models/ControlNet/ (preferred)
mkdir -p extensions/sd-webui-controlnet/models/
mv ~/Downloads/control_v11p_sd15_canny.safetensors extensions/sd-webui-controlnet/models/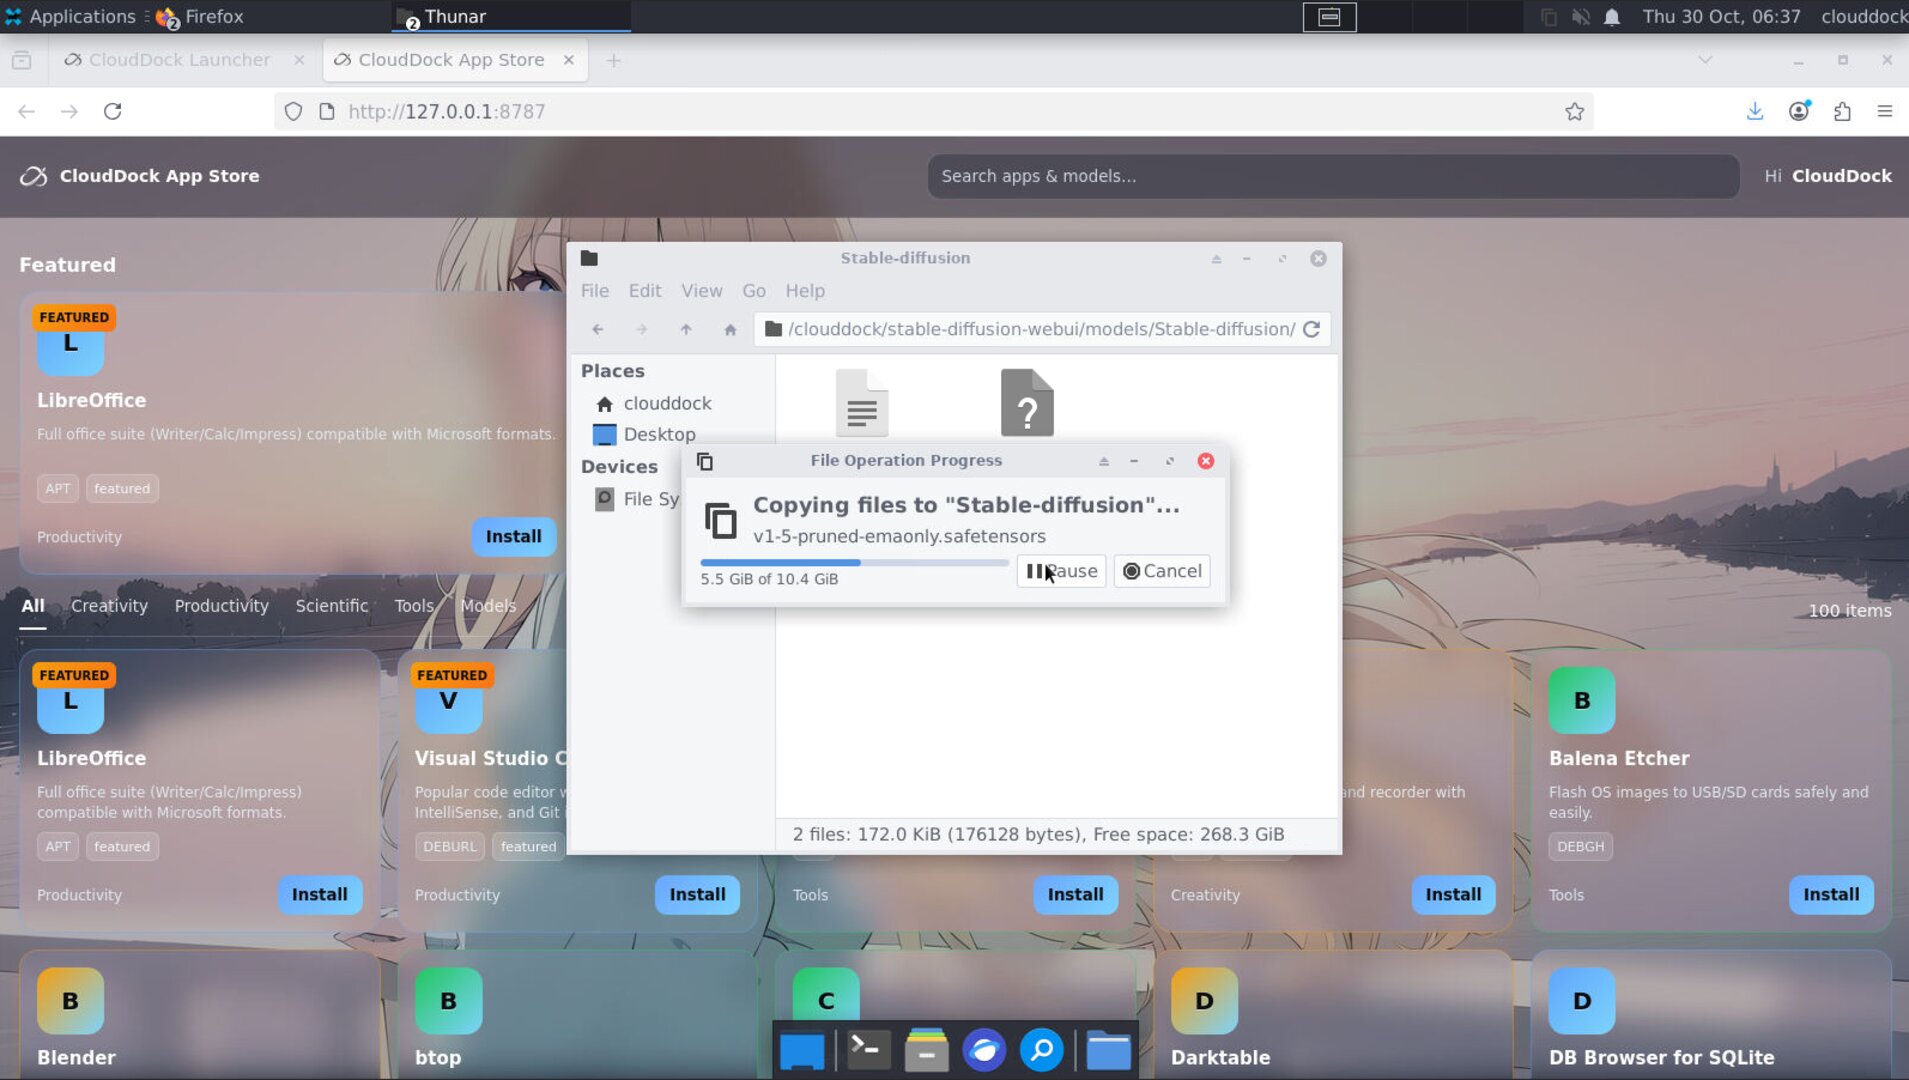
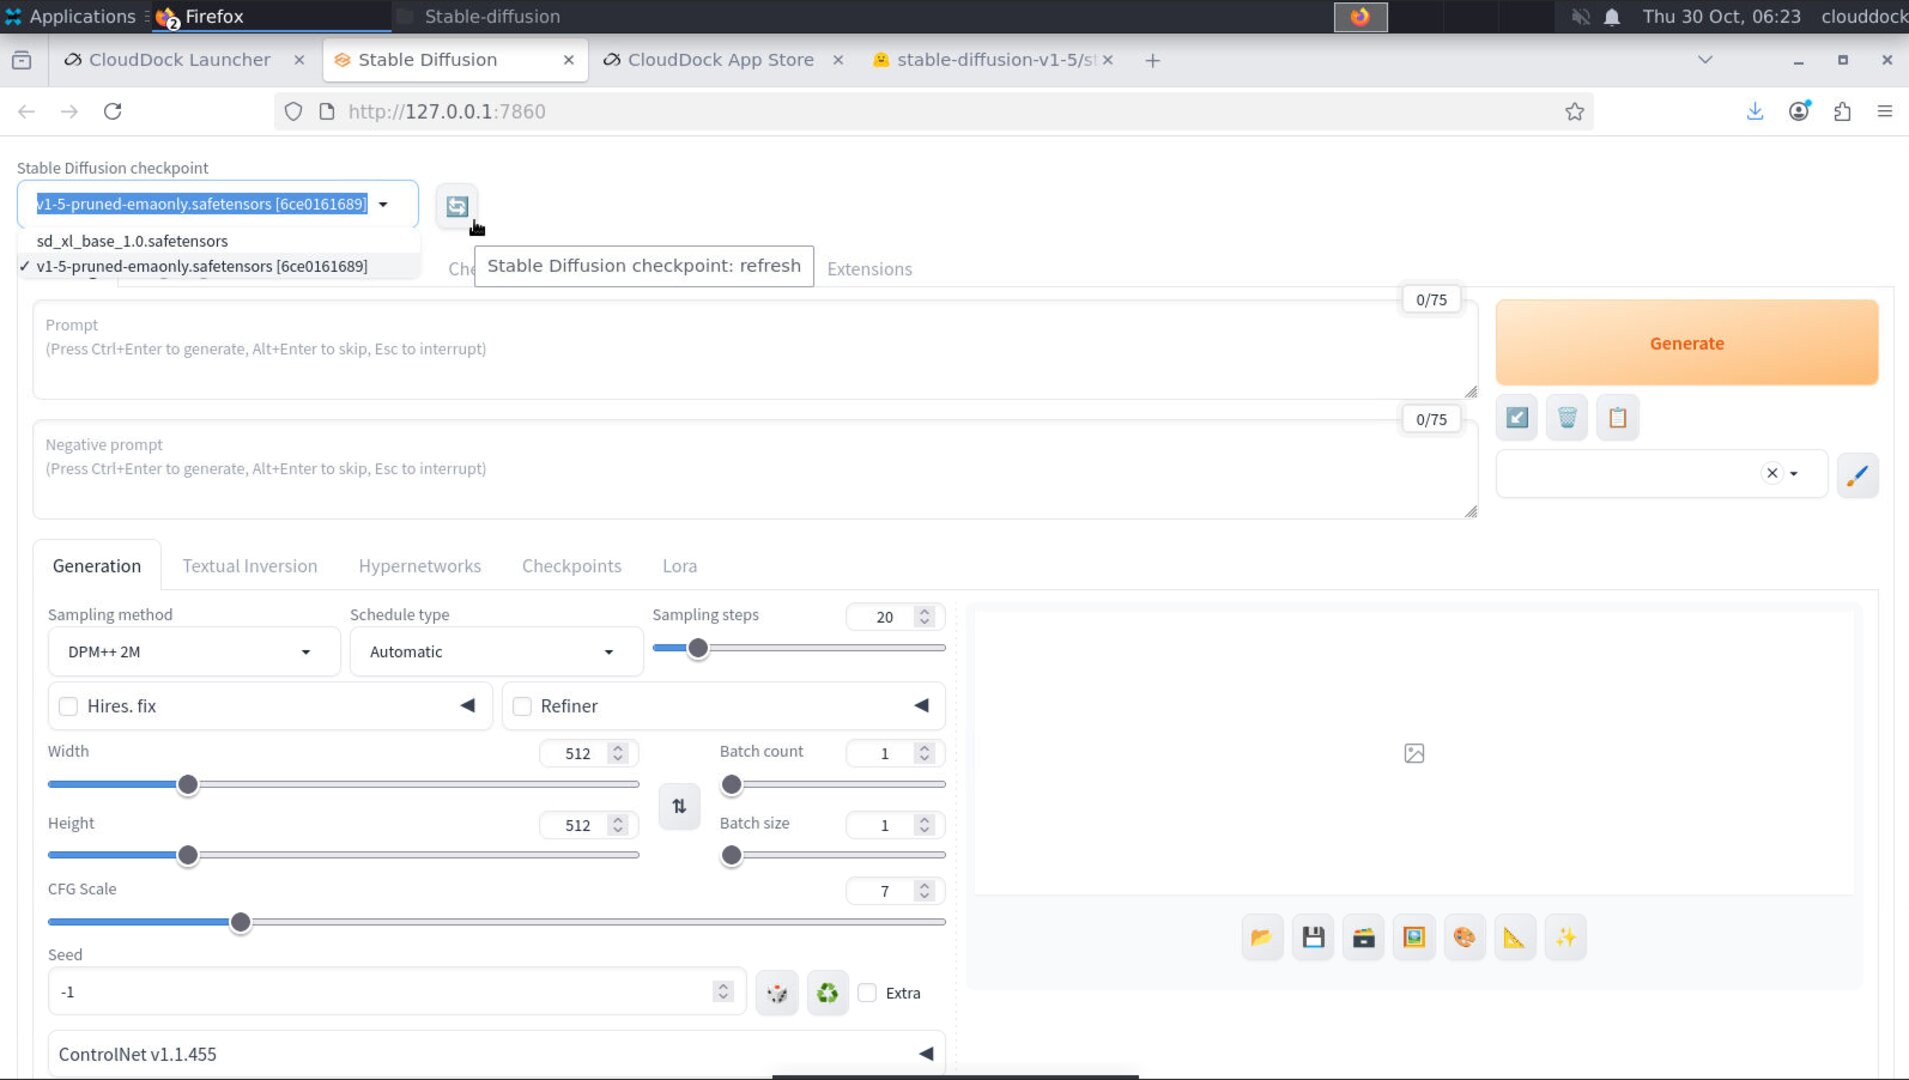
Refresh lists in A1111
In A1111, click the refresh icons next to the Stable Diffusion checkpoint selector and the ControlNet model selector. If needed, use Settings → Reload UI or restart the SD app from the Launcher (Open → Continue).
Use them in generation
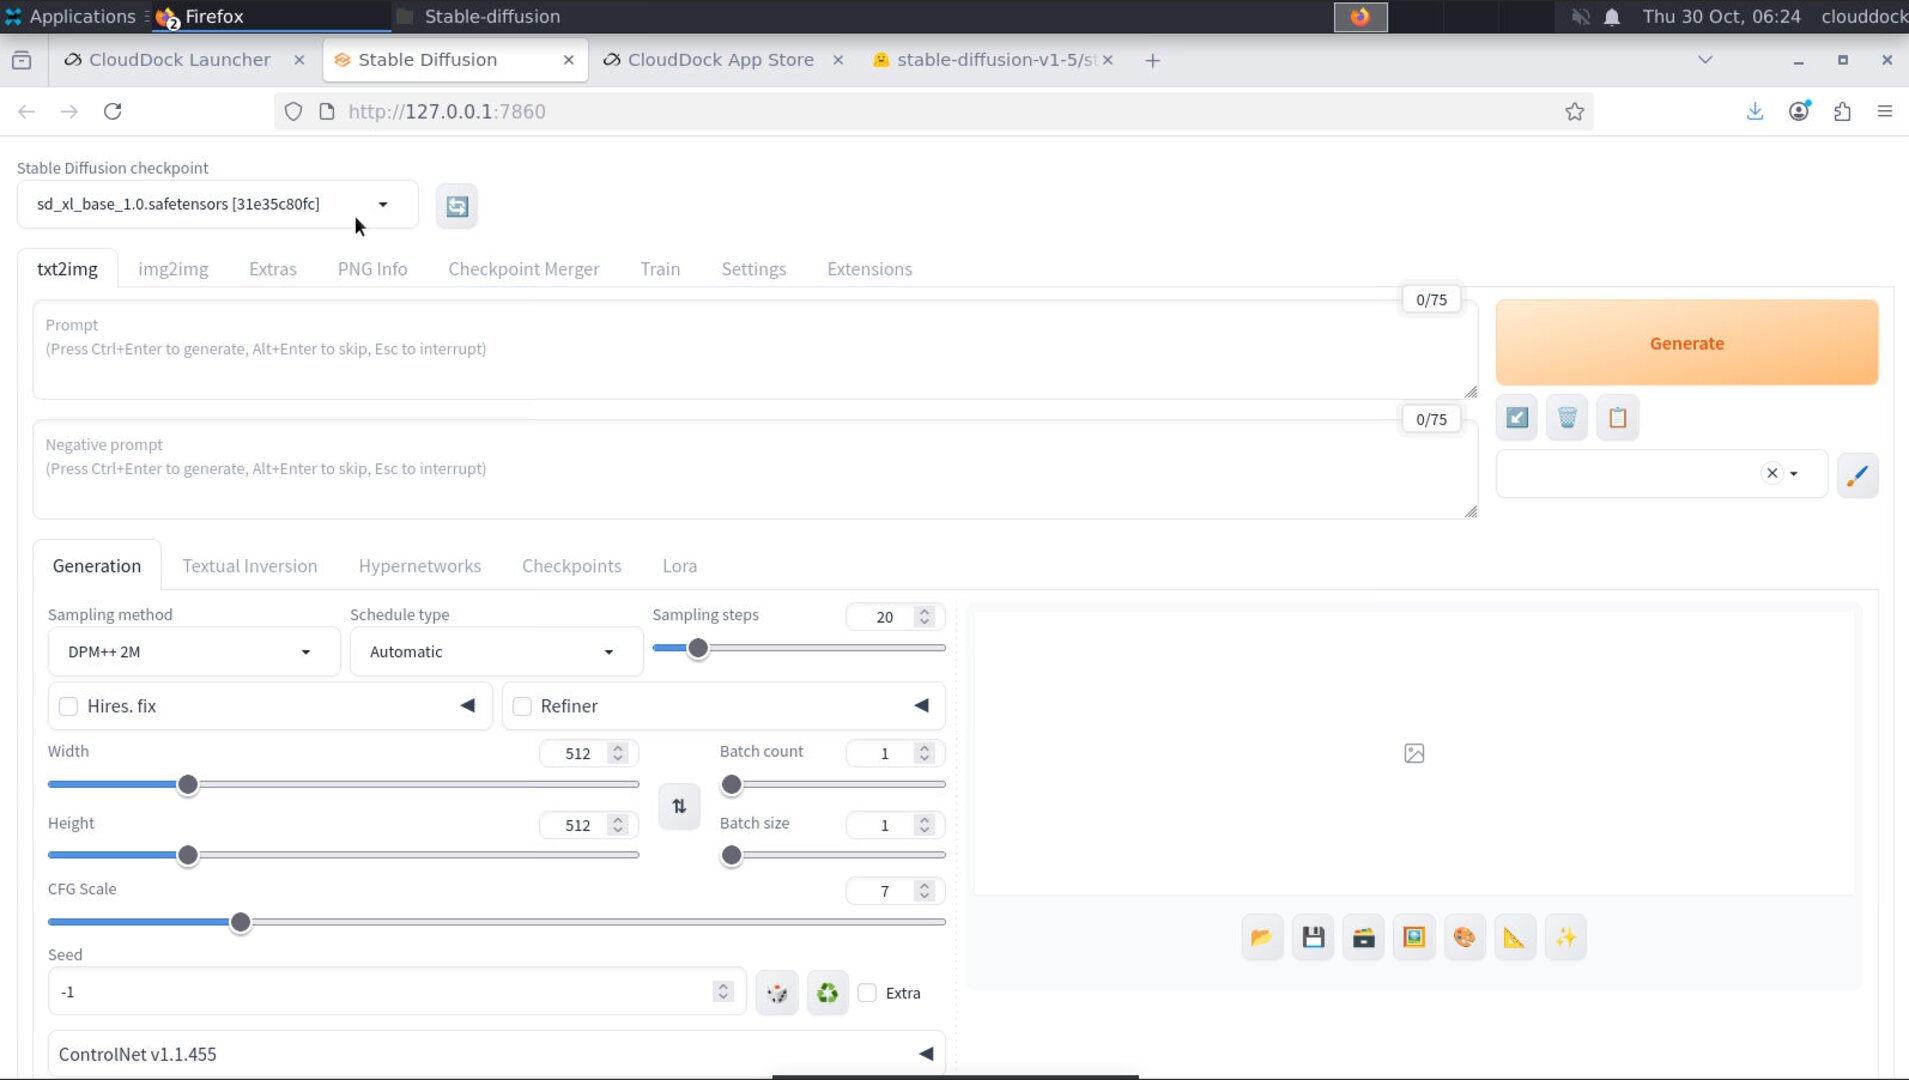
Pick a checkpoint
Choose your Stable Diffusion checkpoint first (SD 1.5 vs SDXL matters). Then enter your prompt and generate. If you’ll layer a LoRA later, remember: checkpoint first, LoRA second.
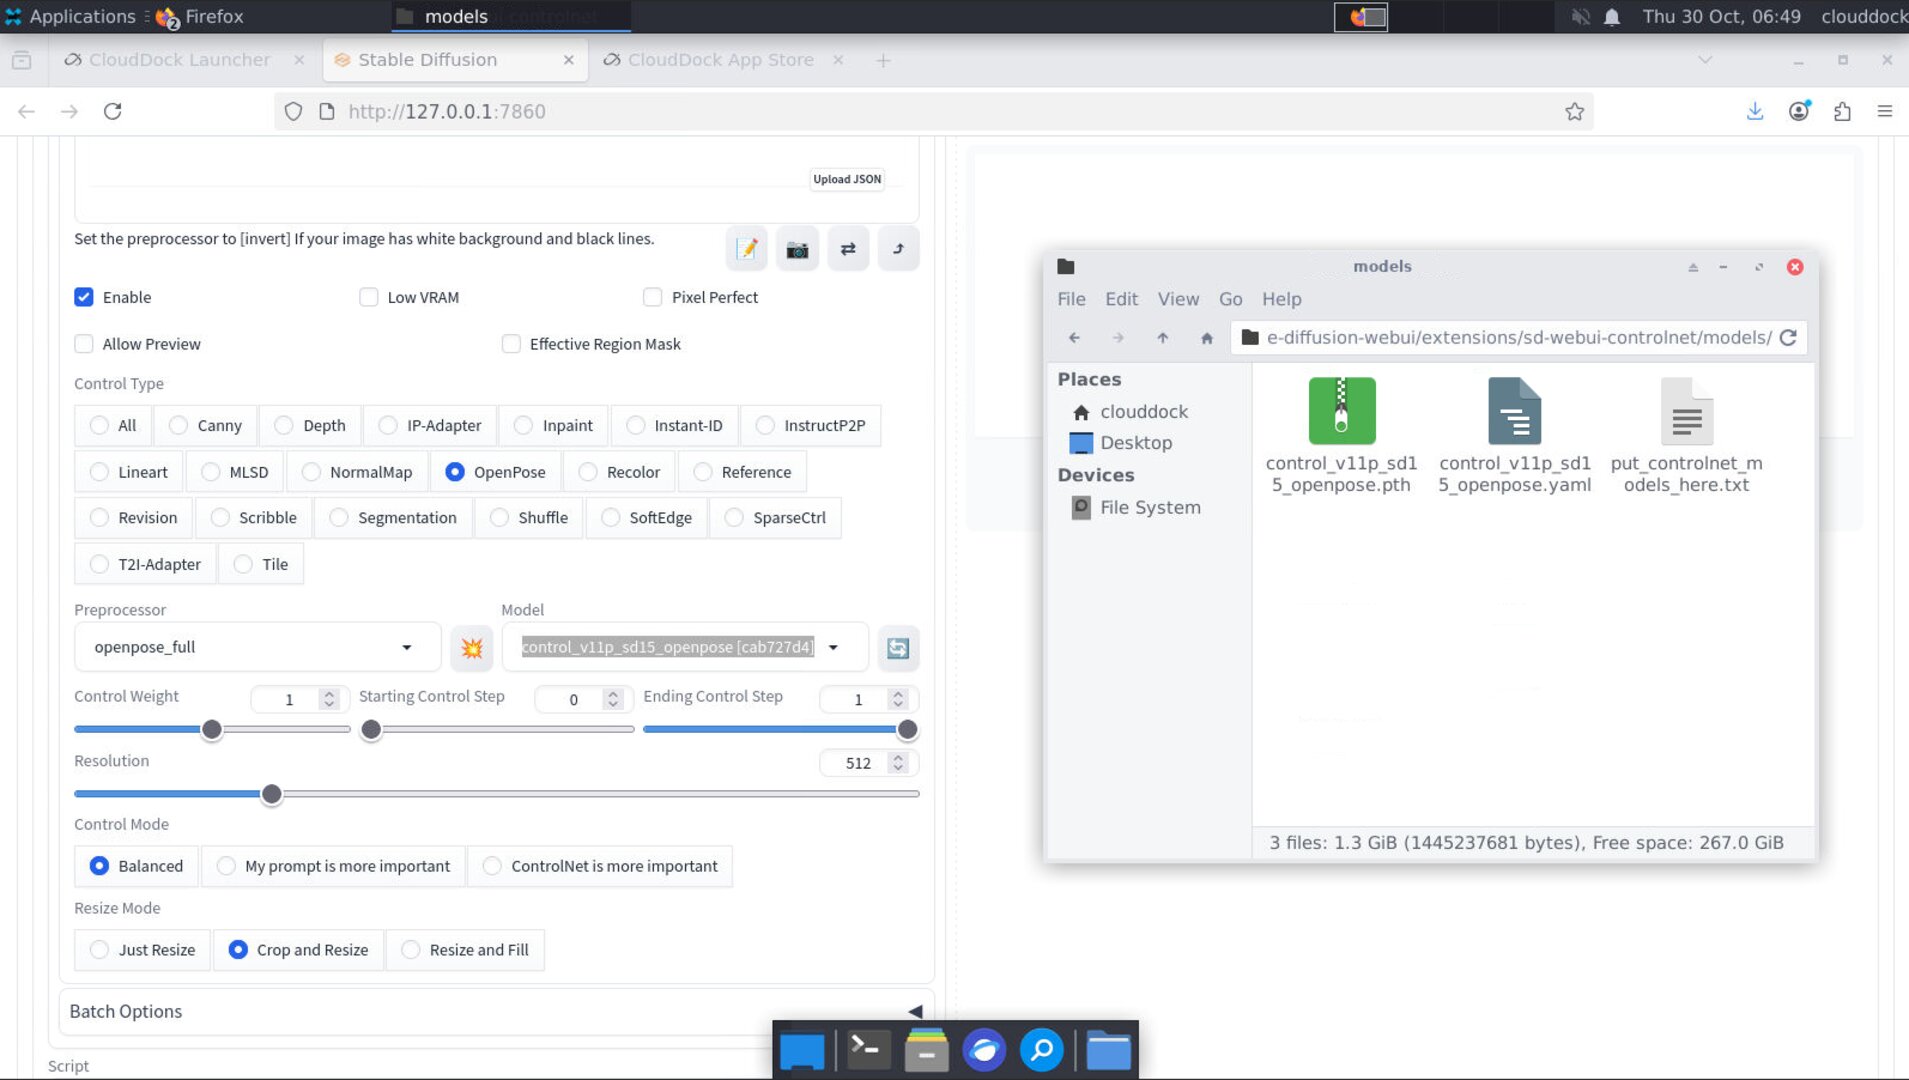
Enable ControlNet
- Open the ControlNet section in txt2img/img2img.
- Turn it ON, pick your ControlNet model (e.g., canny/openpose/depth).
- Provide the required input (e.g., reference image / canny edge / openpose). Keep settings simple for the first try.
Important: ControlNet models required BOTH .pth file (DO NOT EXTRACT) , and a yaml file at the same time.
Quick check
- New checkpoint appears in the dropdown and generates an image.
- New ControlNet model shows in the panel, “Preprocessor: none” works for canny/openpose when you upload proper inputs.
Troubleshooting
Model doesn’t show up
- Wrong folder? Check paths under
/home/clouddock/stable-diffusion-webui/. - Filename extension? Use
.safetensorsif available. - Hit the refresh icons or “Reload UI”.
Images look “off”
- Mismatched family (SD 1.5 vs SDXL). Pick a checkpoint that matches the model/recommendation.
- Too aggressive settings (CFG too high, huge resolution). Use the sane ranges from the quality guide.
VRAM error
- Lower resolution (keep 700–1200px dimension range first).
- Disable batches, simplify ControlNet usage (start with one ControlNet).
Licensing & safety
CloudDock links to publisher pages. You download directly from the source. Please follow each publisher’s license and terms; you are responsible for how you use the models.