What you’re about to do
CloudDock gives you a full GPU desktop in the browser. You don’t download Python. You don’t install CUDA. You don’t compile anything. You press Start in the Launcher, we boot Stable Diffusion (Automatic1111) in a clean, isolated environment with its own GPU access, and you can immediately generate art.
This page walks you through your very first image:
- Start Stable Diffusion from the Launcher
- Open the WebUI
- Type what you want
- Click Generate
- Save the result
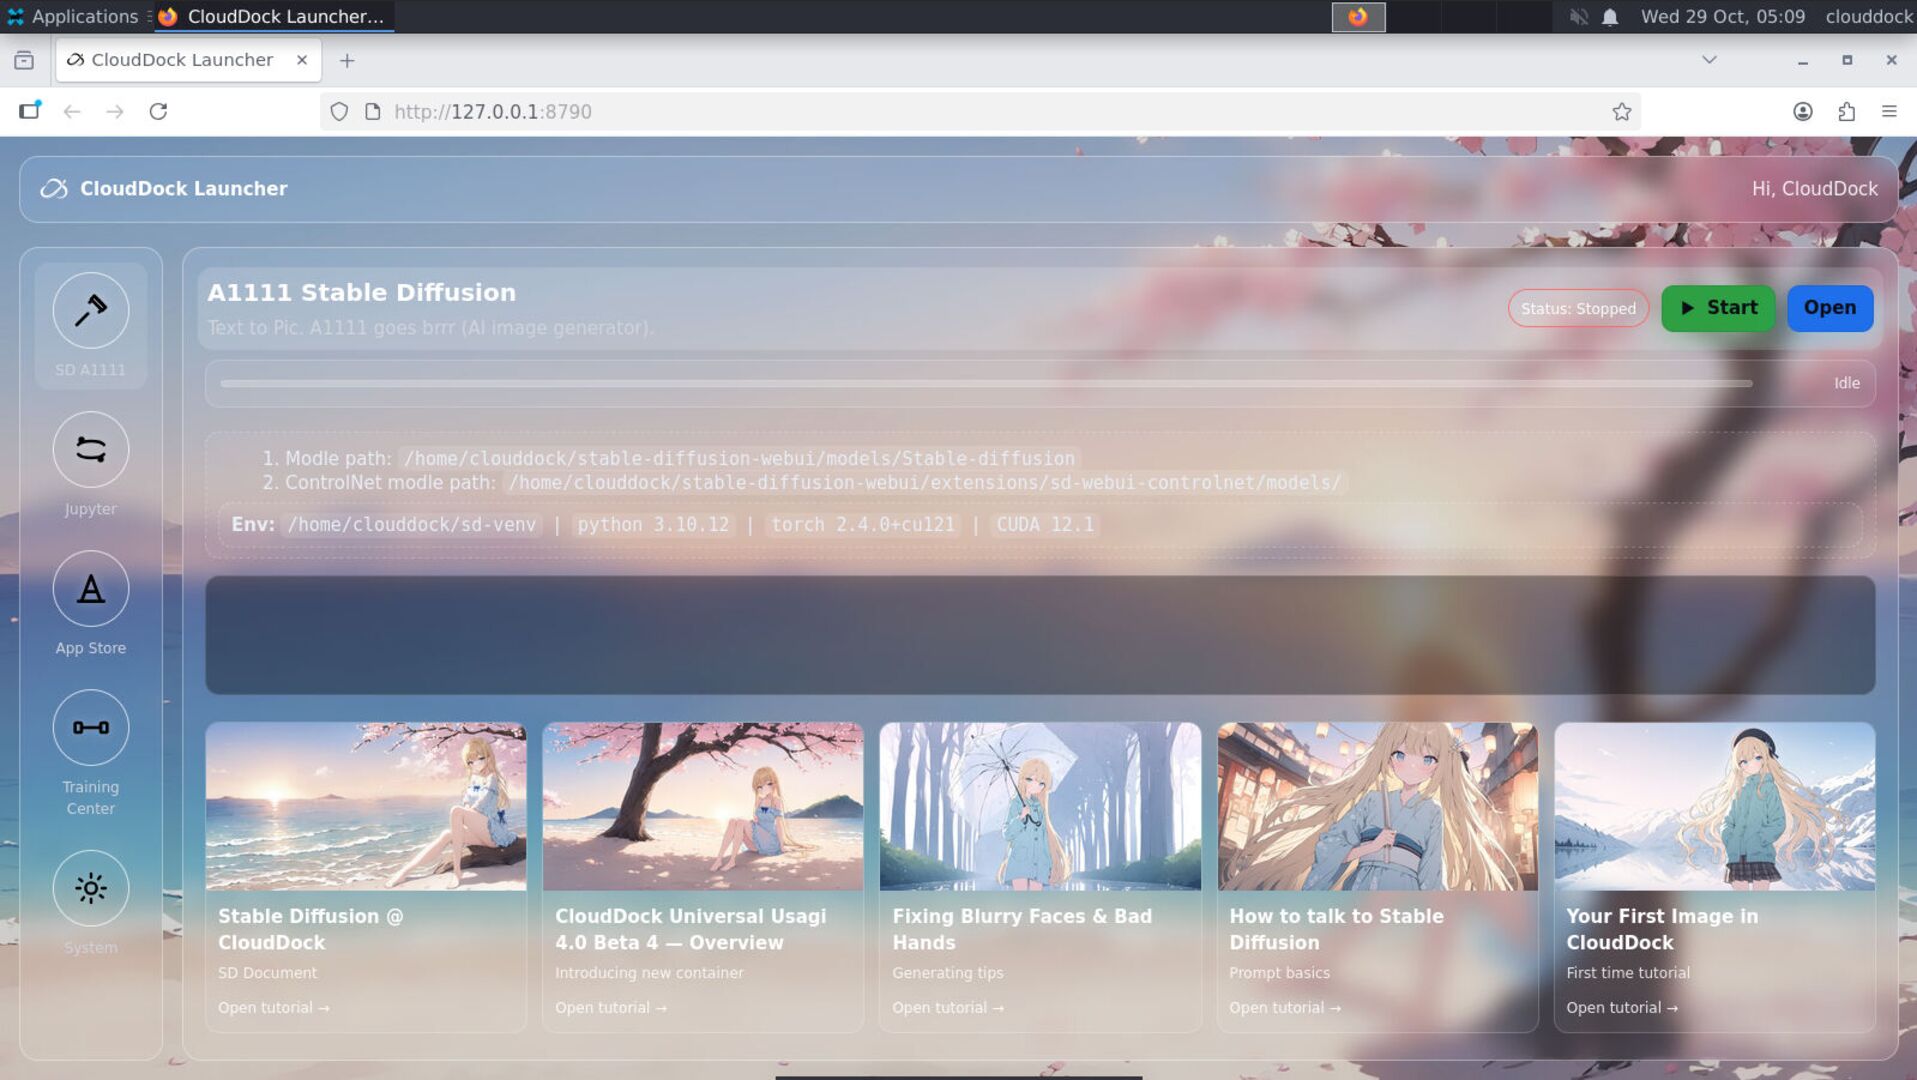
Step 1 — Start Stable Diffusion
In the CloudDock Launcher, find the card labeled Stable Diffusion / A1111. You’ll see a status button. Depending on timing it may say:
- Stopped — Stable Diffusion is not running yet, click this to boot it.
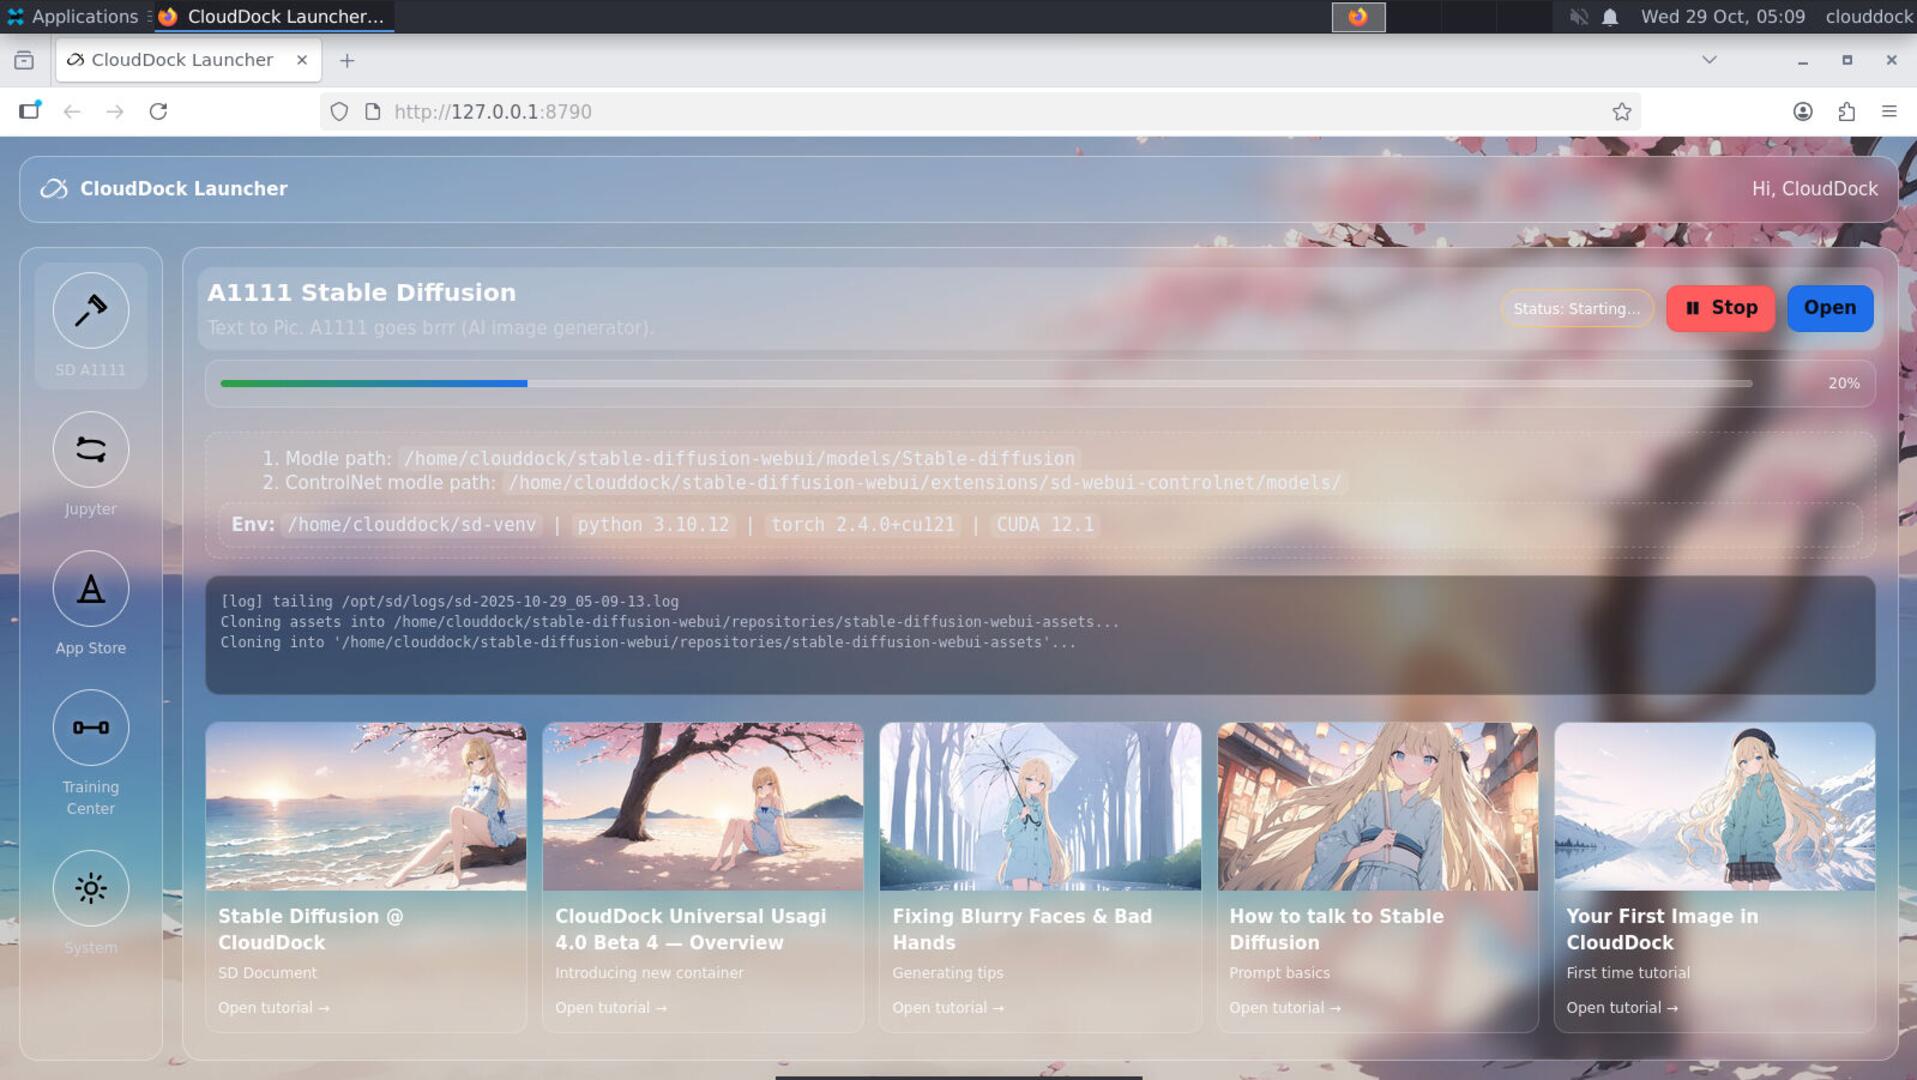
- Starting — we’re bringing the service online (please don’t spam click, we’re already working).
- Running — it’s live, you can go in now.
- Unknown — Please wait patiently for loading.
Click Start. We’ll spin up the Stable Diffusion backend, load the web interface, and attach GPU to it. You don’t need to install anything or enter a token.
Step 2 — Open the WebUI
When the button turns into Open, click it. A new browser tab (or pane) will show the Stable Diffusion interface (this is the well-known A1111 UI).
You’re now inside your personal GPU workspace. This is running on our hardware, but it’s isolated to you; nobody else is using this exact session. You can close and come back with Open as long as the session is still active.
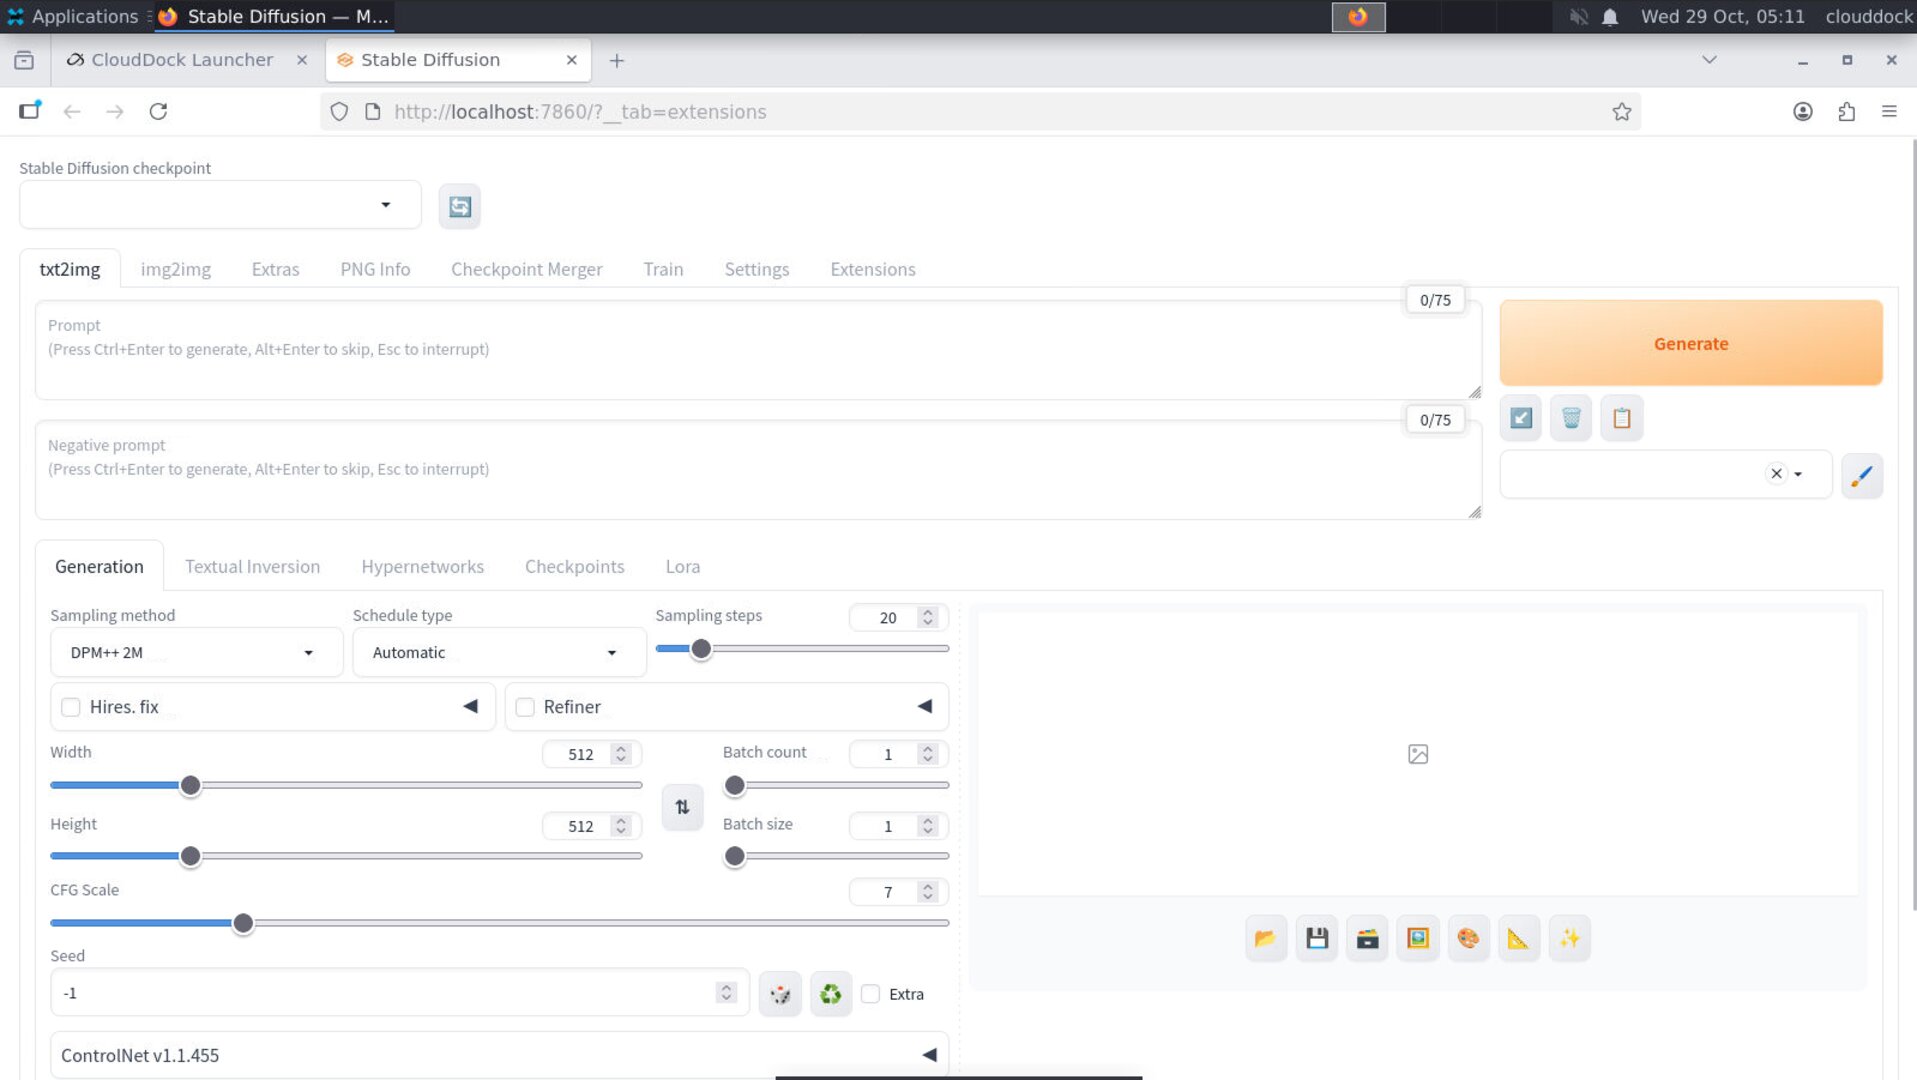
Step 3 — Tell it what you want
In the top left corner Stable Diffusion checkpoint, select the v1-5-pruned-emaonly.safetensors:
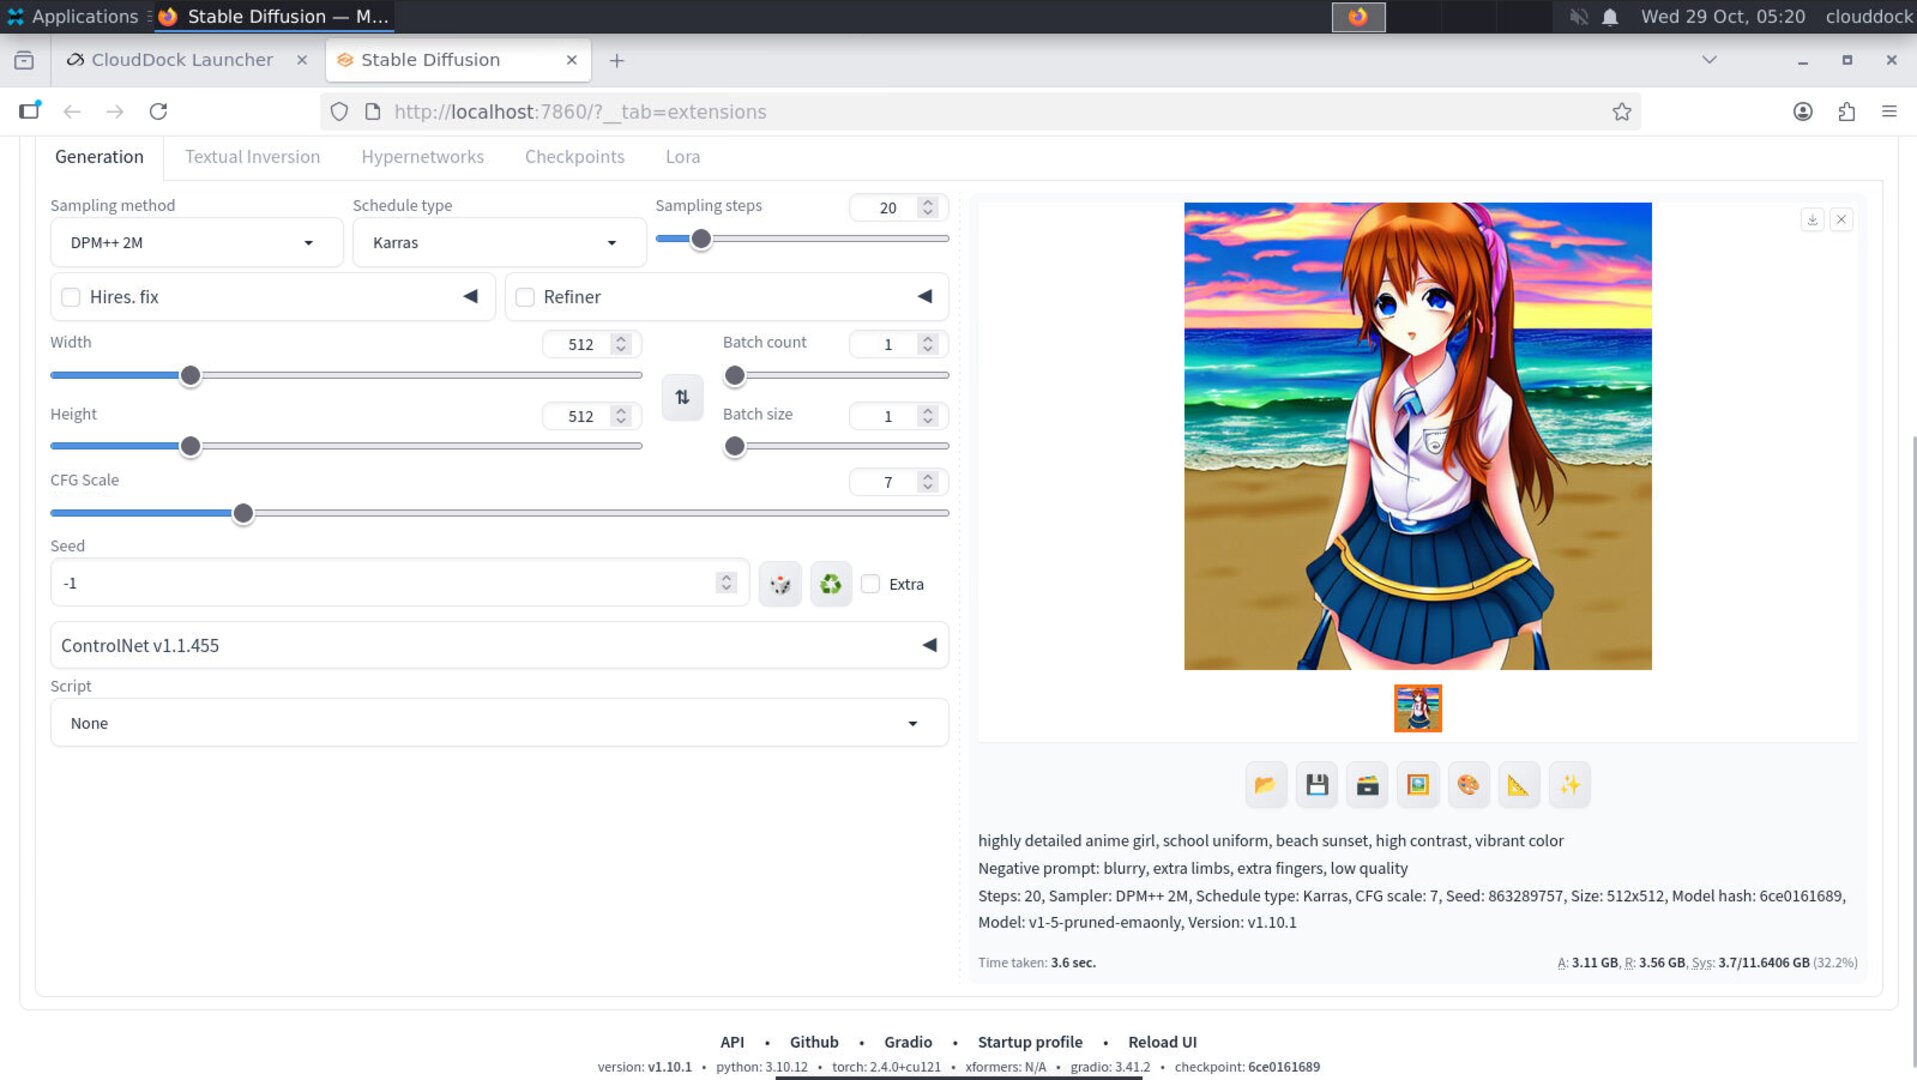
In the box called Prompt, describe what you want in plain English. Keep it simple at first:
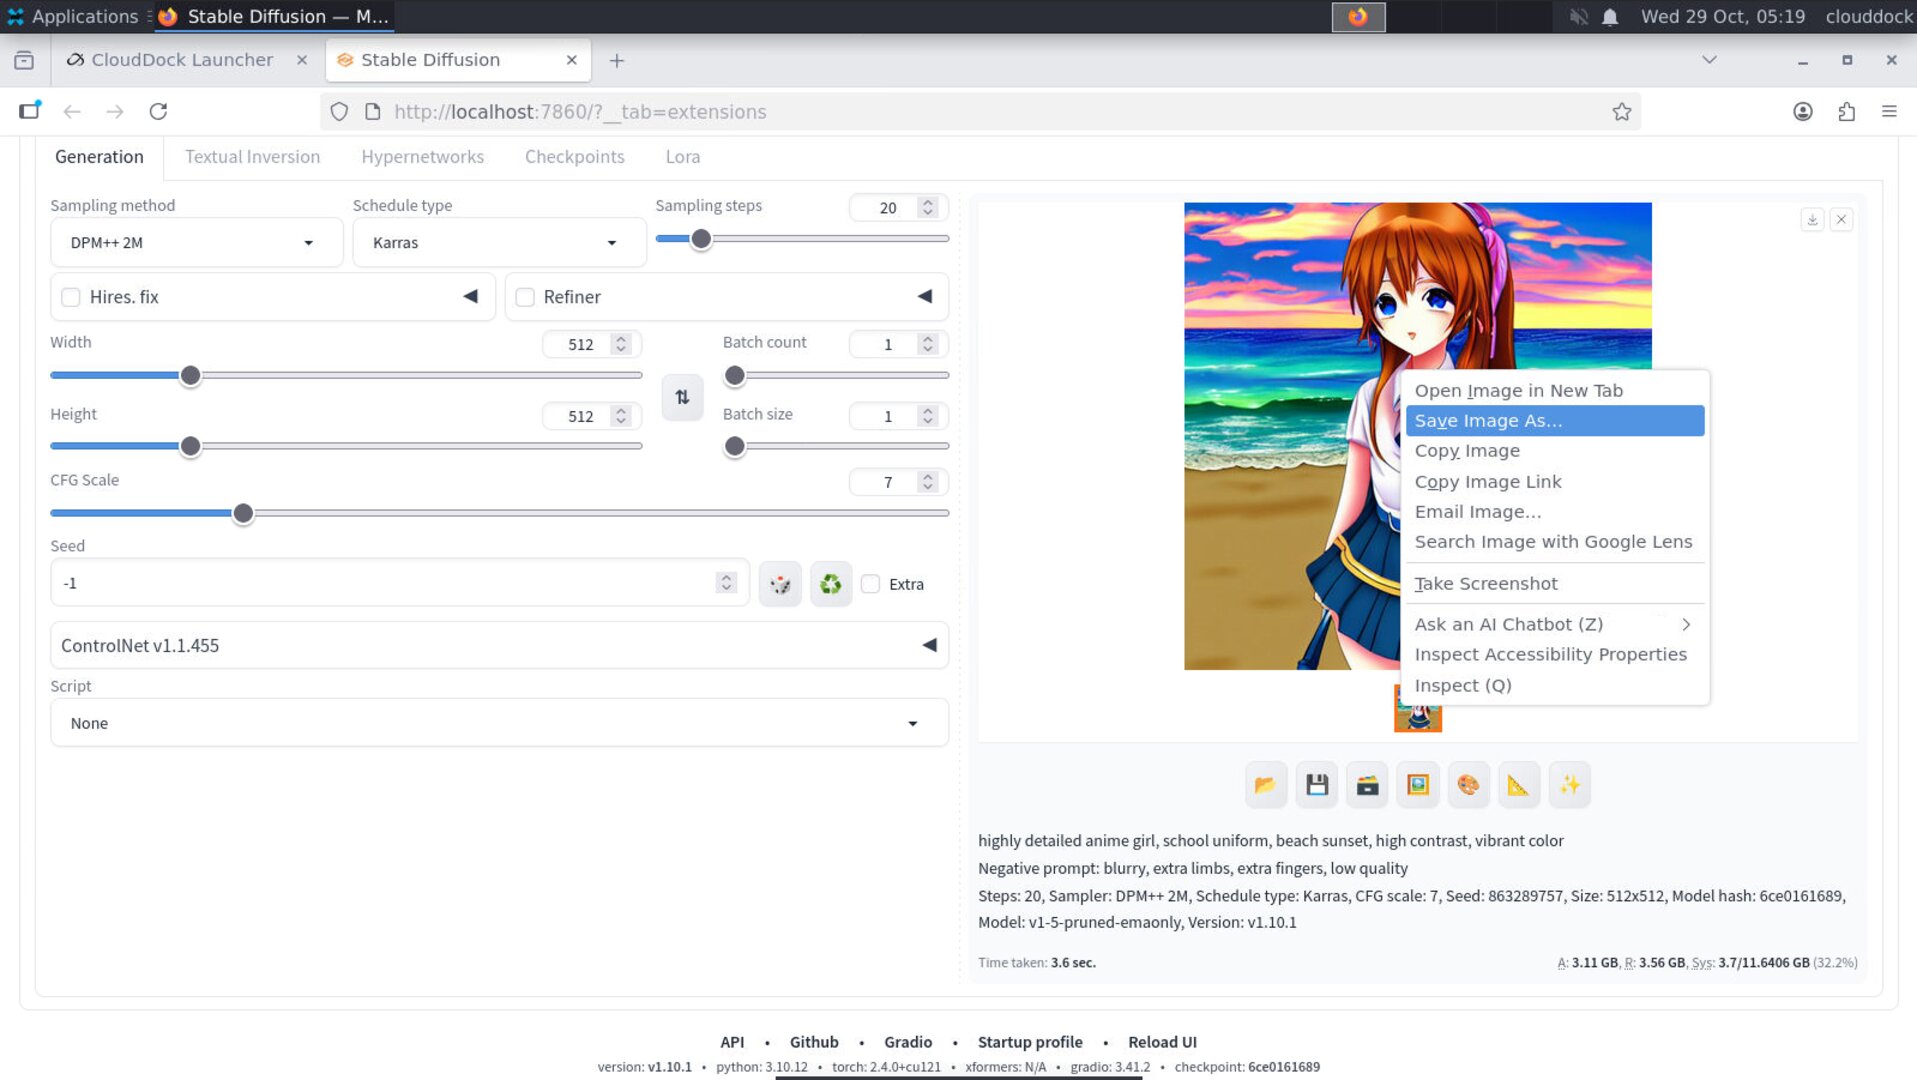
highly detailed anime girl, school uniform, beach sunset, high contrast, vibrant colorIn the box called Negative prompt, you can list stuff you don’t want. For example:
blurry, extra limbs, extra fingers, low qualityDon’t overthink the sliders yet. Leave Steps, CFG, etc. at their defaults for your first try. You can tweak those later.

Step 4 — Generate
Click Generate.
The GPU will go to work and draw an image from scratch. The preview will appear on the right side. This usually takes a few seconds, and the first image can be a little soft — that’s normal. We’ll fix quality in a later guide.
Step 5 — Save your image
Under the preview, right click the image to Save or Download. Click Download to save the PNG/JPEG to your local machine.
That’s it. You’ve just done end-to-end AI image generation in the browser, on dedicated GPU hardware, without touching drivers, CUDA, Python, or weird install scripts.
If something looks weird
“The button says Processing and won’t open.”
That means we’re still starting the service for you. Give it a moment — don’t keep mashing Start. Repeated Start clicks don’t make it faster; they just spam requests.
“The page opened but it’s blank / super slow.”
Try lowering the default resolution before hitting Generate (for example, stay near 512×768 or 768×512 first). High resolutions eat VRAM fast, especially on smaller GPUs.
Also make sure your browser zoom isn’t at 200%. Chrome/Edge tend to behave best.
“Hands look cursed / face is mushy.”
Totally normal for raw first-pass output. We’ll fix this in the next guide using clean prompts and a couple sane sliders — no deep math.
“Can I bring my own character style?”
Yes, but that’s not this page. You have two upgrade paths:
- Model Library: pick an existing style / character LoRA that someone already trained, and apply it instantly.
- Training Center: teach CloudDock your own character / brand style and generate from that.