What is img2img?
img2img redraws an existing image using your Prompt. It’s perfect for:
- Polishing a good-but-soft result into a cleaner one
- Changing pose / angle while keeping the same character
- Shifting lighting or mood without starting from scratch
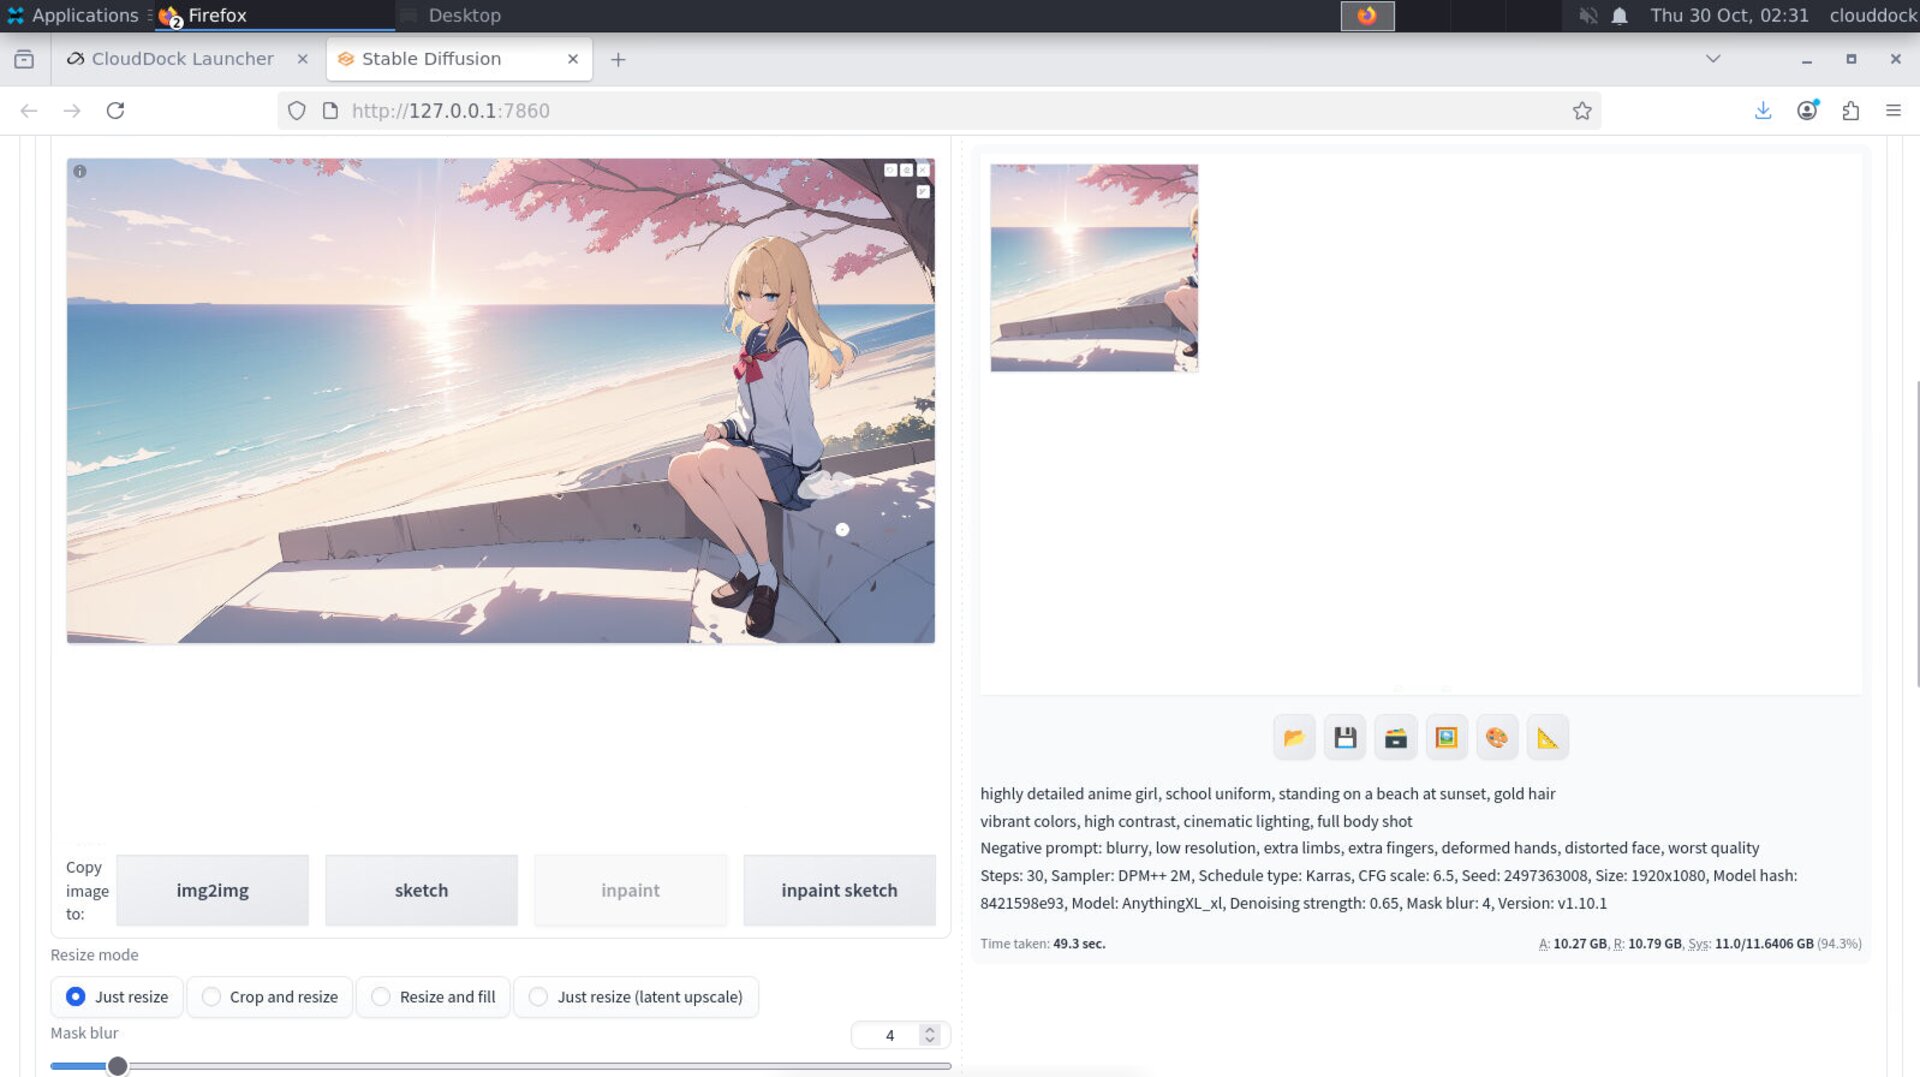
On CloudDock, just switch to the img2img tab in A1111, drop your source image, write a prompt, and generate.
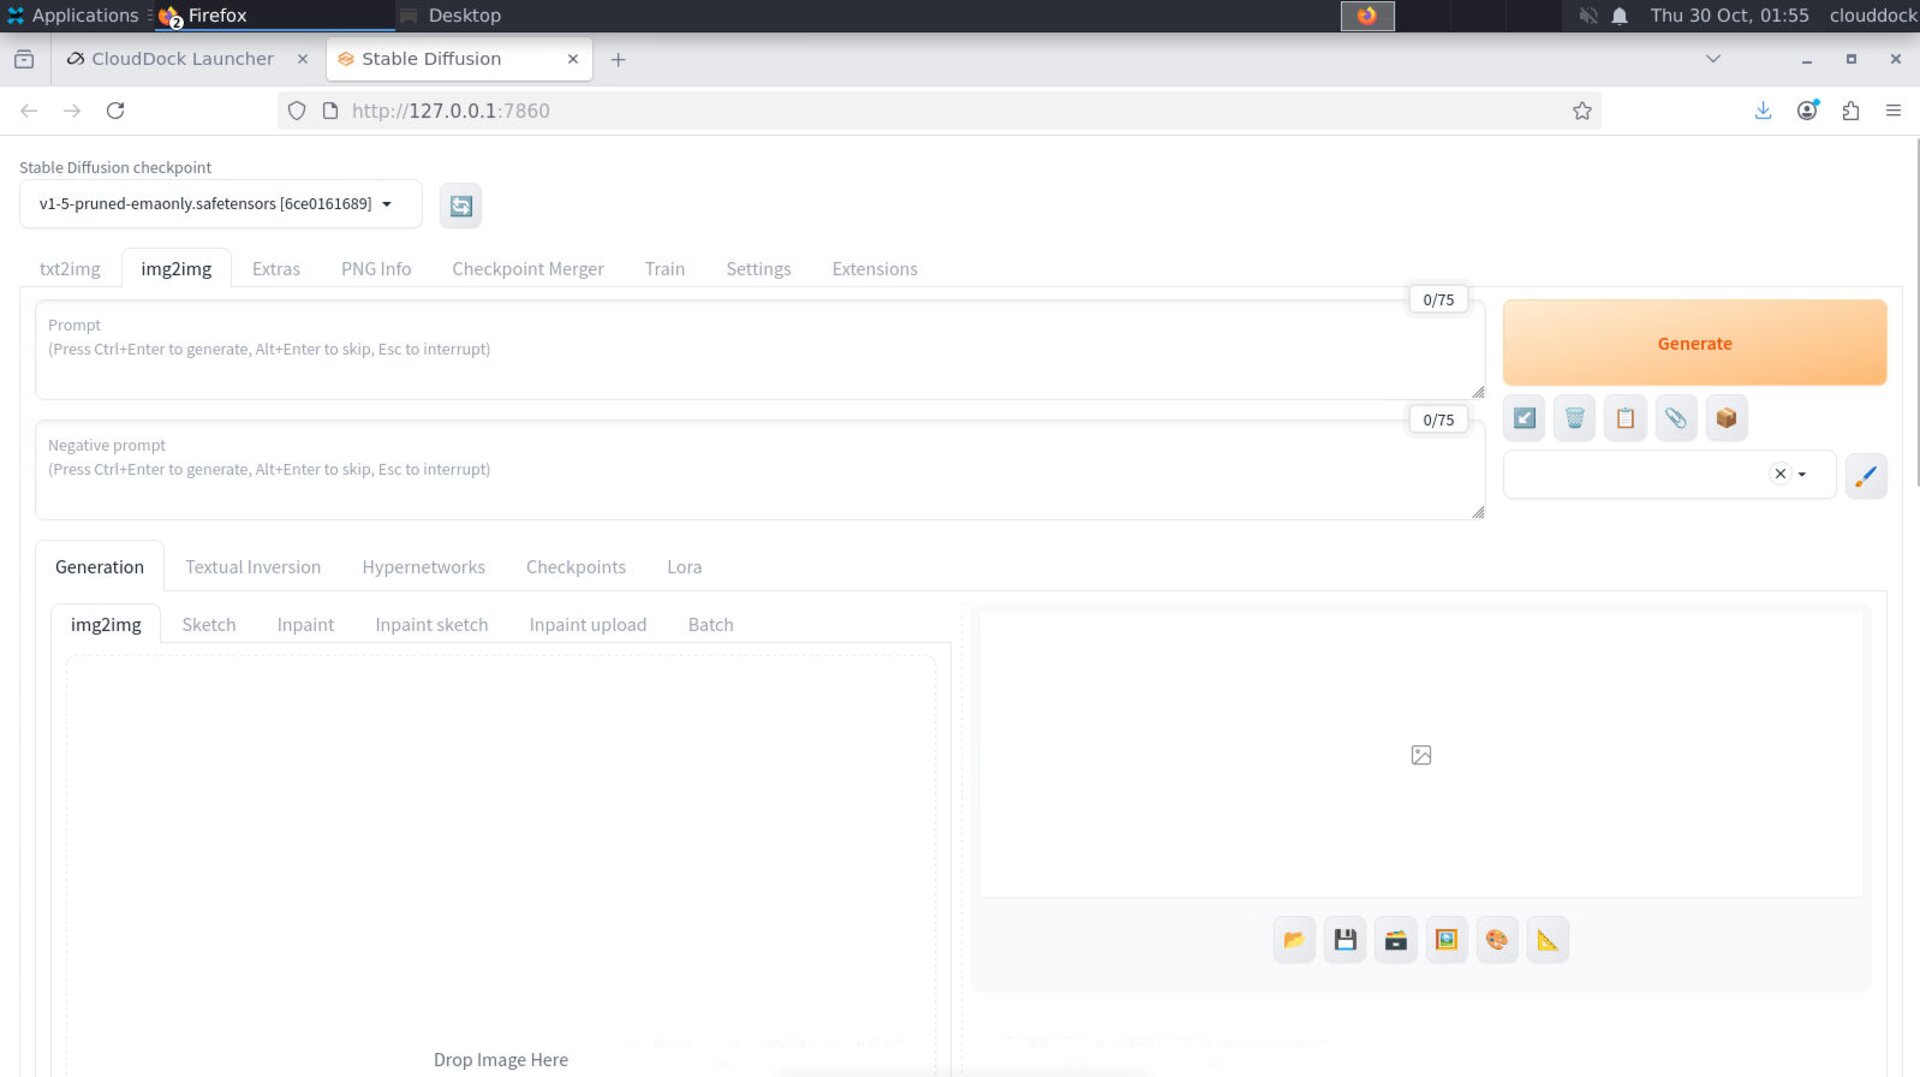
Step-by-step
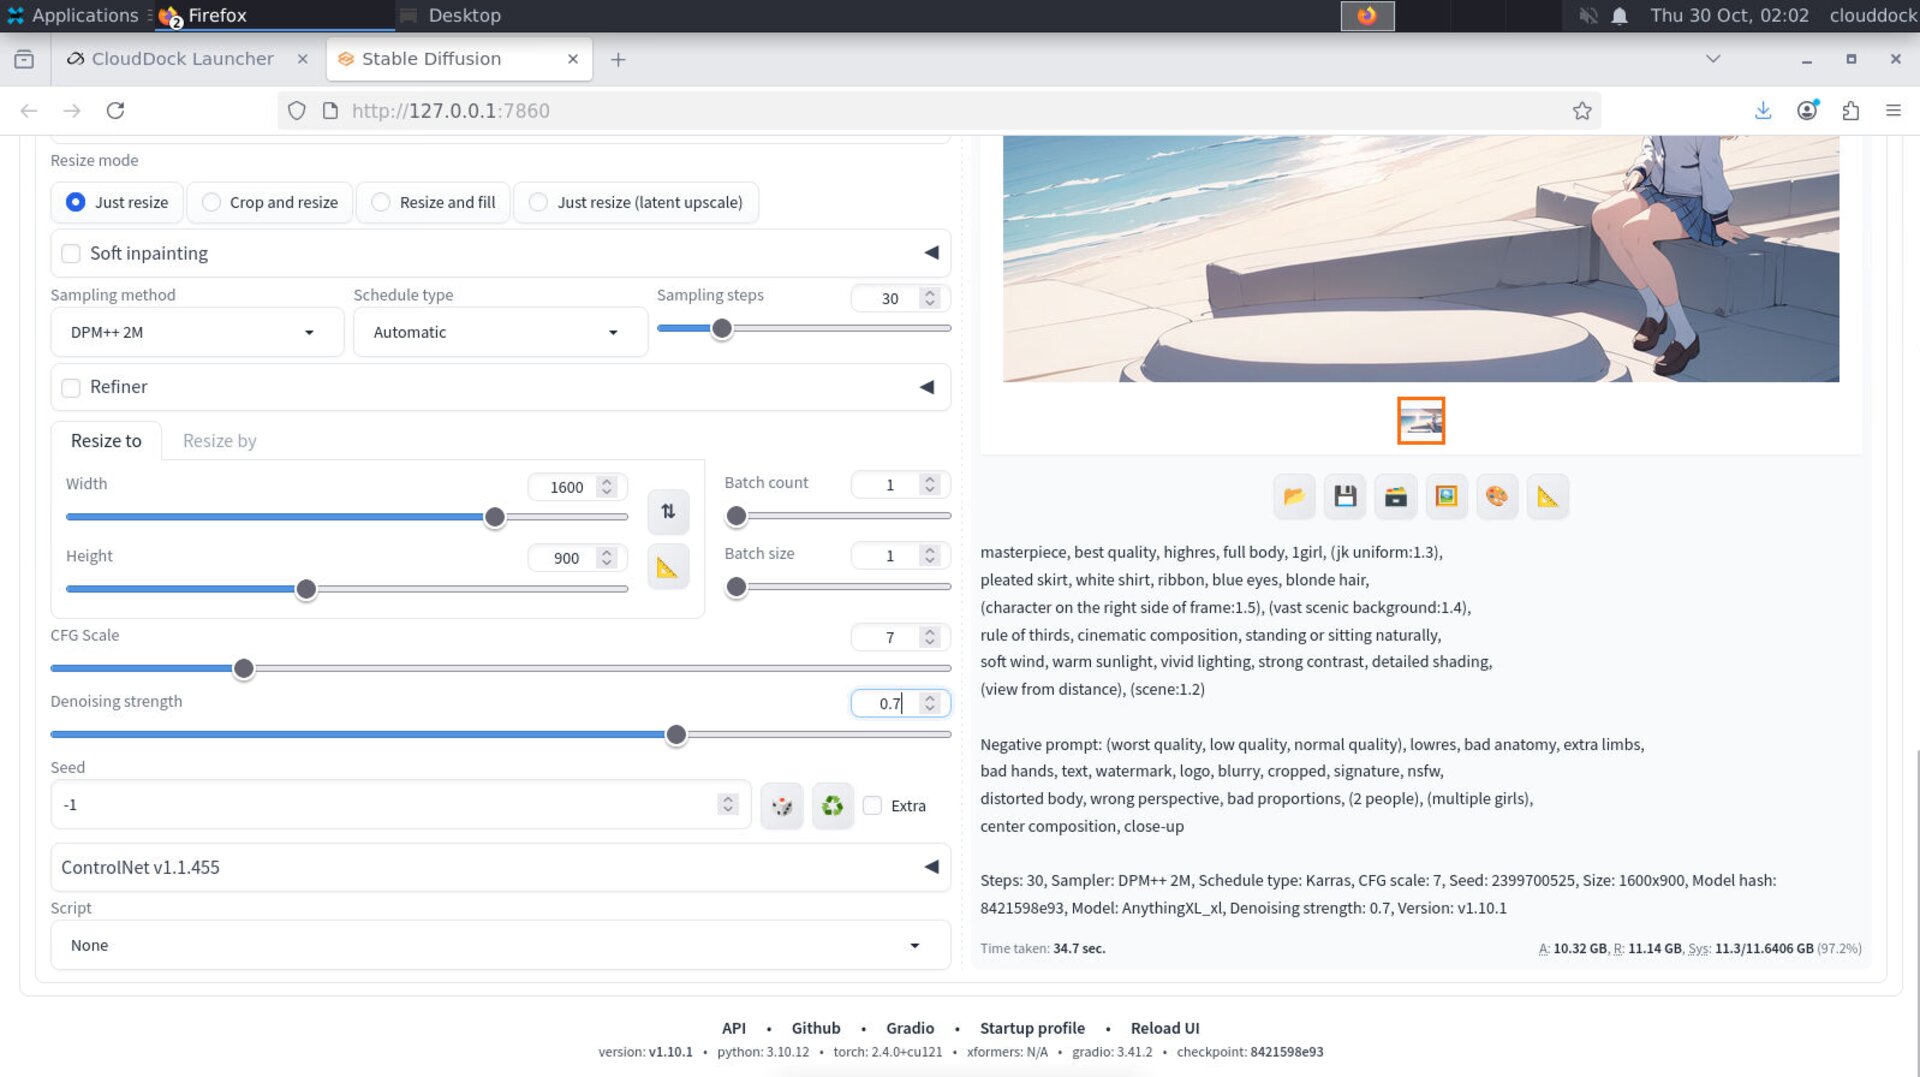
- On the A1111 UI, click img2img.
- Select a Stable Diffusion checkpoint at the top left hand corner of the page.
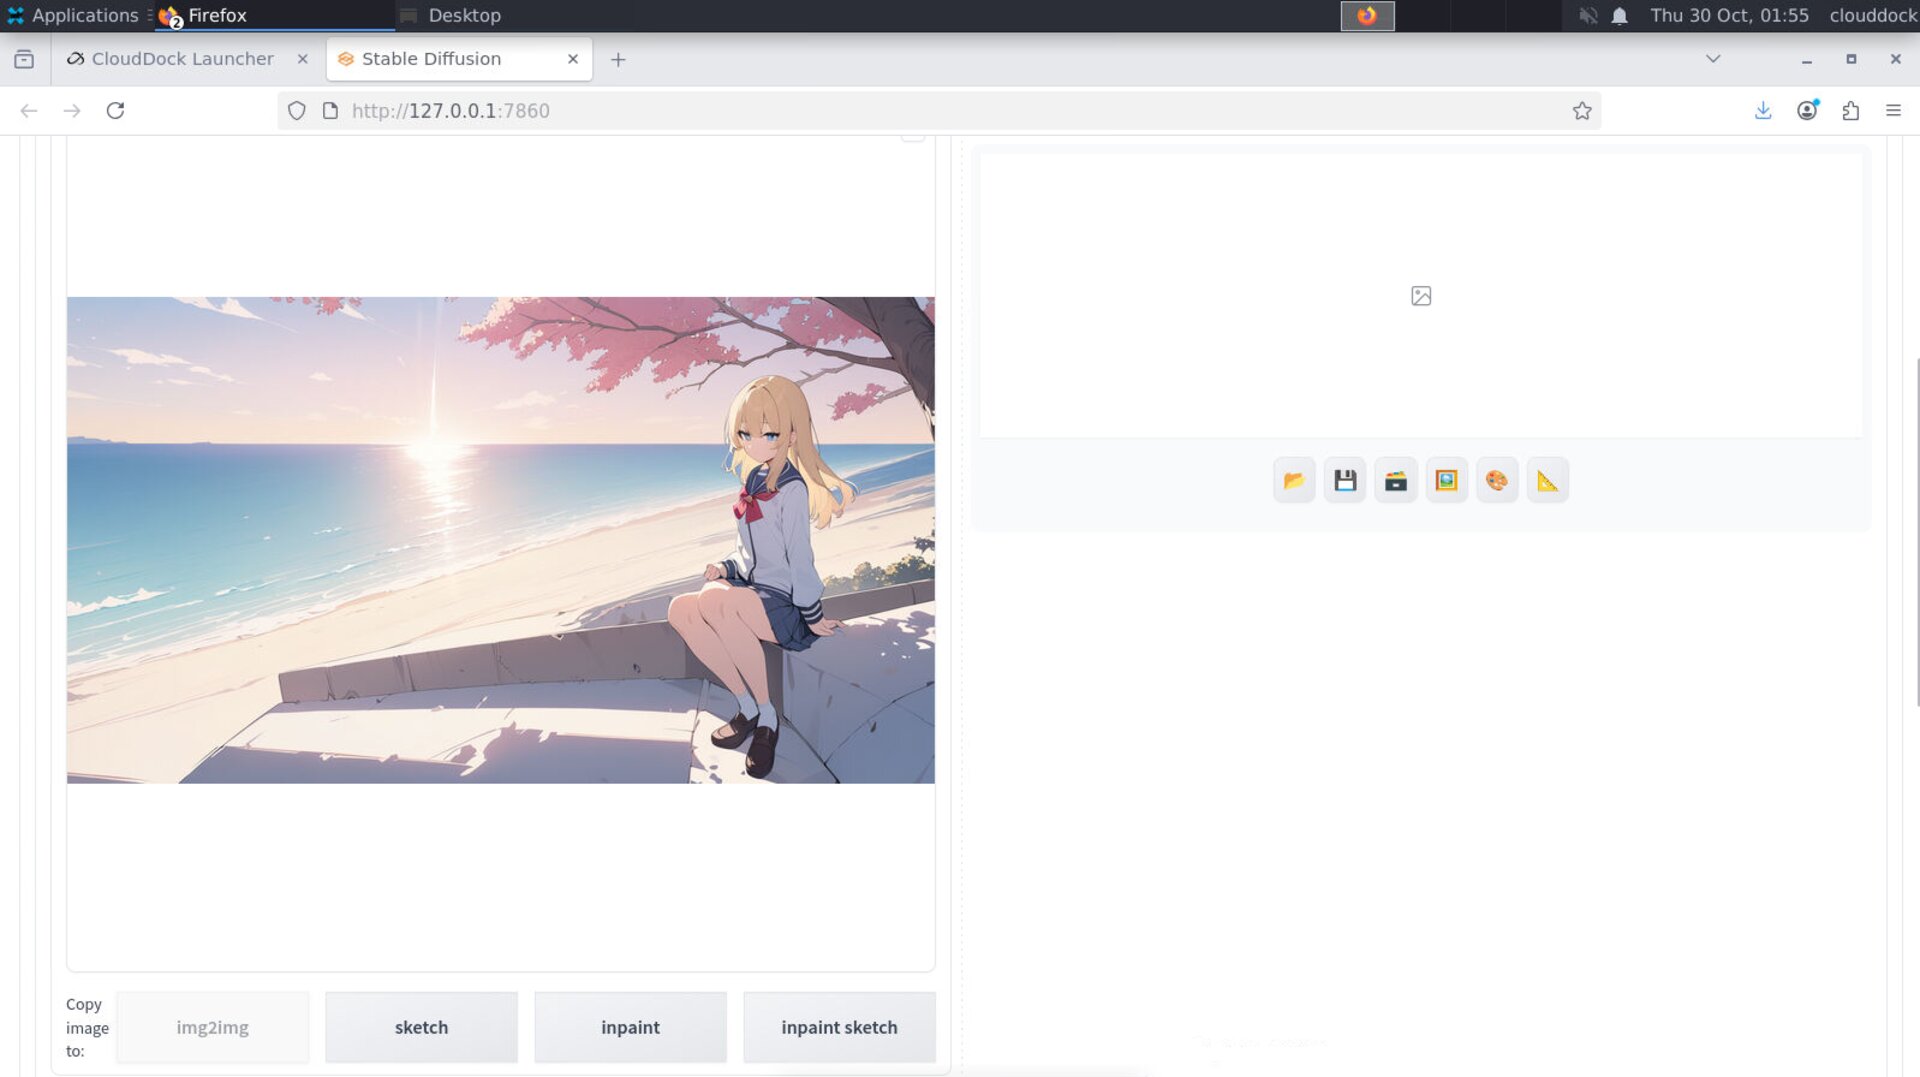
- Drag your image into the big box (or click to upload).
- Write a clean prompt and a Negative prompt (reuse our earlier starters).
- Pick a sensible resolution (don’t jump to 4K).
- Set denoising strength (how much to change it).
- Click Generate.

Denoising strength: how much to change
Denoising strength is img2img’s most important slider. It controls how strongly the model rewrites your image:
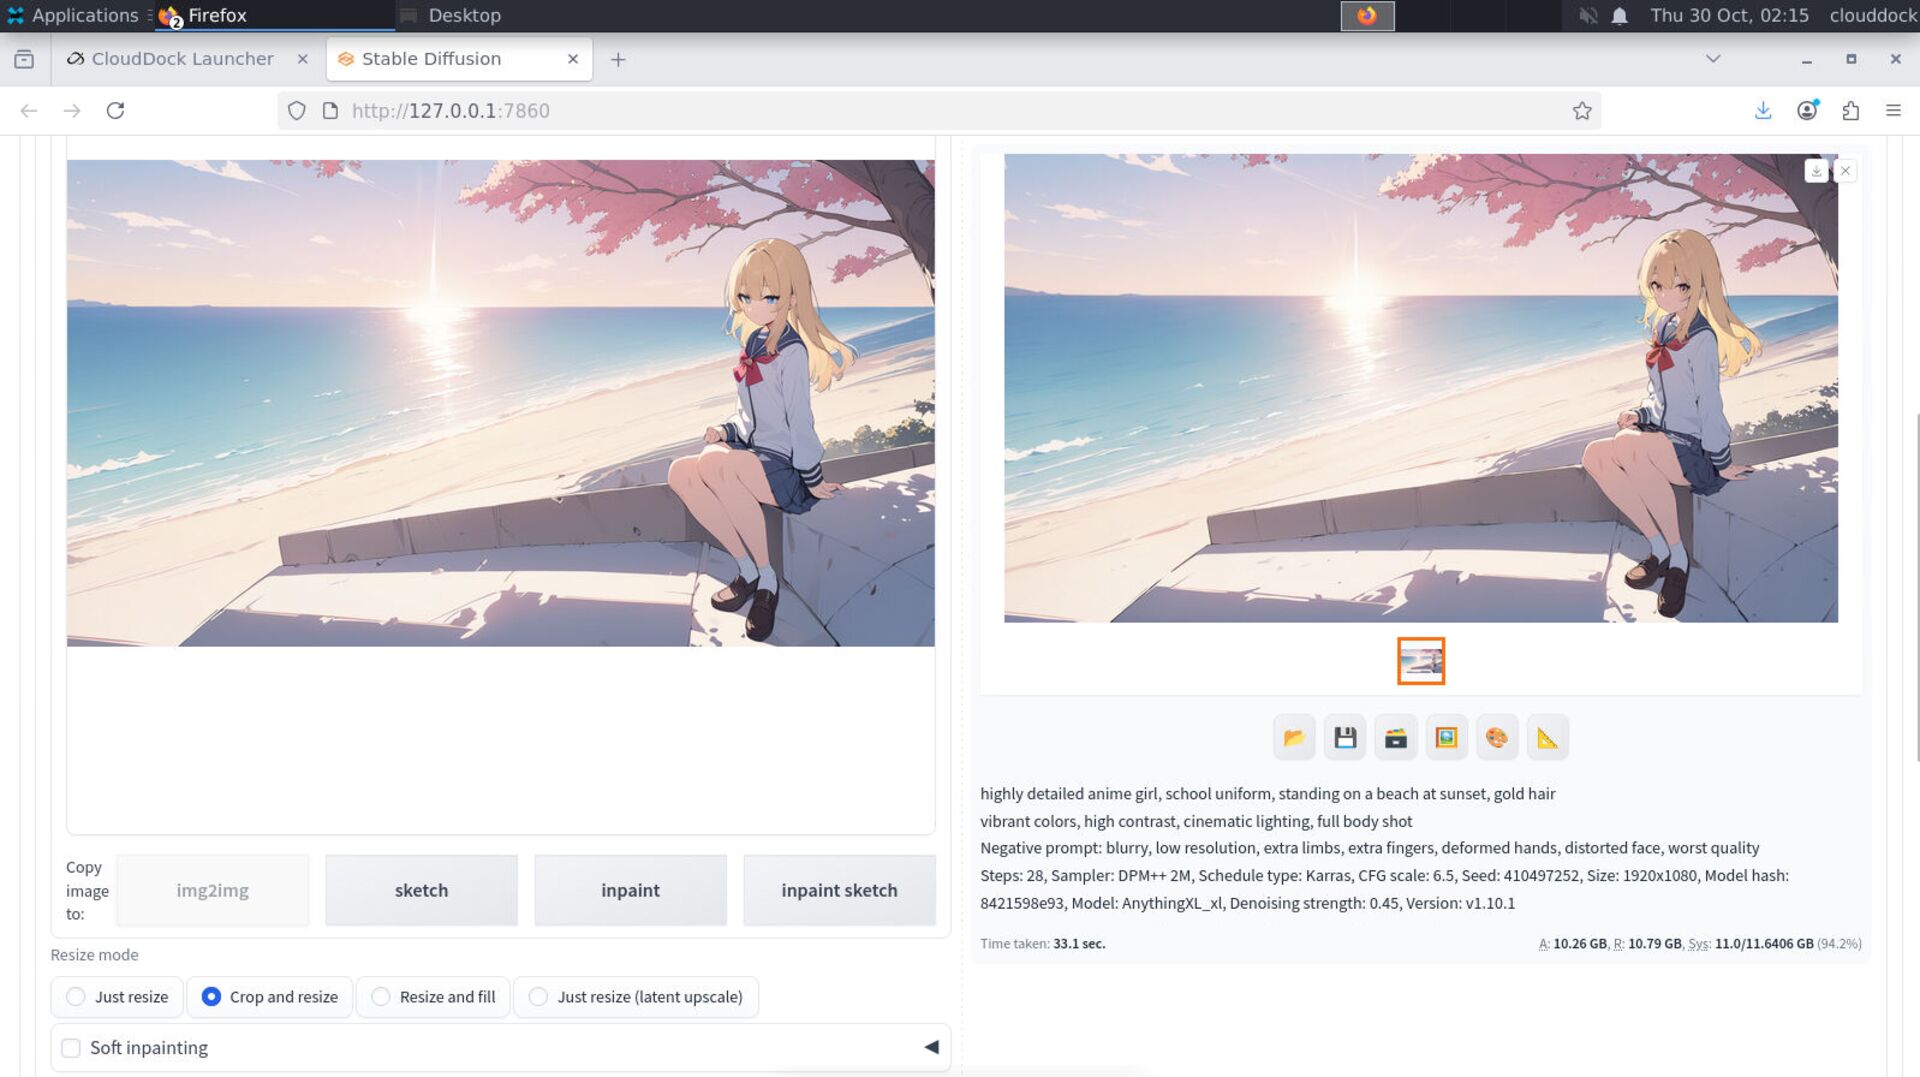
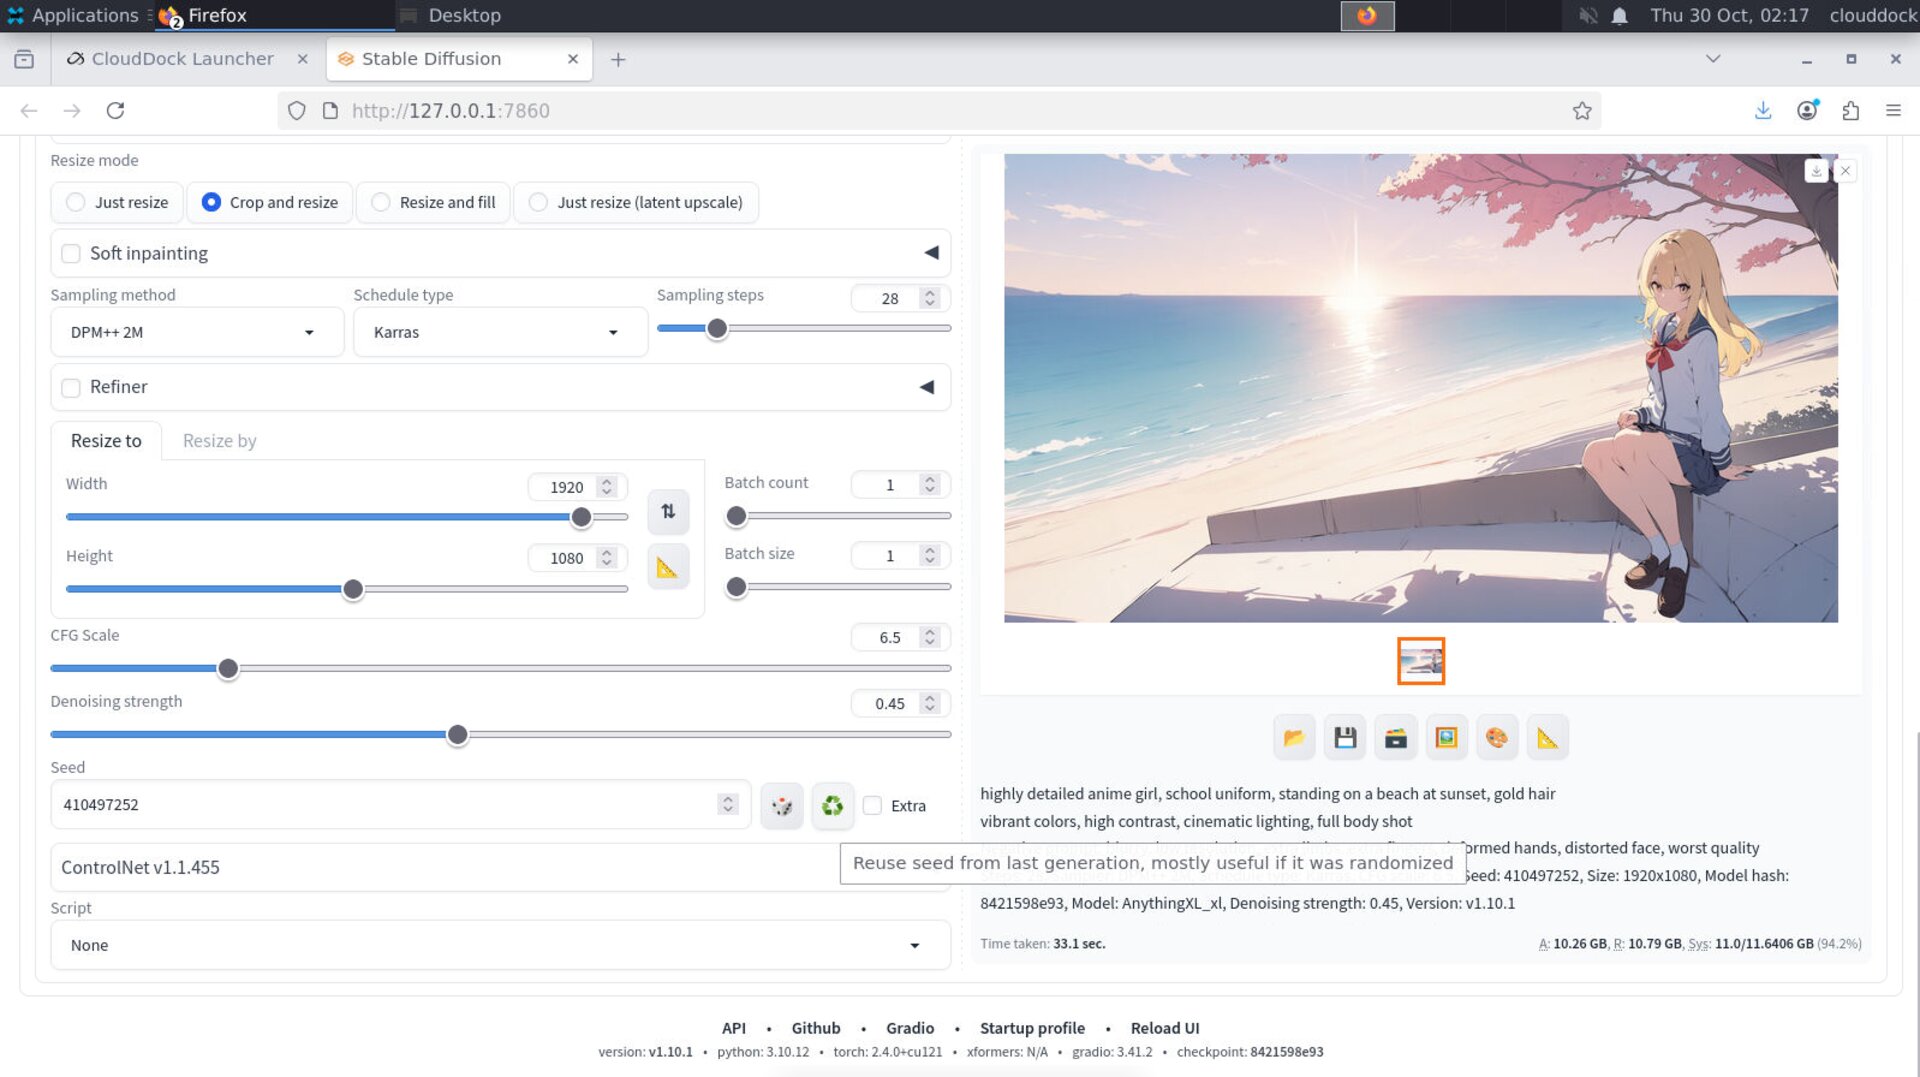
- 0.35 – 0.55 → light polish / fix faces / keep identity & pose
- 0.60 – 0.80 → medium to heavy change / new pose or different lighting
- > 0.85 → mostly new image, reference is loosely followed
Start low, then increase until you get the change you want.
Resolution: match subject, don’t just go huge
Keep the same sanity rules from our quality guide:
- Portrait / half-body: ~
768×512or neighboring sizes - Full body: a tall canvas like
832×1216
In the Resize mode, “Crop and resize” helps keep subject framing; “Just resize” preserves the whole image but may letterbox/cut corners.
Prompts that work well for img2img
Keep it concise and aligned with your source image:
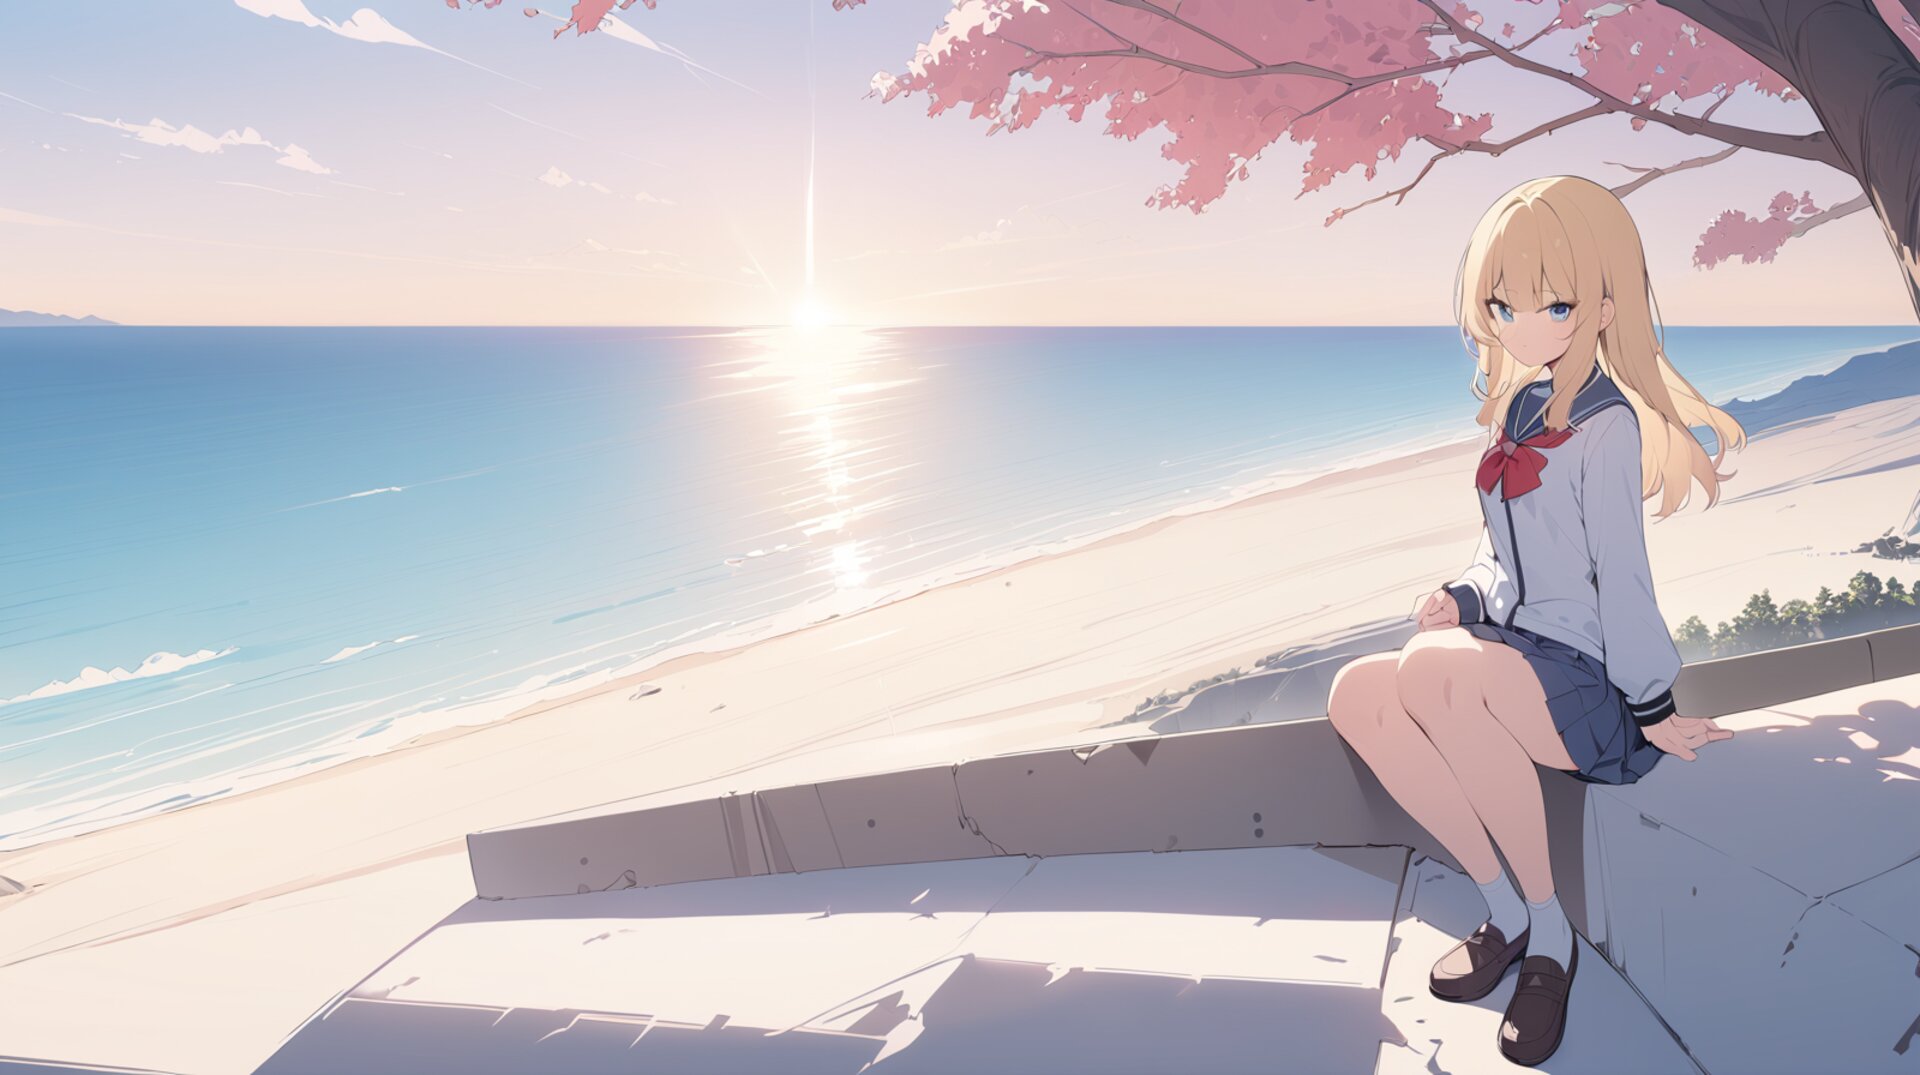
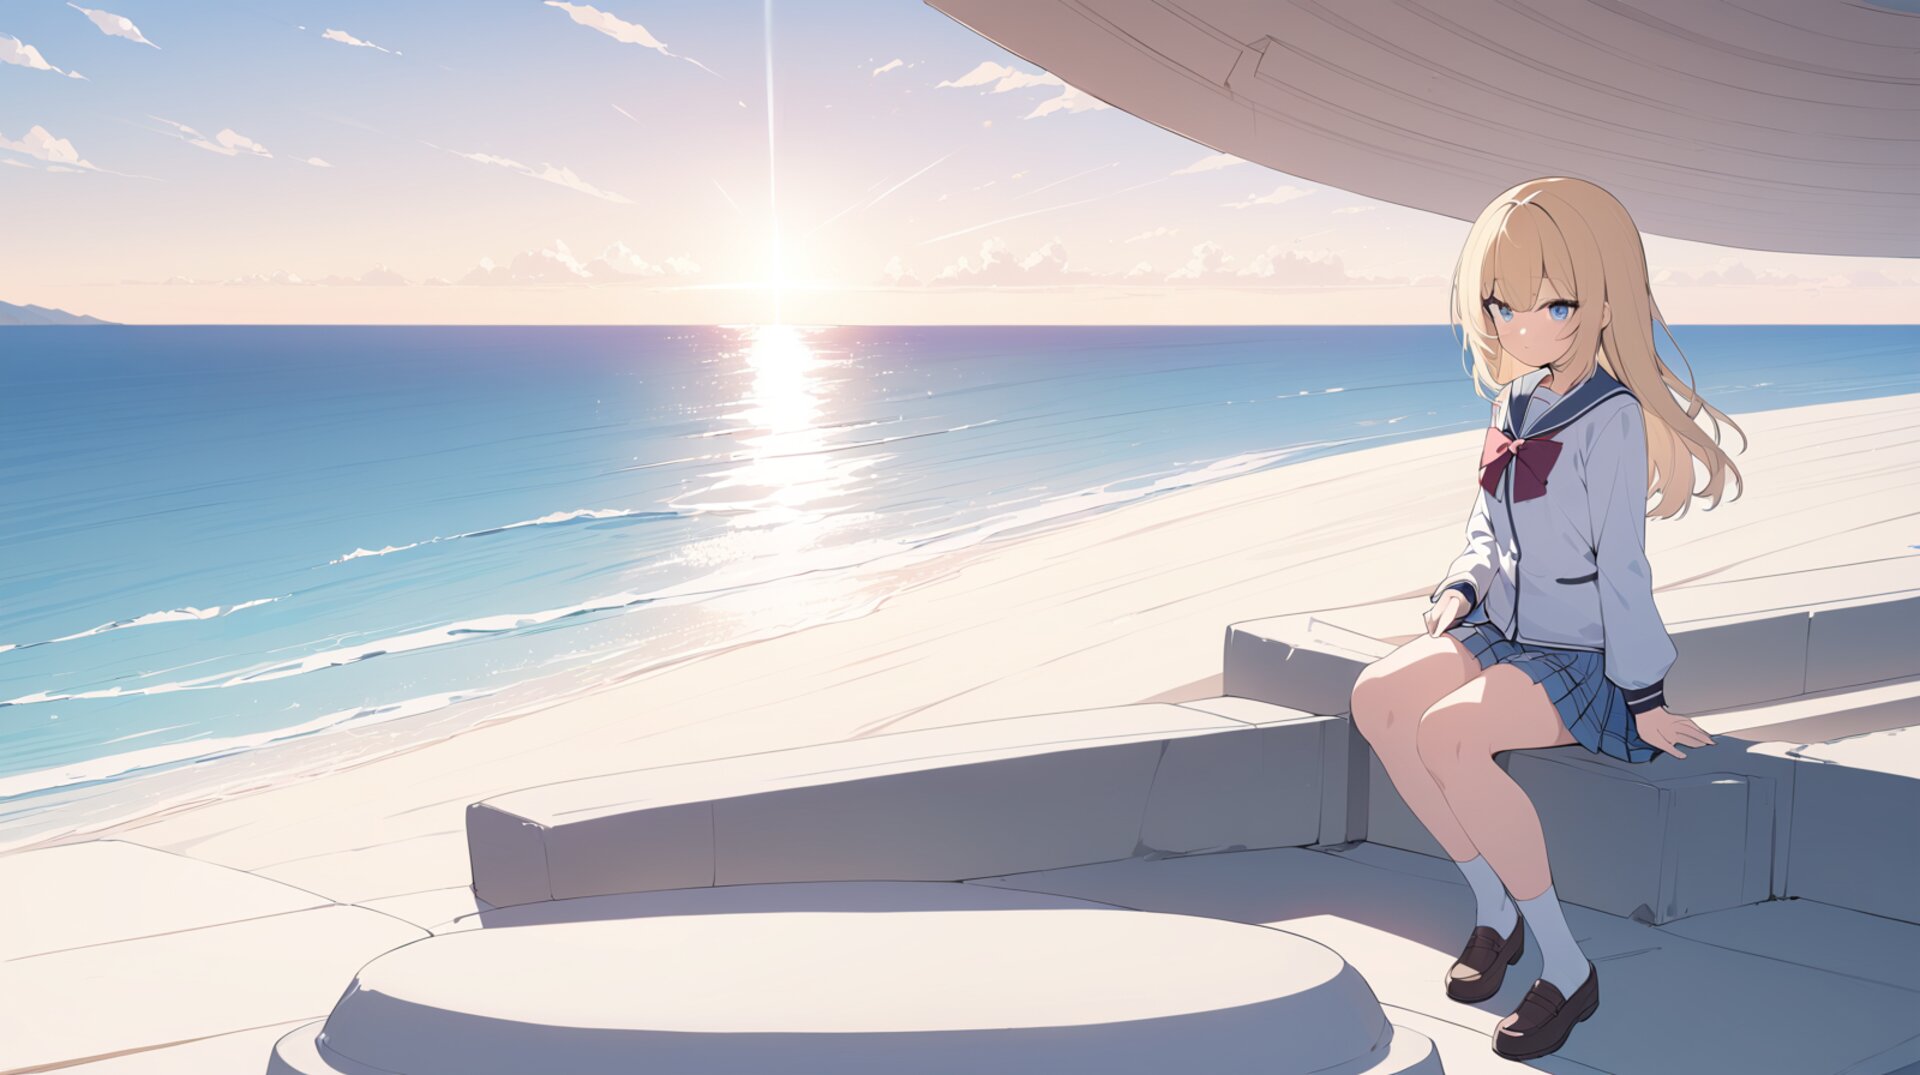
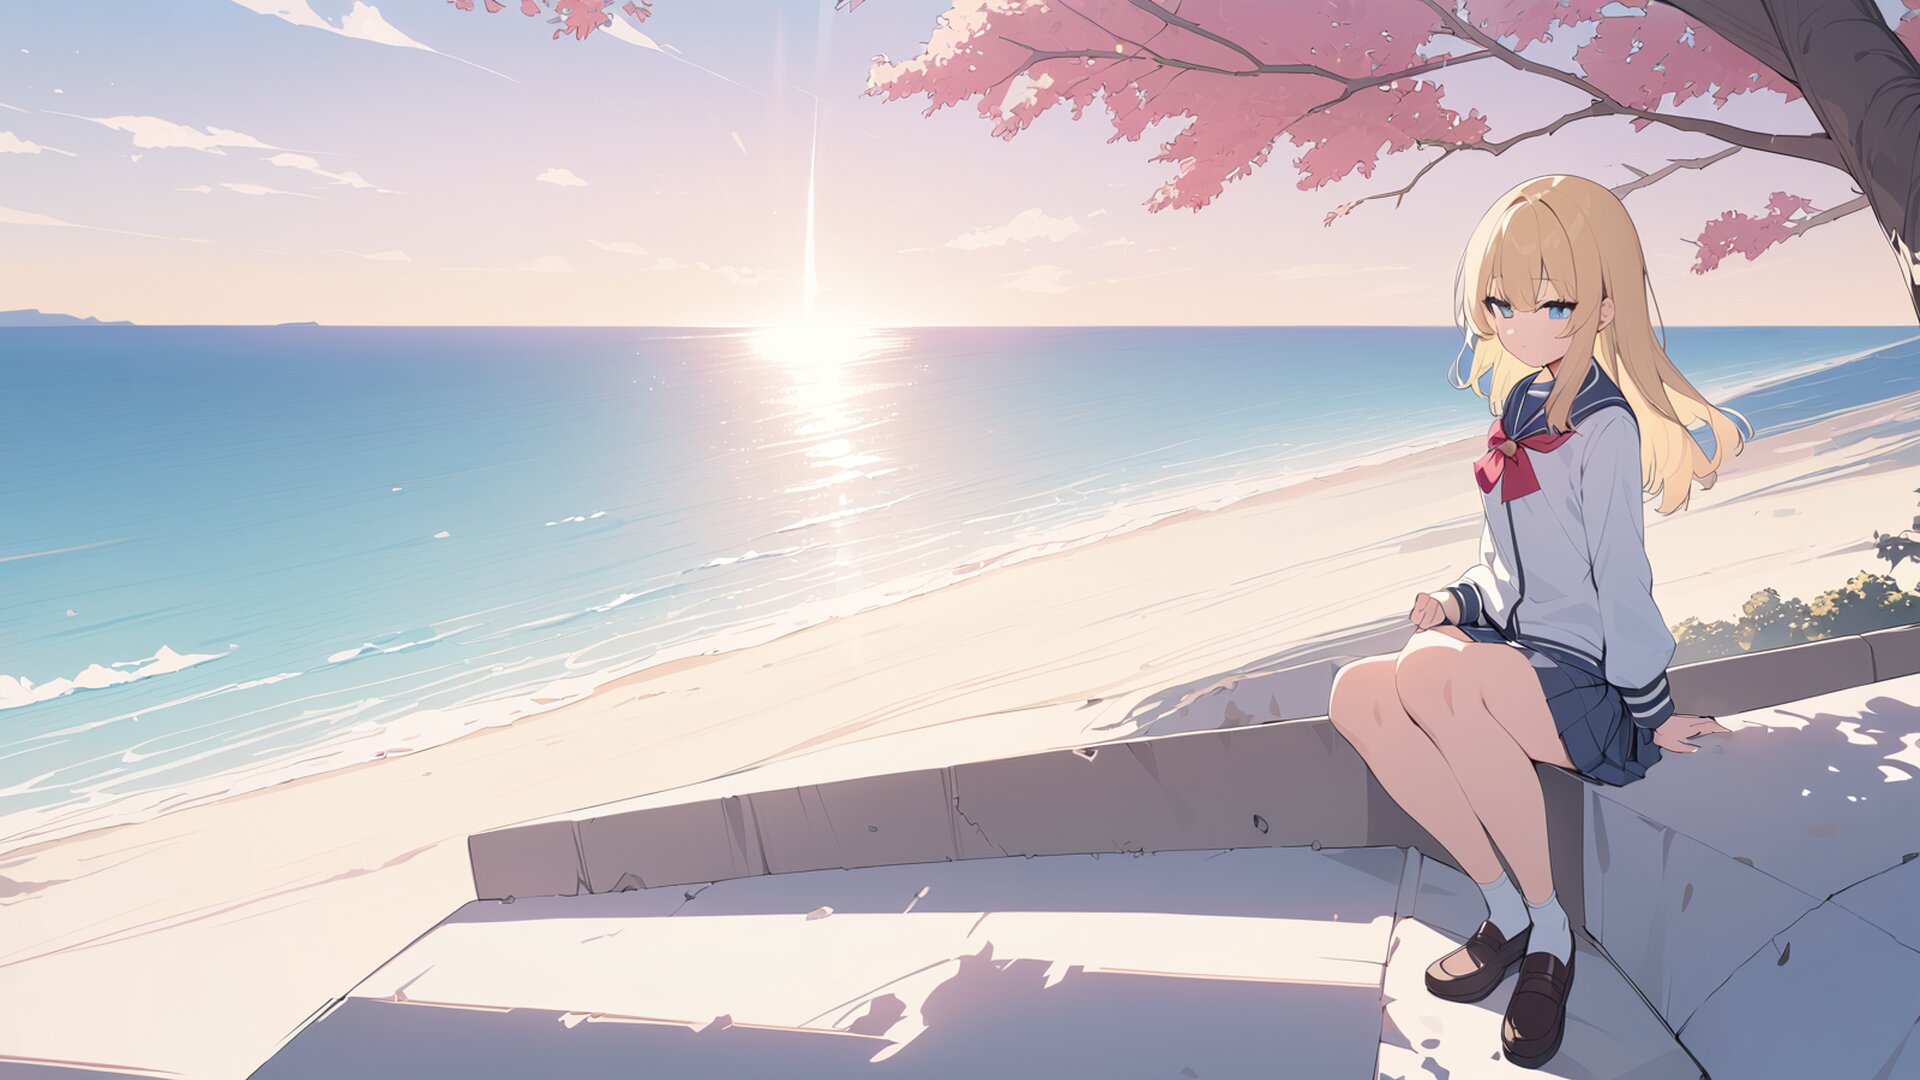
highly detailed anime girl, school uniform, standing on a beach at sunset,
vibrant colors, high contrast, cinematic lighting, full body shot
Negative prompt (starter):
blurry, low resolution, extra limbs, extra fingers, deformed hands, distorted face, worst qualityIf you only want a tiny mood change (e.g., warmer light), say exactly that and keep denoising < 0.5.
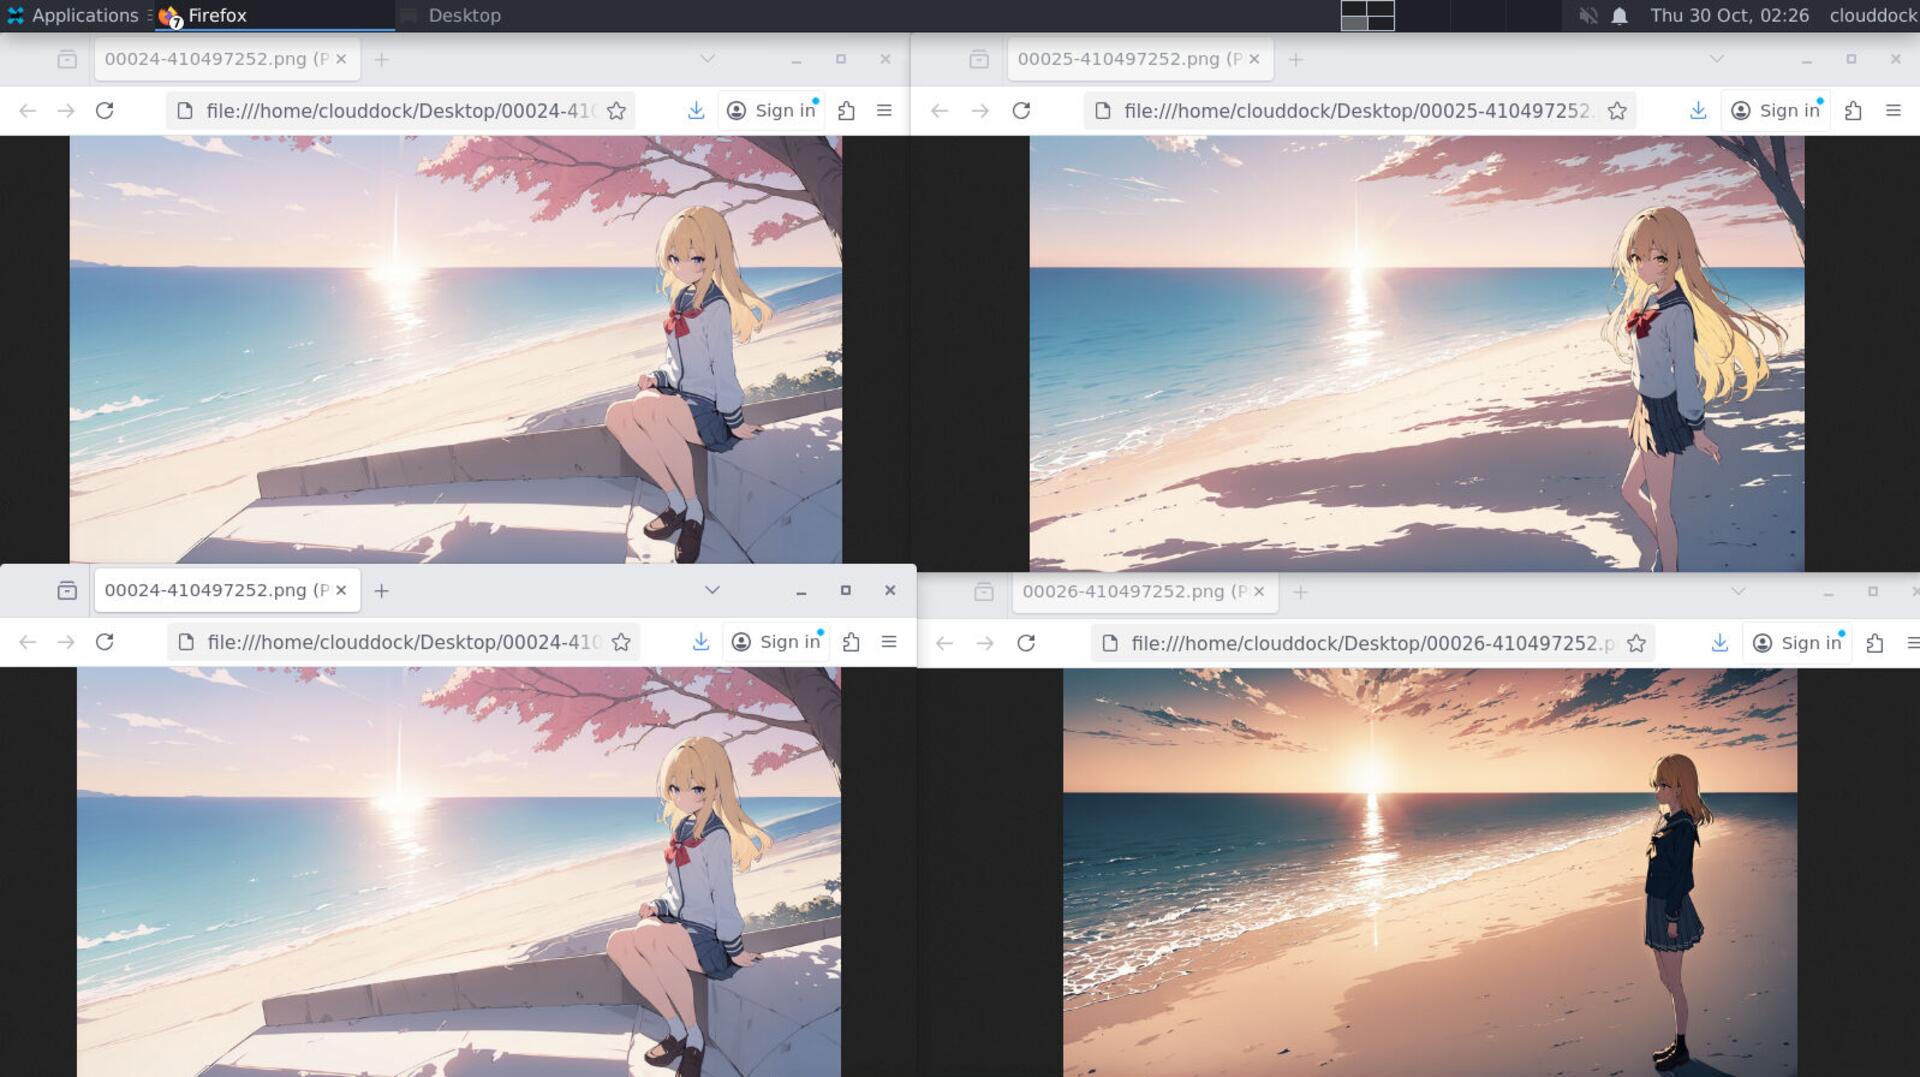
Seed: lock a good vibe, then iterate
When you hit a look you love, copy the seed from the result and paste it into the Seed box. Now each run will be a small variation instead of a total re-roll.
Inpainting: fix just the face or hands
If one area is wrong (hand, eye, mouth), you don’t need a full redraw. Switch to Inpaint inside the img2img tab, and paint a mask over the problem area.
- Click Inpaint under img2img.
- Use the brush to cover only the broken area (e.g., fingers).
- Keep denoising 0.35–0.55 for gentle fixes.
- Generate. Repeat with small mask adjustments if needed.
VRAM sanity tips
- Don’t batch huge counts. Do 1–2 at a time while exploring.
- Keep sizes moderate (700–1200px range). It’s cleaner and faster.
- If things fail to render, your VRAM is probably full → go smaller or close other apps in the session.
Troubleshooting
“It keeps drifting away from my source image.”
Lower denoising (aim 0.35–0.5) and keep your prompt close to what’s in the picture.
“The identity/face changes too much.”
Lower denoising, lock the seed, and avoid adding too many new style words at once.
“It’s still soft.”
Try a slightly larger size (not 4K), or run one gentle inpaint pass on the face with a sharpness-friendly prompt.
What’s next?
-
Use your own trained model in A1111: if you trained a LoRA / DreamBooth in our Training Center, here’s how to load it for generation.
Go to “Using Your Custom Model in A1111 →” -
Model Library: try a pre-trained style if you don’t want to train yet.
Go to “Model Library Overview →”