What you’ll do
- Open Training Center → choose DreamBooth · Full-Body / Mascot preset (SD 1.5 or SDXL).
- Point to a clean dataset (one subject/style per folder; see tips below).
- Pick the base family & checkpoint that matches your generation plan.
- Check VRAM & disk in Launcher → System, then start training.
- When finished, refresh A1111 checkpoint list and generate.
Before you start
- Dataset quality: full-body coverage, consistent framing, remove blurs/near-duplicates.
- Captions: manual sidecars or auto-caption (requires A1111 running; stop A1111 afterward to free VRAM).
- System check: use Launcher → System to confirm VRAM/disk headroom.
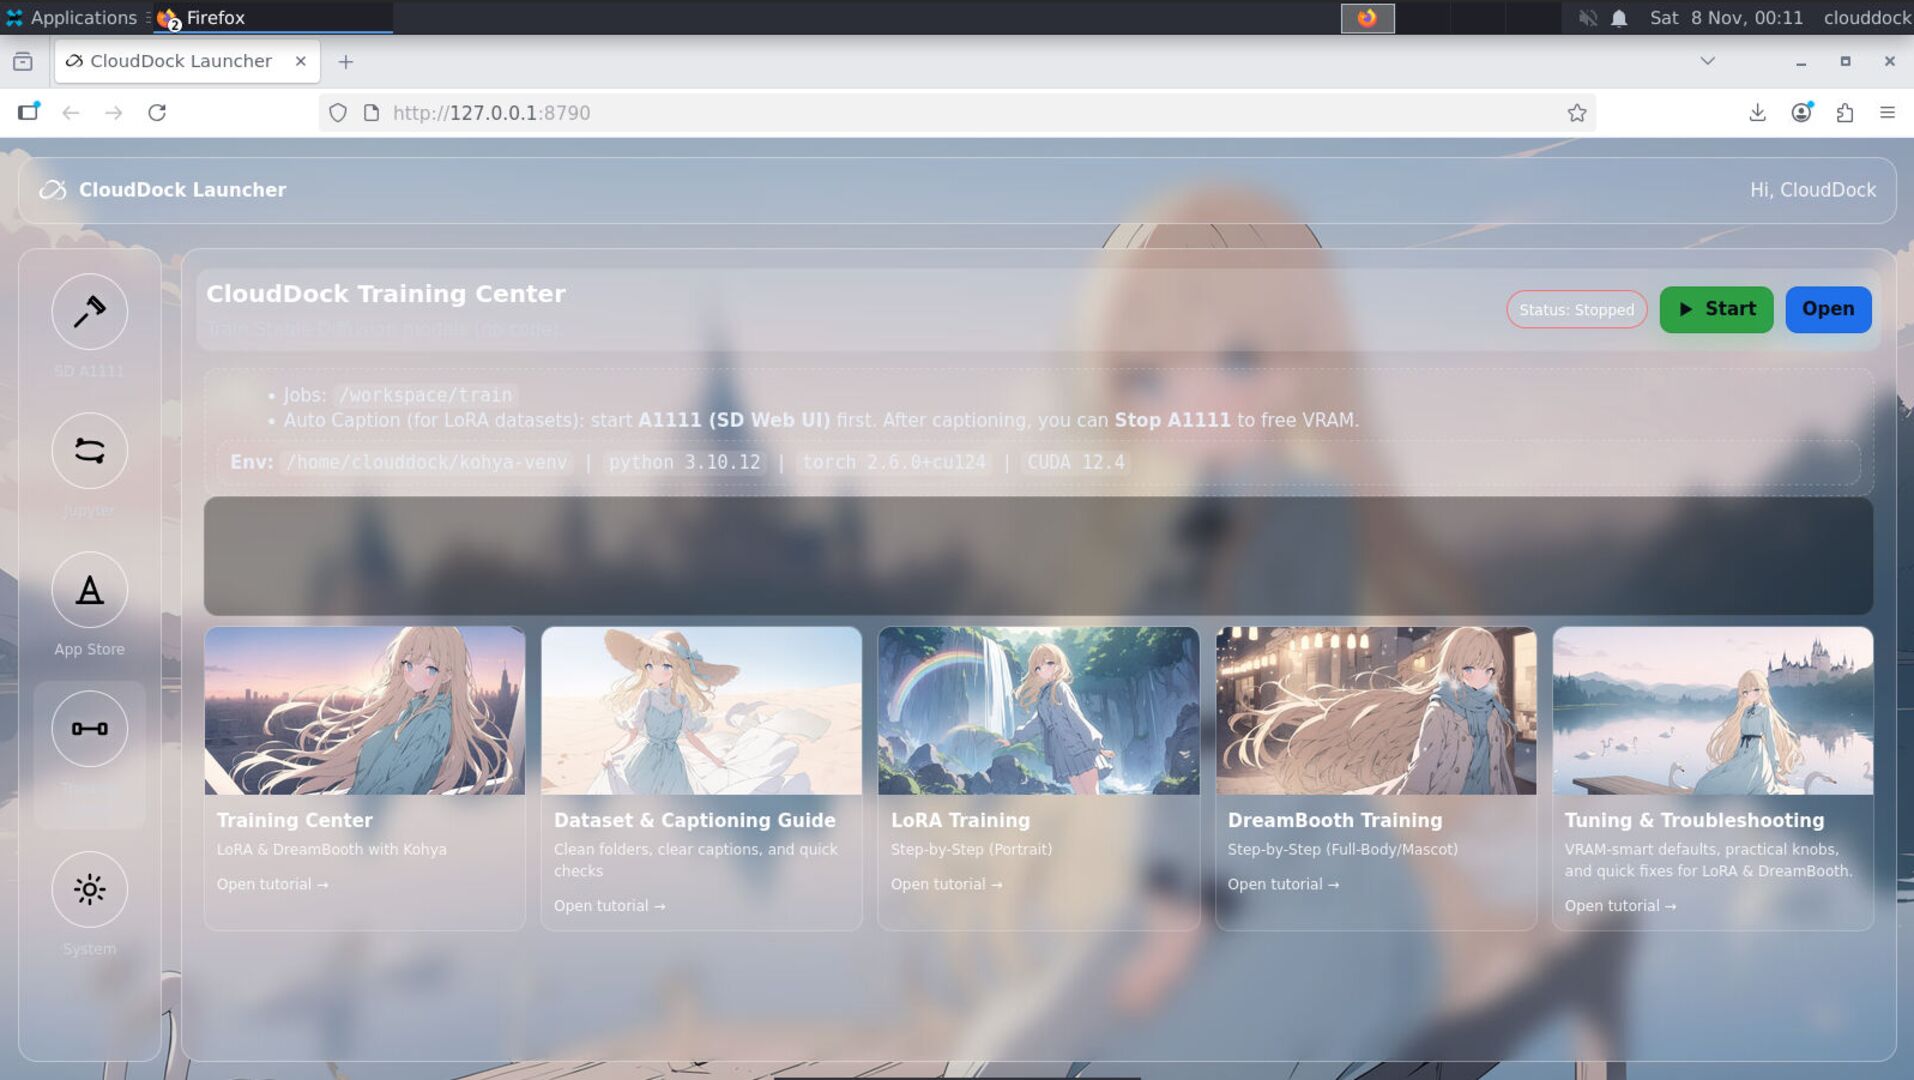
Find Training Center in the Launcher next to A1111 and Jupyter.
Choose DreamBooth · Full-Body/Mascot and select SD 1.5 or SDXL.
1) Dataset planning (full-body / mascot)
- Coverage: include front/side/back angles; varied but consistent clothing set if identity matters.
- Framing: full-body or 3/4 shots; avoid extreme crops that hide limbs.
- Backgrounds: simple backgrounds help the model focus on the subject silhouette.
- Size: start moderate; quality beats sheer count. Remove motion blur and heavy compression.
- Captions: short and factual (pose/clothes/background if relevant). Auto-caption available via A1111.
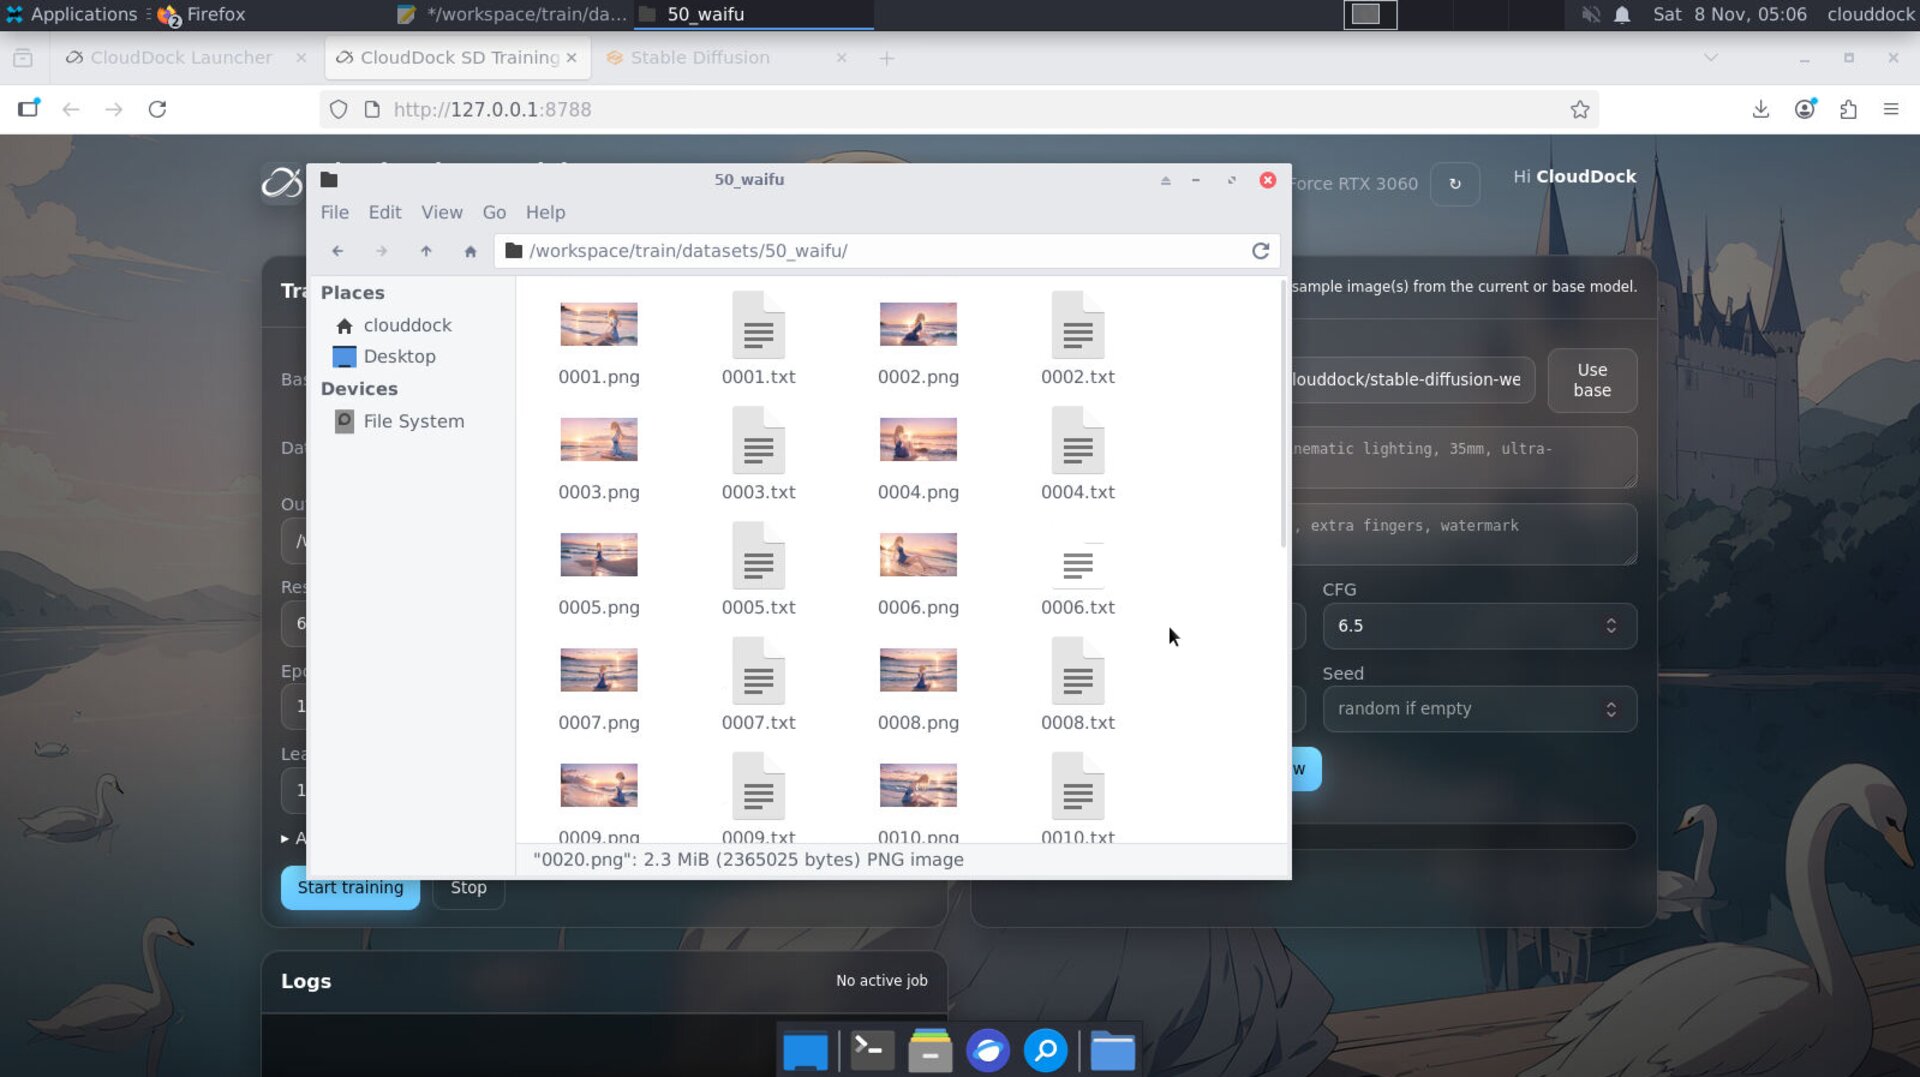
A balanced grid — front/side/back, clear silhouette, minimal clutter.
Auto-caption: start A1111, run captioning, then stop A1111 to save VRAM.
2) Choose base family & checkpoint
Pick SD 1.5 or SDXL and the base checkpoint. Your DreamBooth output is a checkpoint that works best within the same family you train against.
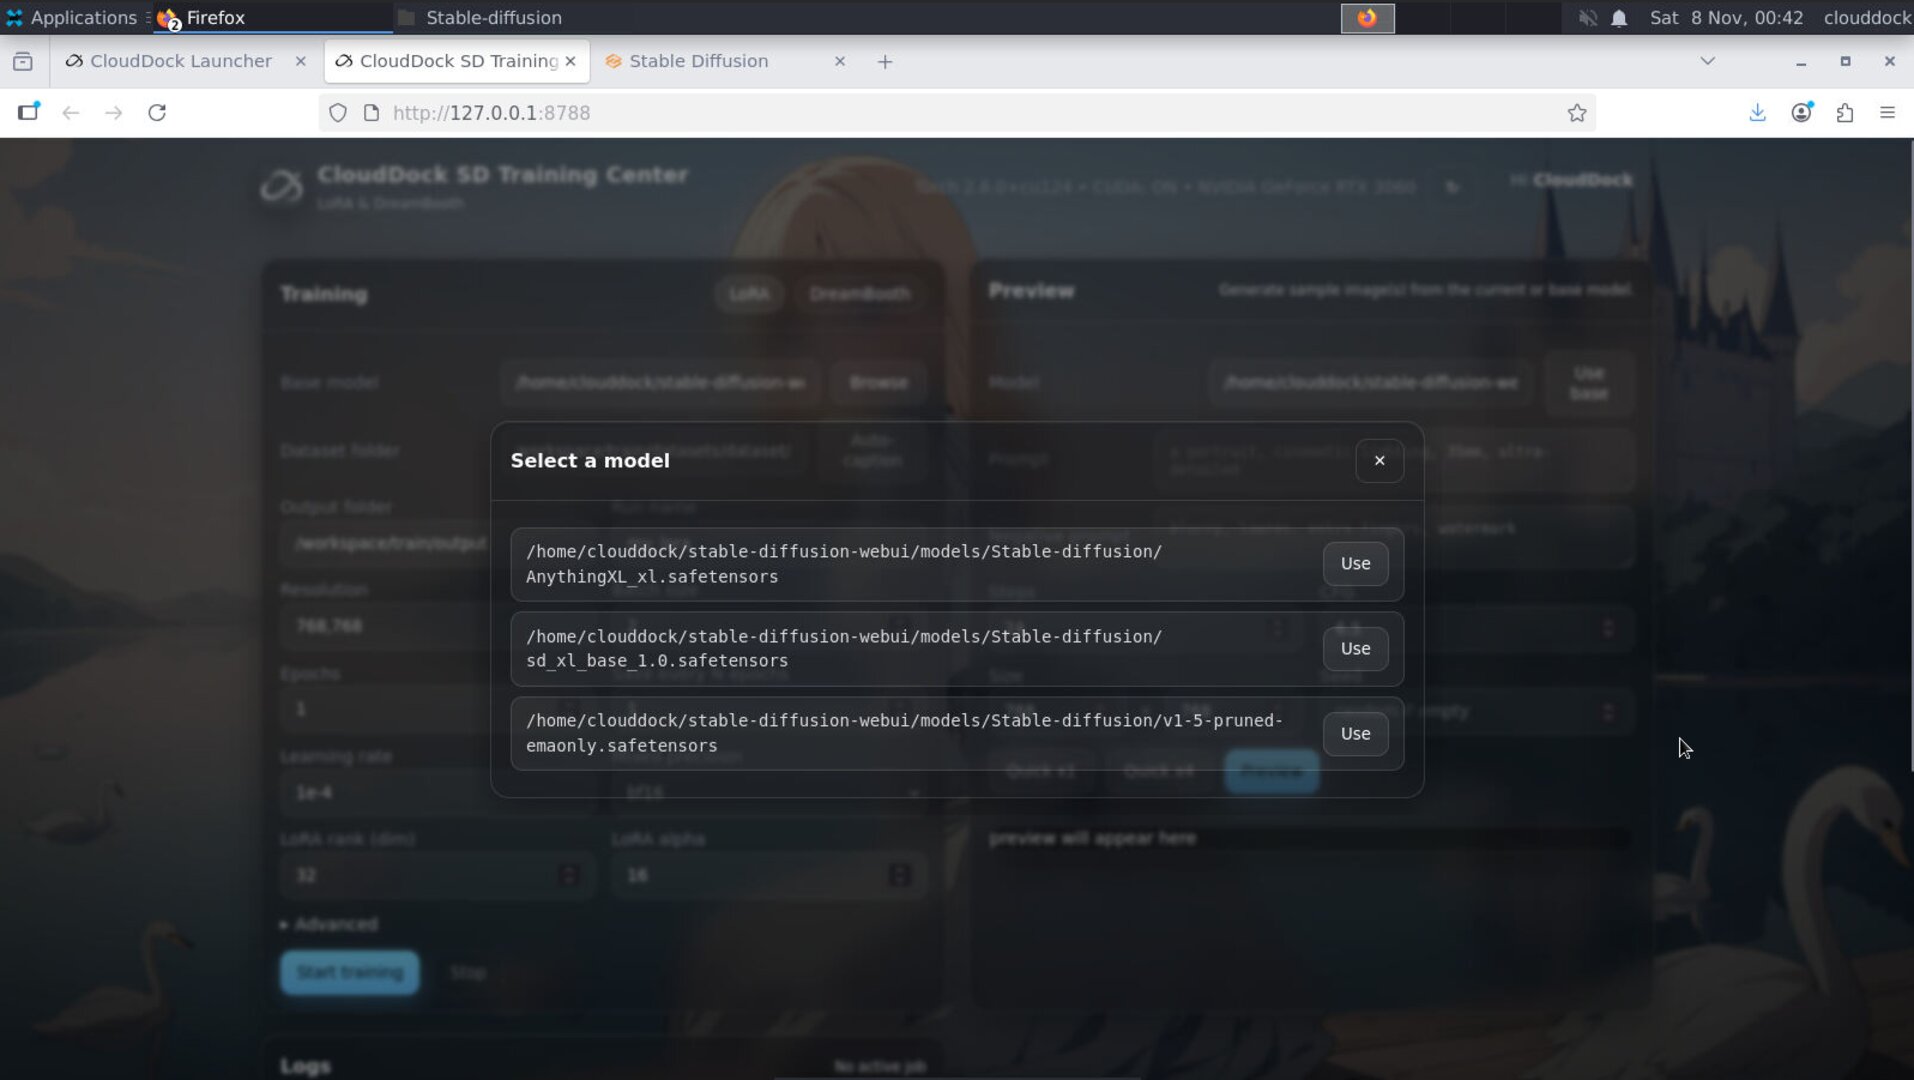
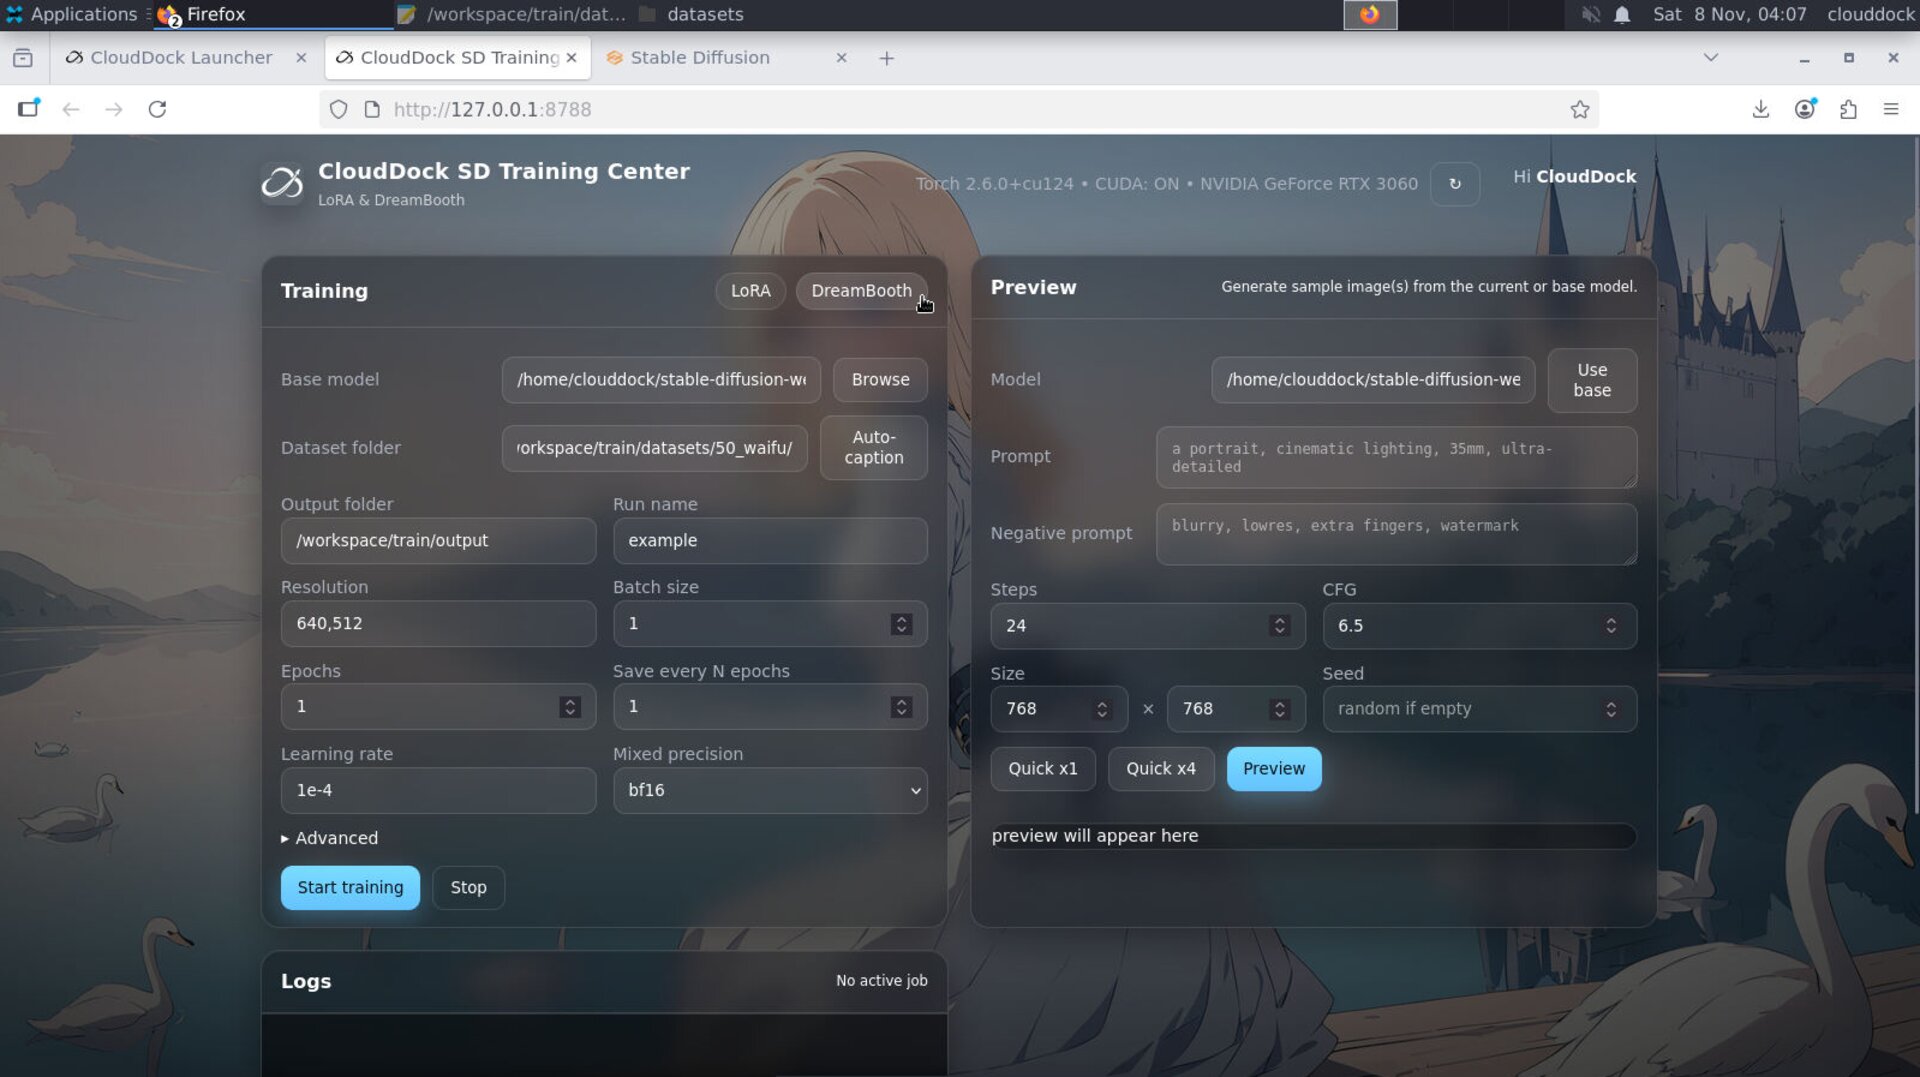
Select the correct family and base checkpoint before training.
3) Key settings (full-body defaults)
- Resolution: taller canvas recommended (e.g., 832×1216 class). Start moderate.
- Steps/Epochs: use preset defaults; you can Resume from the last good step.
- Batch/Grad Accum: small batch with accumulation is VRAM-friendly.
- Optimizer/Precision: presets ship stable FP16 configurations.
- Advanced: keep expert toggles as-is unless you know the trade-offs.
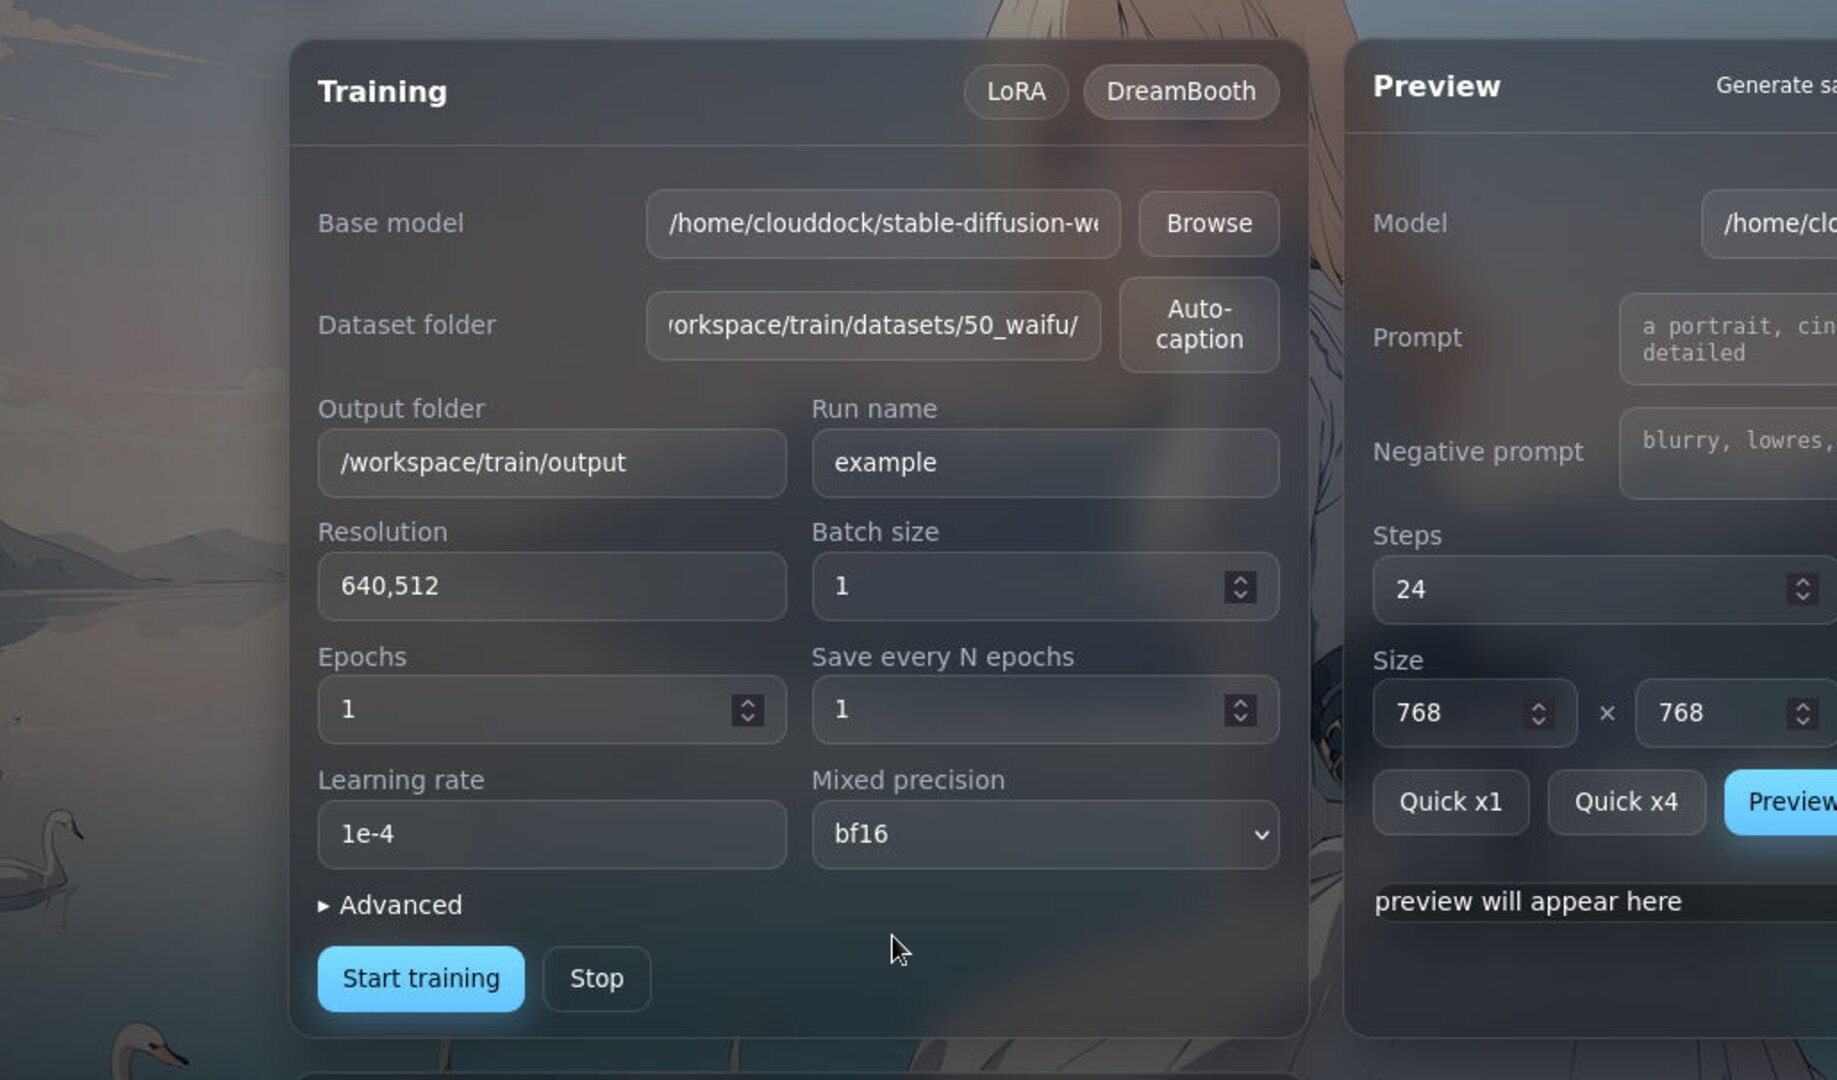
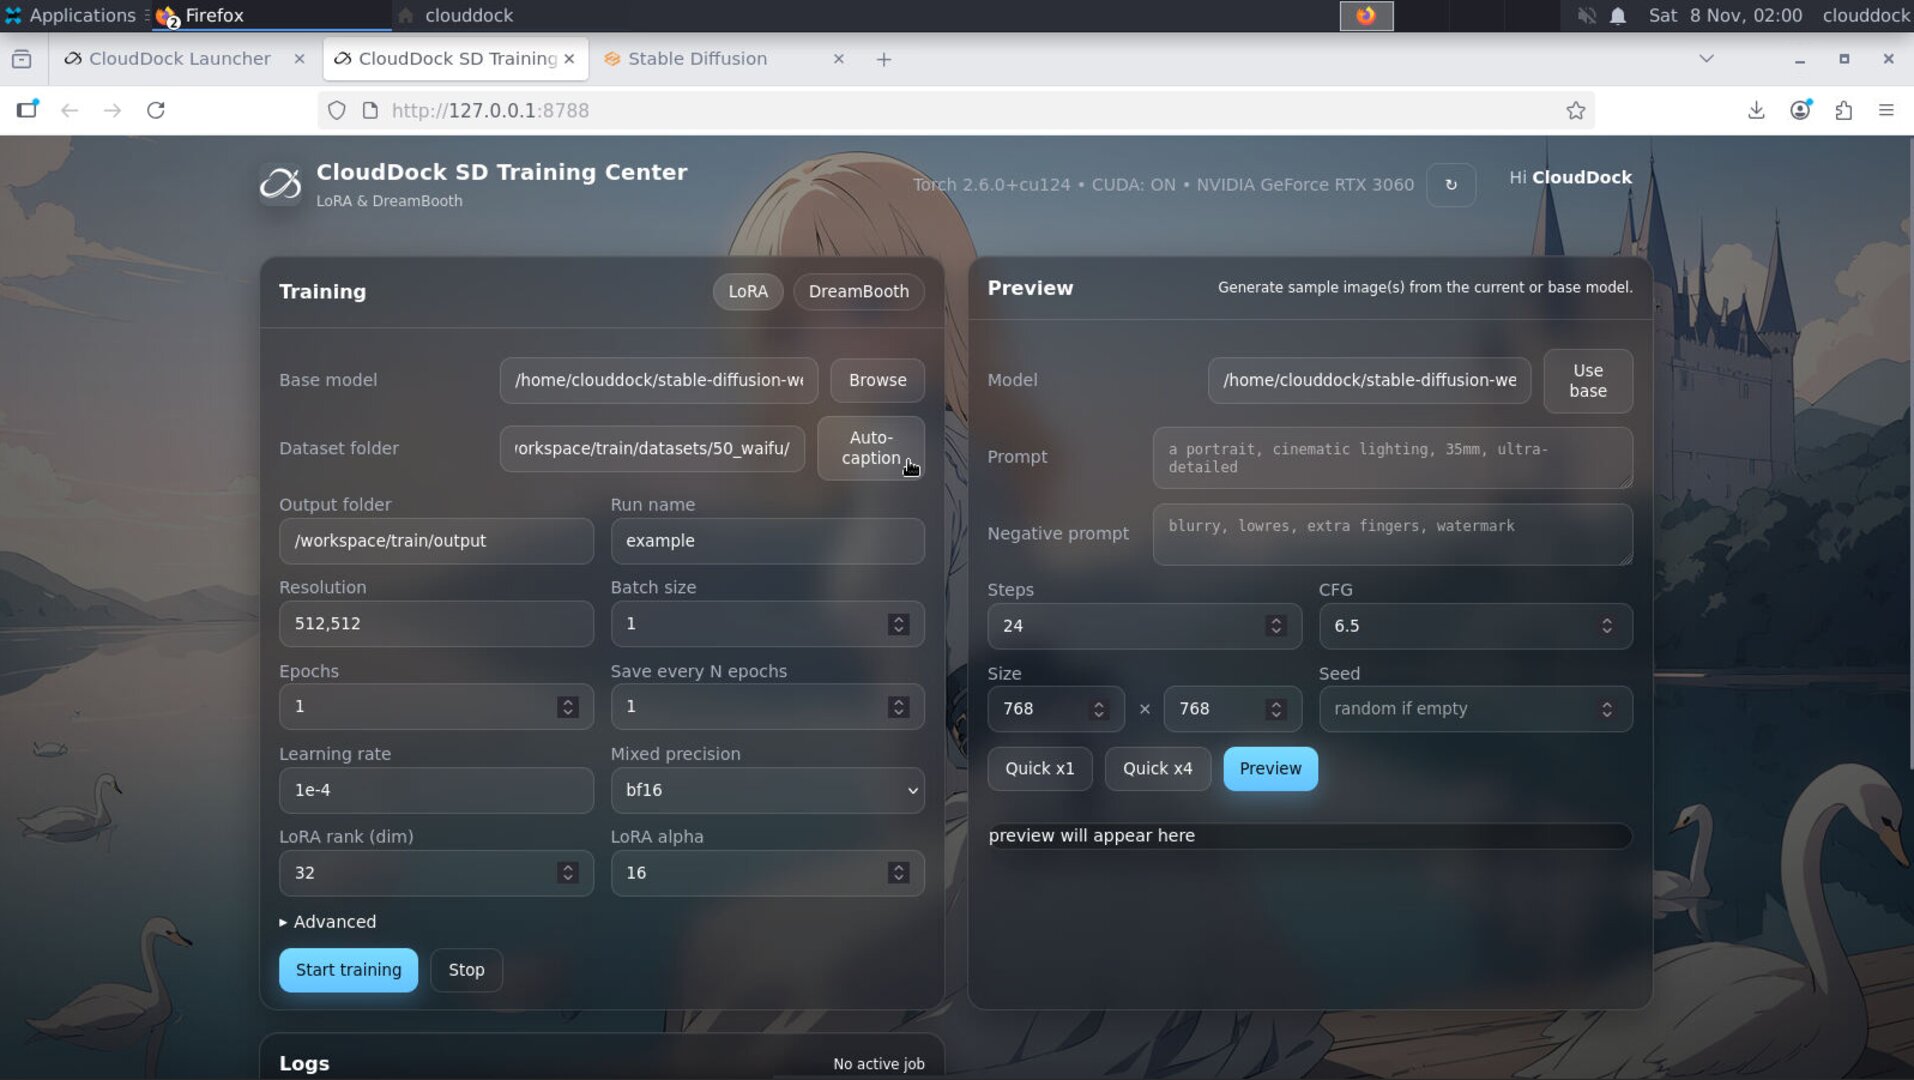
Full-body preset highlights the essentials; advanced stays tucked away.
VRAM hints — if close to the limit, lower resolution first.
4) Start training & monitor
- Click Start to enqueue. Watch logs and ETA as training progresses.
- Use Pause / Resume to temporarily free the GPU.
- On interruption, Resume from the last saved step/checkpoint.
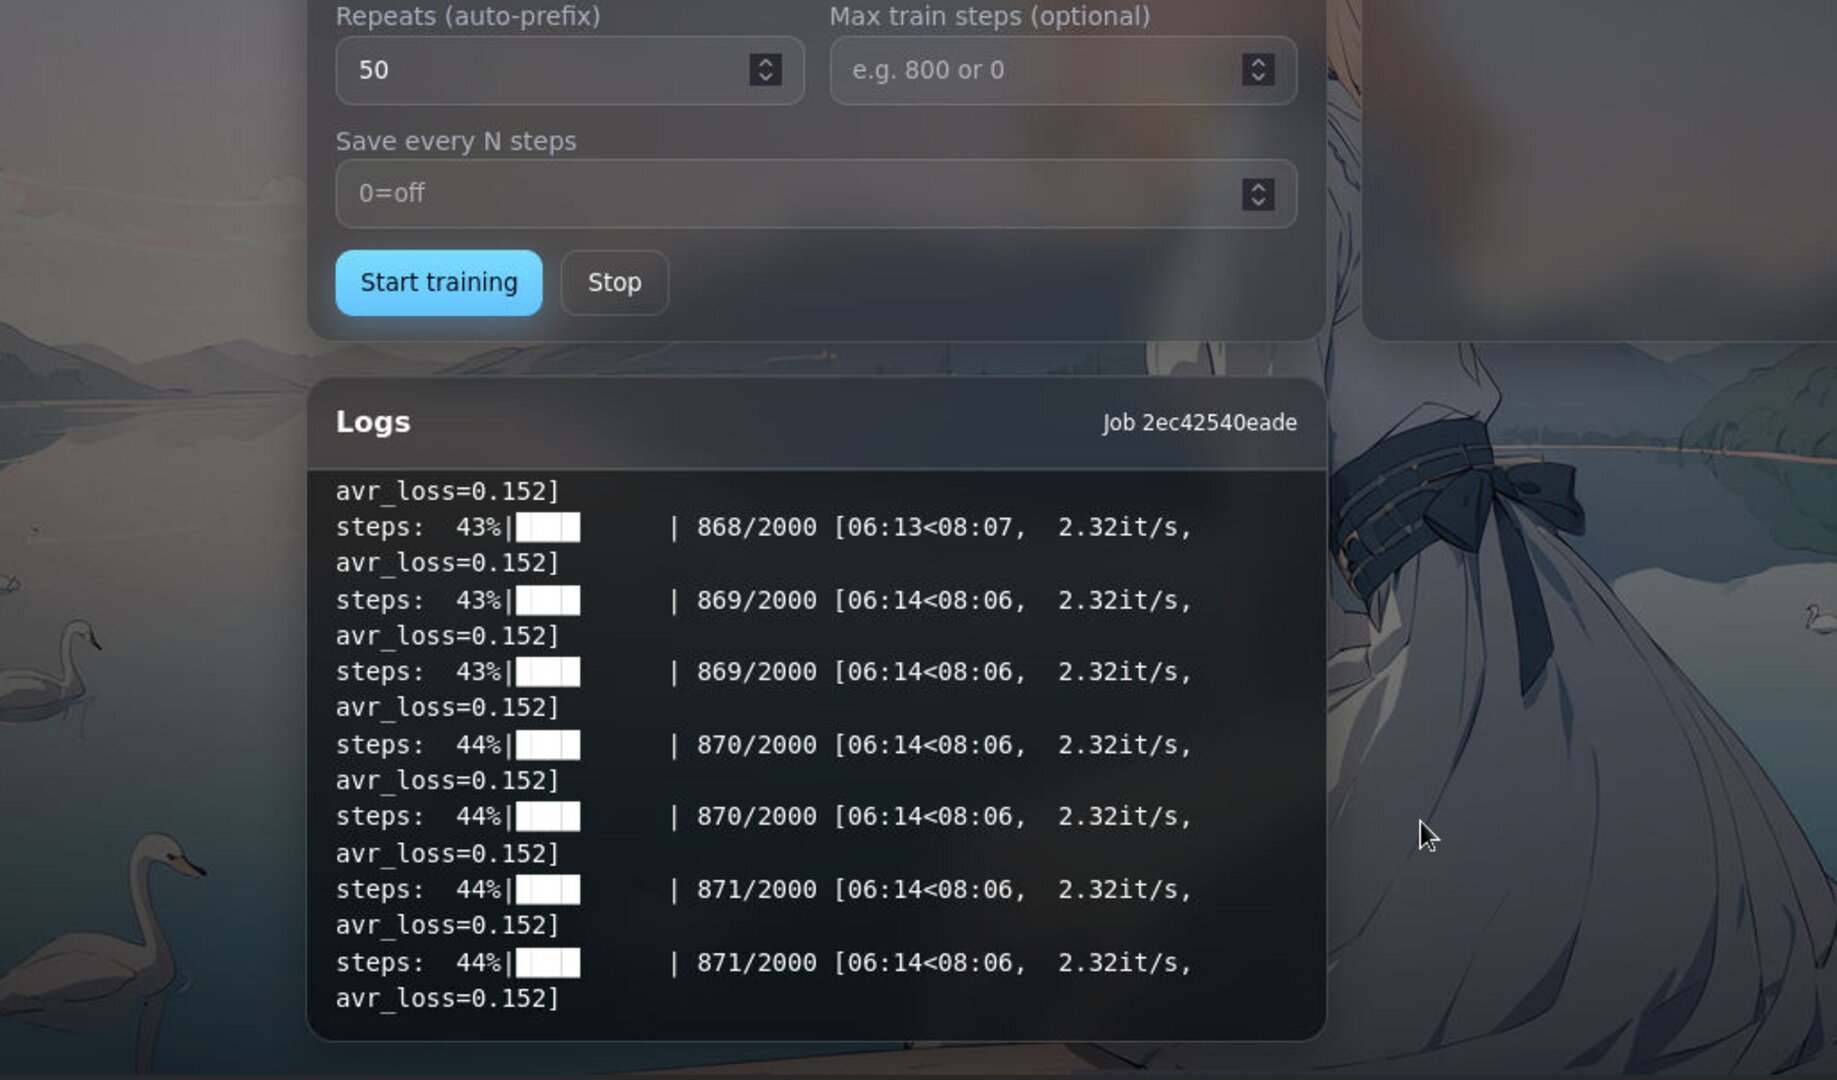
Live logs & ETA — clear visibility from start to finish.
5) Use your checkpoint in A1111
When finished, the DreamBooth checkpoint is registered for A1111. Open A1111 and hit the refresh icon next to the Stable Diffusion checkpoint selector (or Reload UI).
- Family match: pick the same family (1.5 vs XL) you trained with.
- ControlNet: you may layer ControlNet after selecting your checkpoint.
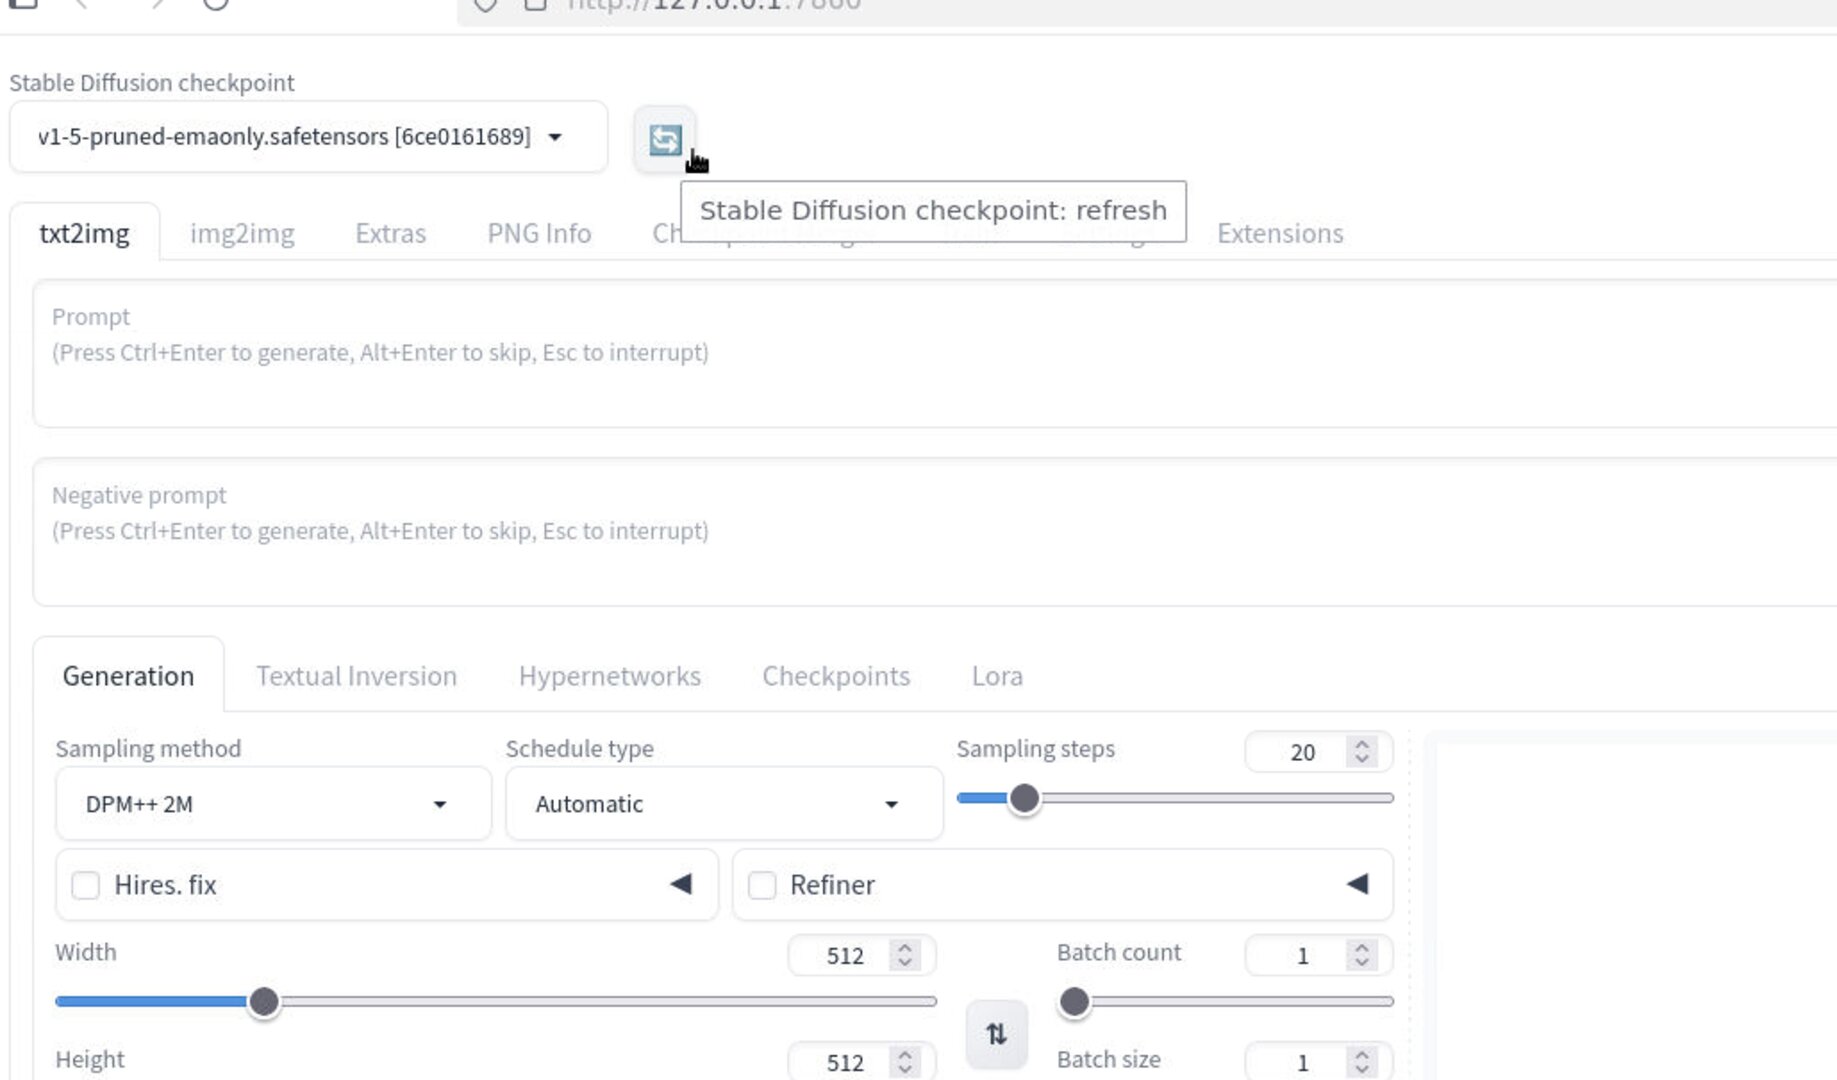
Refresh checkpoint list; your model should appear immediately.
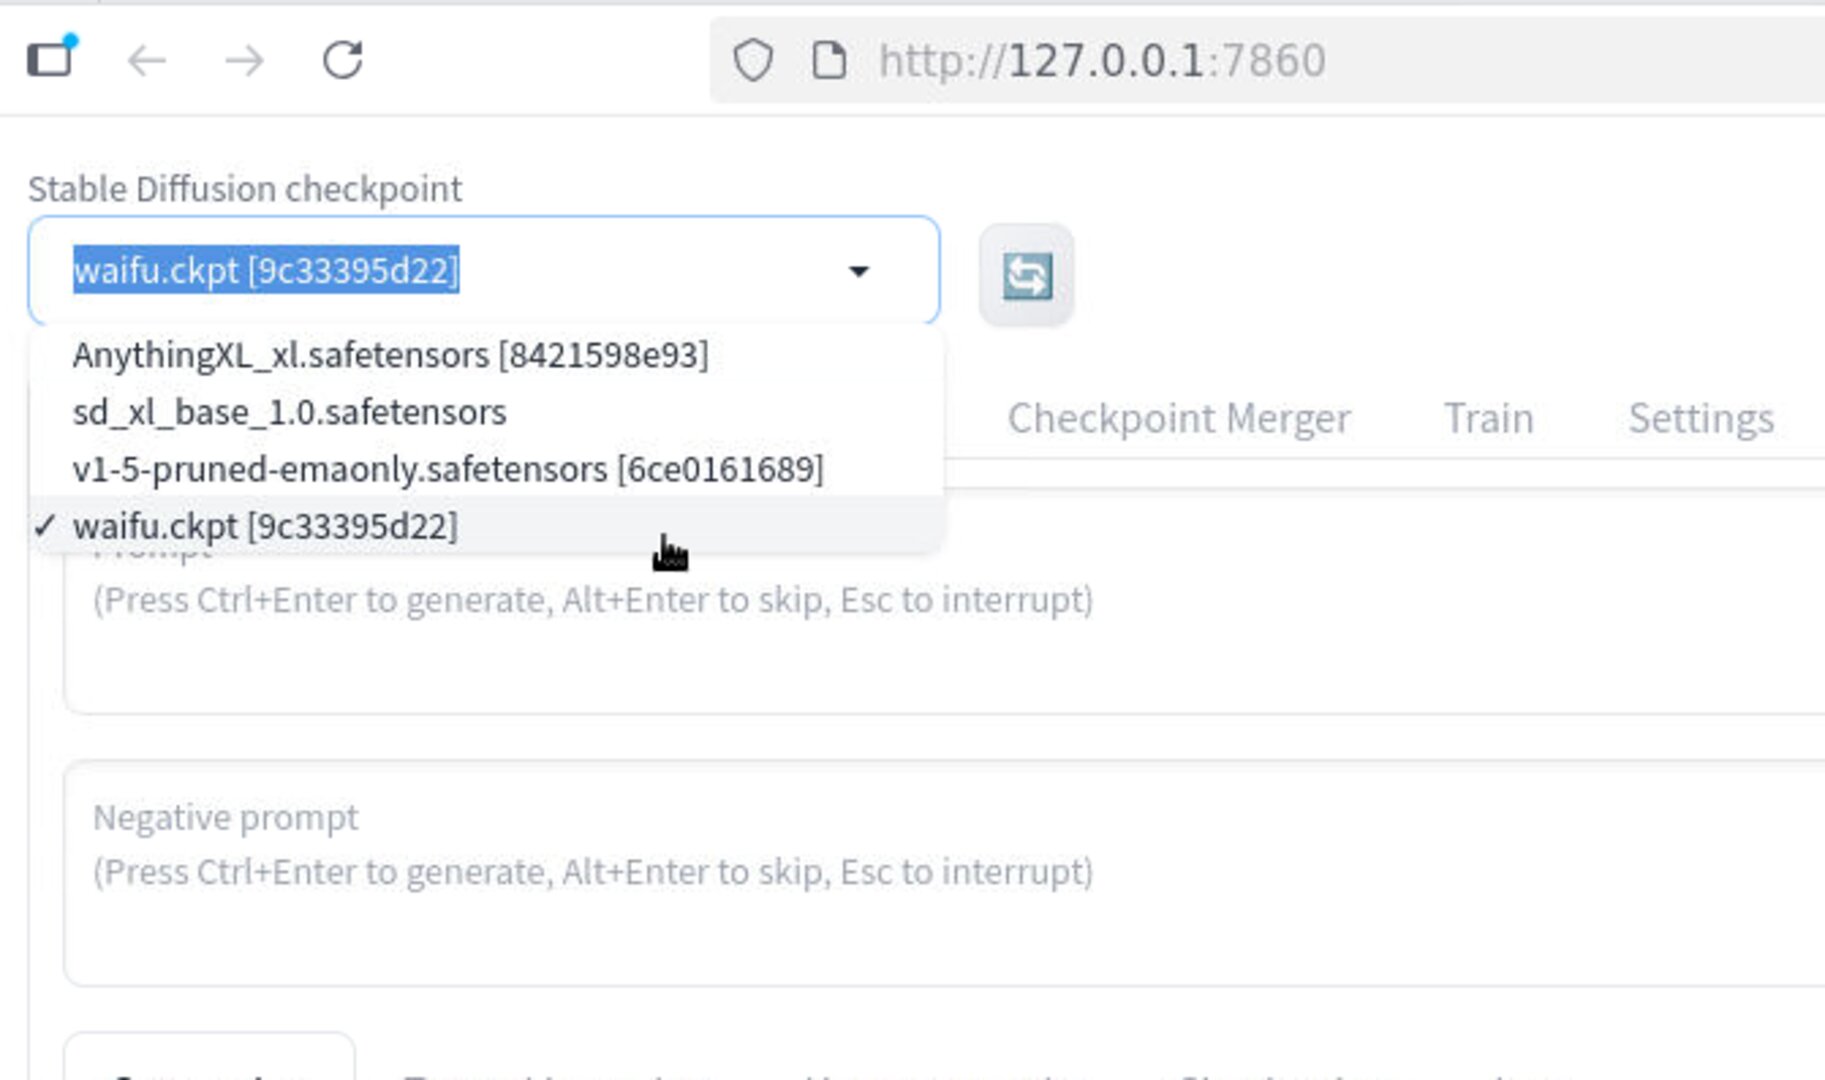
Select your trained checkpoint and start generating.
Starter prompt recipes (full-body)
Mascot sheet
cute mascot, full body, T-pose, plain background, studio light, high detailNegative:
lowres, motion blur, occluded limbs, cropped feet, worst qualityLifestyle full-body
anime character, full body, street scene, natural pose, soft lighting, medium distanceTroubleshooting
Identity drift
- Simplify the prompt; reduce conflicting style tokens.
- Audit dataset: remove off-style shots; improve subject coverage balance.
- Resume training a bit more; keep resolution moderate.
Missing limbs / odd poses
- Add more clean full-body shots with visible limbs.
- Try a simpler background and fewer crowded scenes.
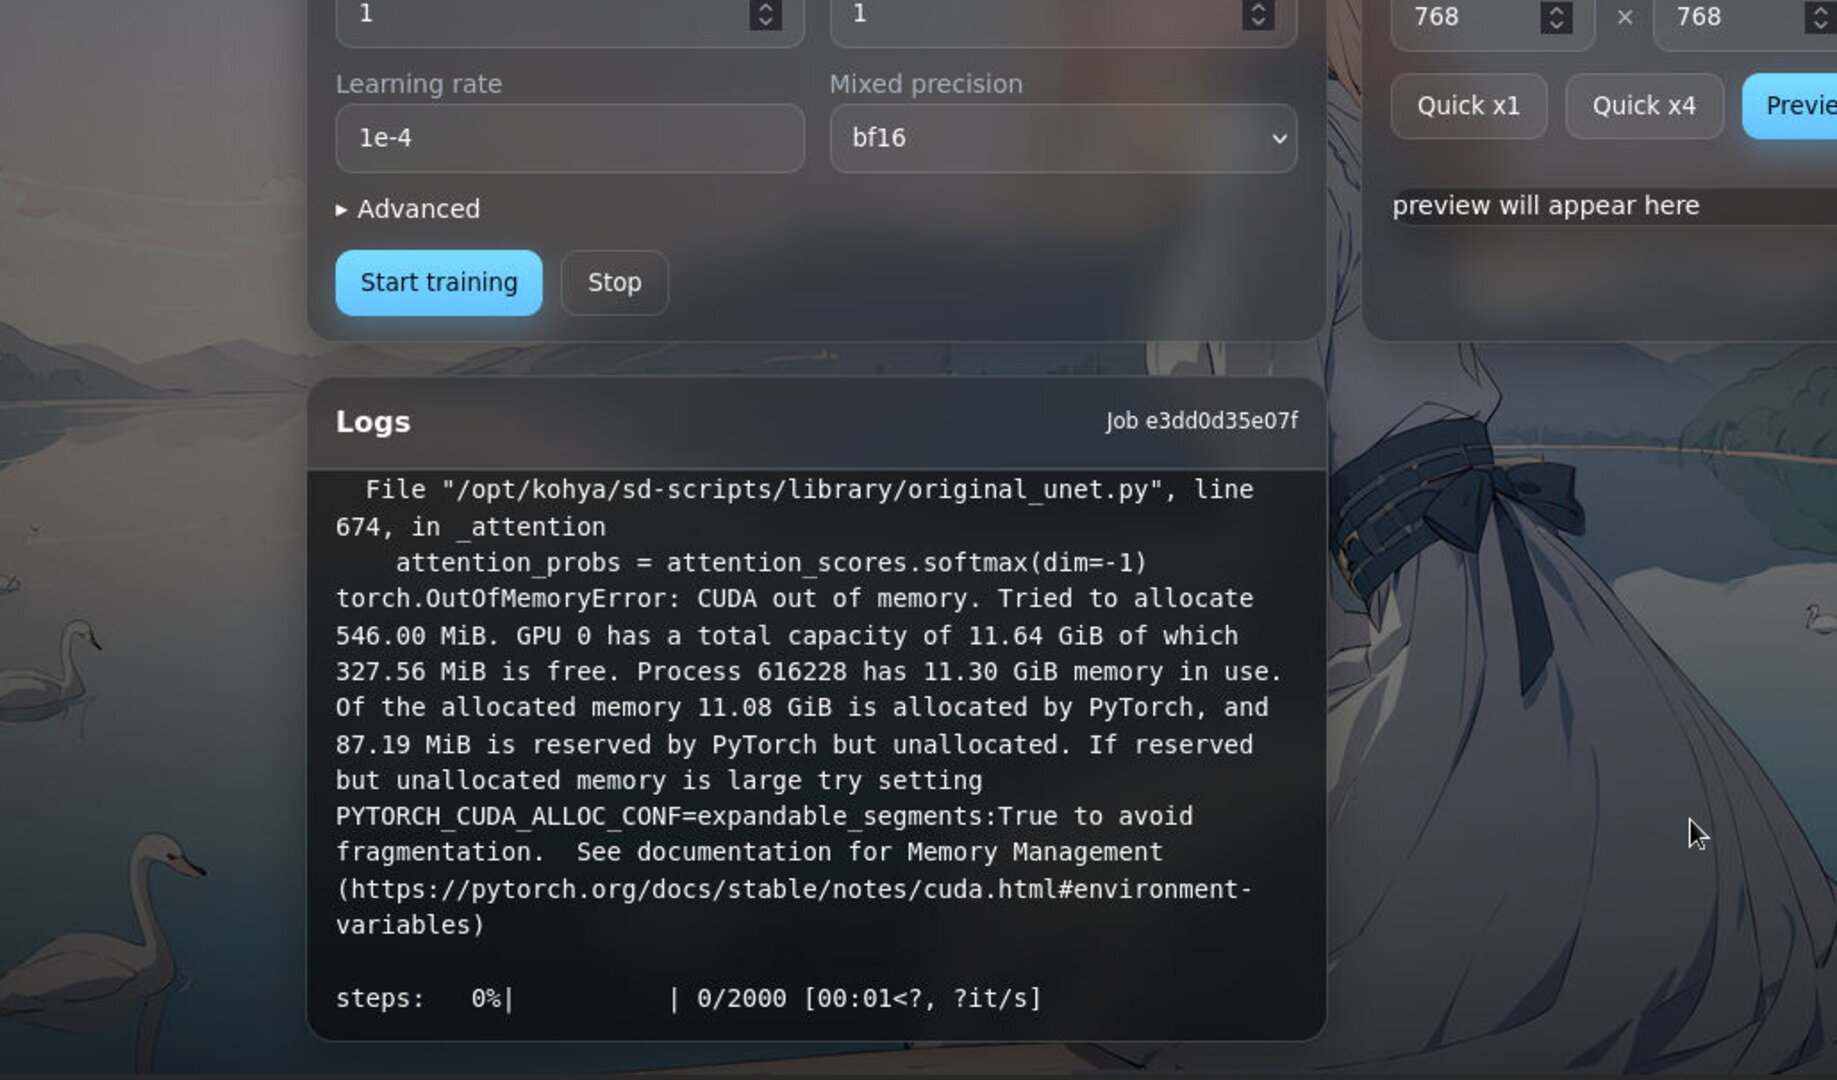
VRAM OOM
- Lower resolution first; keep batch small.
- Close A1111 during training (only run it for auto-caption).
Click Start page frozen?
- System needs about 5 minutes to prepare data after it starts, which is normal. Please wait patiently.
What’s next?
Silhouette first. Style follows.